Tricks for Getting Prints to Stick
 You can’t build a solid house on a shaky foundation, and you can’t build a great 3D print unless the first layer sticks to the print bed. There are many factors that can cause poor first-layer sticking — an uneven build surface, an extruder that is too close or too far away, speed and cooling issues — but they are all equally frustrating! We’ve all experienced the maddening process of starting and re-starting a print, becoming more and more frustrated if the all-important first layer does not stick.
There are a number of ways to ensure the first layer of your print adheres properly, and many of them are covered in detail in Simplify3D’s Print Quality Troubleshooting Guide. Here are some popular approaches to getting prints to stick to the build platform.
Level your bed
The first thing you should verify is that the bed is completely level. Don’t be tempted to shortcut this step or “eye-ball” your measurements. If the bed is not level, one side of your bed may be too close to the nozzle, while the other side will too far away, resulting in uneven first layer adhesion. Tighten or loosen the knobs or screws on the build plate as needed to level the bed. Many users swear by the “paper test” for this step: They insert a sheet of ordinary writing paper between the nozzle and the print bed, allowing it to have a slight tug as they pull the paper. For a more thorough test, Simplify3D has a bed leveling wizard that walks you through this process. Be sure to try some calibration prints to verify that your bed has been properly leveled, including parts with a wide dimension so you can assess leveling across a broad area.
Adjust nozzle distance
Even if your bed is perfectly level, the nozzle might be too close to the print bed. If this occurs, the nozzle will drag across the bed and will be unable to extrude filament. Conversely, the nozzle might be too far away from the build plate, which would result in filament cooling before it can stick. To adjust the nozzle distance, you can either modify your hardware or use a software like Simplify3D to edit the Z-Axis Global G-Code Offset. For instructions on how to do this, see the Print Quality Troubleshooting Guide.
Treat the build surface
Each filament has its own unique properties, including the ability to stick (or not stick) to various materials. 3D printer manufacturers are aware of this fact, and often suggest specific brands of filament to work with their print platforms. For instance, PLA tends to stick well to print beds using BuildTak sheets. ABS, on the other hand, adheres better to heated glass beds. If you plan to print directly onto the build plate, it would be wise to clean it with a little water or rubbing alcohol first.
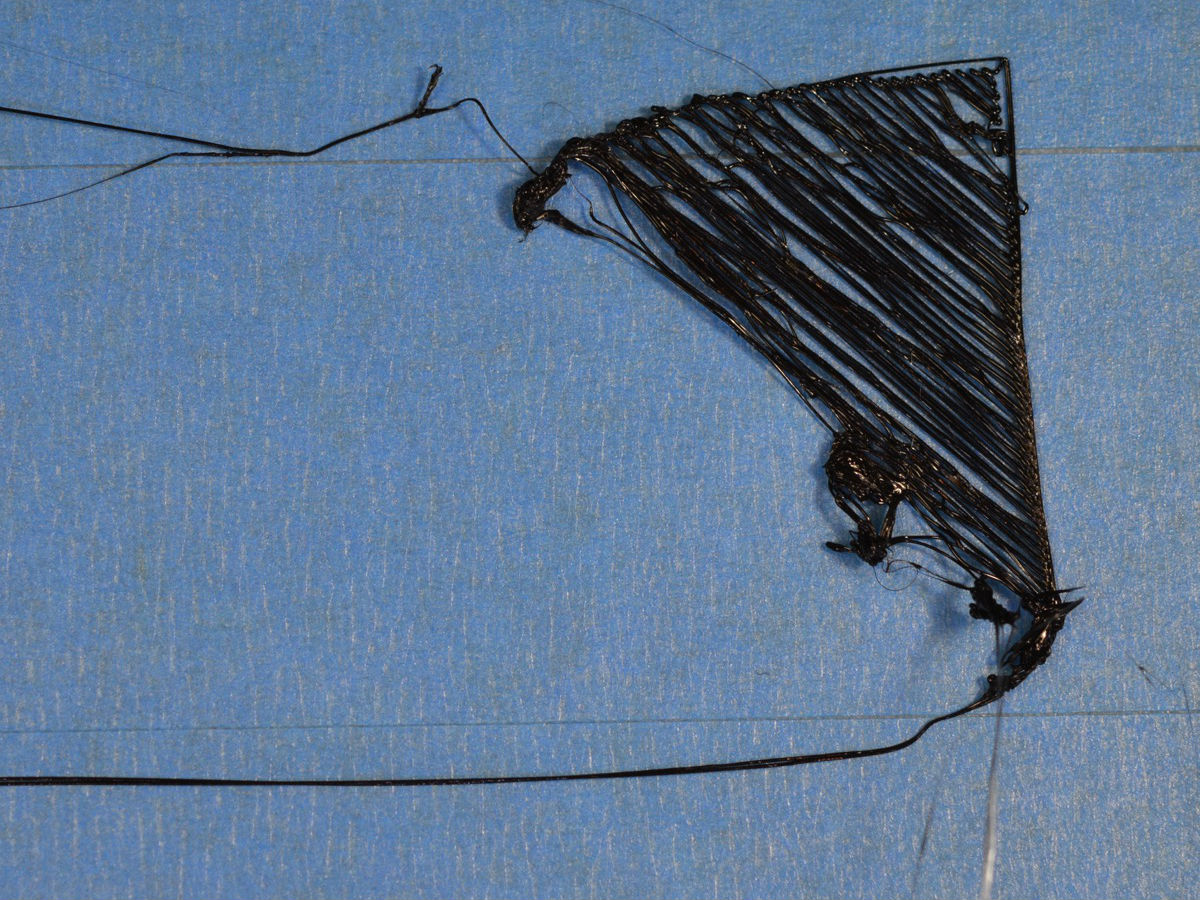
In addition to special build platforms, there are a number of self-help options to help create a more secure bond between the filament and the print bed. A favorite trick here at the Simplify3D office is to cover the platform with strips of blue painter’s tape and a thin layer of glue from a common glue stick. This works especially well for printing PLA on unheated beds. Kapton tape, or Polyimide film, works well for ABS. We also like using tape because it serves a dual purpose: helping prints stick and protecting the build platform. There are plenty of other substances that users swear by, such as Aqua Net hairspray and slurries of ABS and acetone. Don’t be afraid to experiment to find what works best for your printer and your filaments.
When you’re experiencing trouble getting prints to stick, try walking through these solutions as well as the others in the Print Quality Troubleshooting Guide. You’re bound to find the method that works best for you!