Top 10 Tips of 2021
From temperature settings to infill options, each week our engineers share 3D printing tips on social media. Below is a list of a few of your 2021 favorites. Don’t forget to follow us on social media to stay up-to-date with the latest news, tips, and feature deep dives.
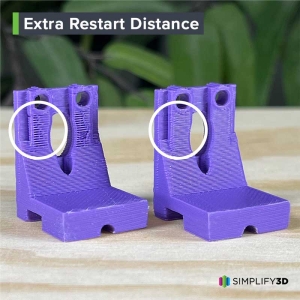
1. Extra Restart Distance
Eliminate perimeter gaps by increasing the “Extra Restart Distance”. A positive value will prime the nozzle with extra filament after each retraction to ensure all perimeter gaps are filled.
In The Software:
Processing Settings > Extruder Tab
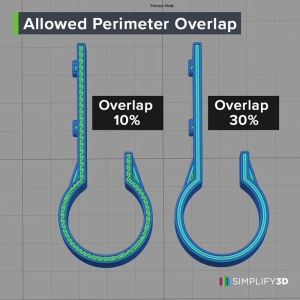
2. Allowed Perimeter Overlap
The “Allowed Perimeter Overlap” setting controls how material is extruded within thin walls of your print. Increase this value to prefer perimeters, or decrease the value to prefer single extrusions and gap fill.
In the Software:
Process Settings > Advanced Tab
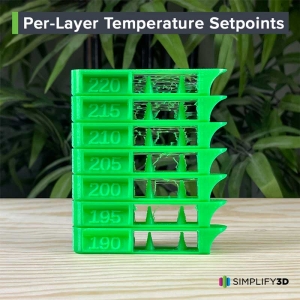
3. Per-Layer Temperature Setpoints
Reduce stringing and improve fine details by dialing in your extruder temperature. Use “Per-Layer Temperature Setpoints” to optimize print temperatures for your machine and filament.
In the Software:
Process Settings > Temperature Tab
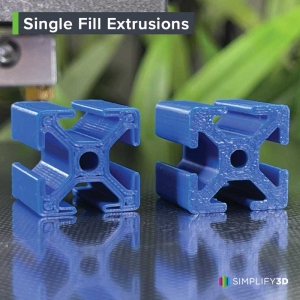
4. Single Extrusion Fill
Improve the quality and strength of models having thin walls. Use the “Allow Single Extrusion Fill” option to automatically adjust extrusion thickness to fill gaps between adjacent perimeters.
In the Software:
Process Settings > Advanced Tab > Internal Thin Wall Type
5. Coast at End
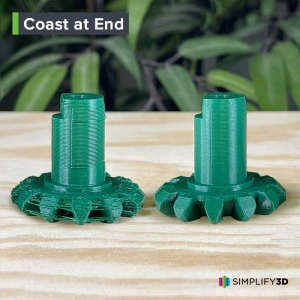
Eliminate ooze related stringing and blobs. Enable the “Coast at End” setting to turn off the extruder a short distance before filament retraction to relieve pressure in the nozzle.
In the Software:
Process Settings > Extruder Tab
6. External Infill Angle Offsets
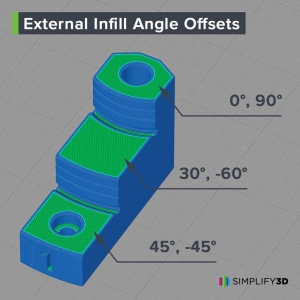
Strengthen your part by adjusting “External Infill Angle Offsets”. Updating this setting based on your part’s unique geometry will minimize gaps by rotating the external infill pattern.
In the Software:
Process Settings > Infill tab > External Infill Angle Offsets
7. Internal Angle Offsets
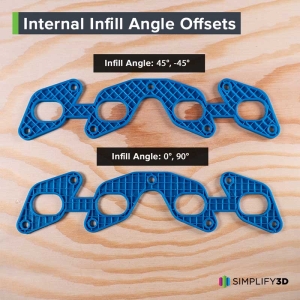
Customize the angle of your infill to suit your model’s geometry. Use the “Internal Infill Angle Offsets” setting to enter multiple infill angles.
In the Software:
Process Settings > Infill Tab
8. Retraction Vertical Lift
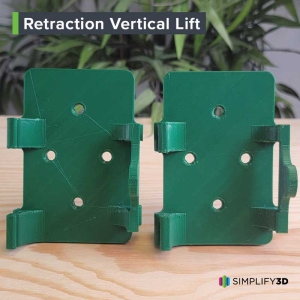
Prevent the extruder nozzle from dragging across your part. Set the Retraction Vertical Lift to 0.5 mm to raise the nozzle as it travels between print locations.
In the Software:
Process Settings > Extruder Tab
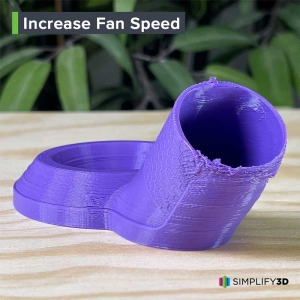
9. Increase Fan Speed for Quick Layers
Improve the quality of your part’s small layers with proper cooling. Use the “Increase Fan Speed for Layers Below _ Seconds” feature to prevent overheating.
In the Software:
Process Settings > Cooling Tab
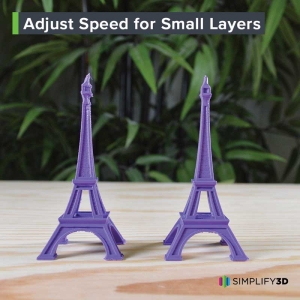
10. Adjust Speed for Small Layers
Enhance print details by giving small layers time to cool. Use the “Adjust Printing Speed for Layers Below _ Seconds” setting to prevent filament overheating and oozing.
In the Software:
Process Settings > Speed Tab
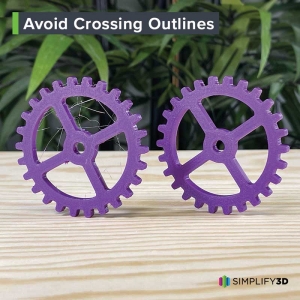
Bonus Tip: Avoid Crossing Outlines
Eliminate stringing by using “Avoid Crossing Outlines for Travel Movements”. Enabling this feature will instruct the toolhead to travel within the perimeters of the part ensuring strings are virtually eliminated.
In the Software:
Process Settings > Advanced Tab

