$50 3D-Printed “e-NABLE Hand” Wins Hands-down
 Jeremy Simon is one of those guys who researches and tinkers until he gets it right. And his definition of “right” is lofty, indeed. As the founder of 3D Universe and a contributing member of philanthropic e-NABLE organization, Simon is helping redirect the spotlight toward affordable, accessible 3D printed devices that change life for the better, providing a welcome reprieve from the constant media hype surrounding 3D printed guns. Aren’t we so thankful?
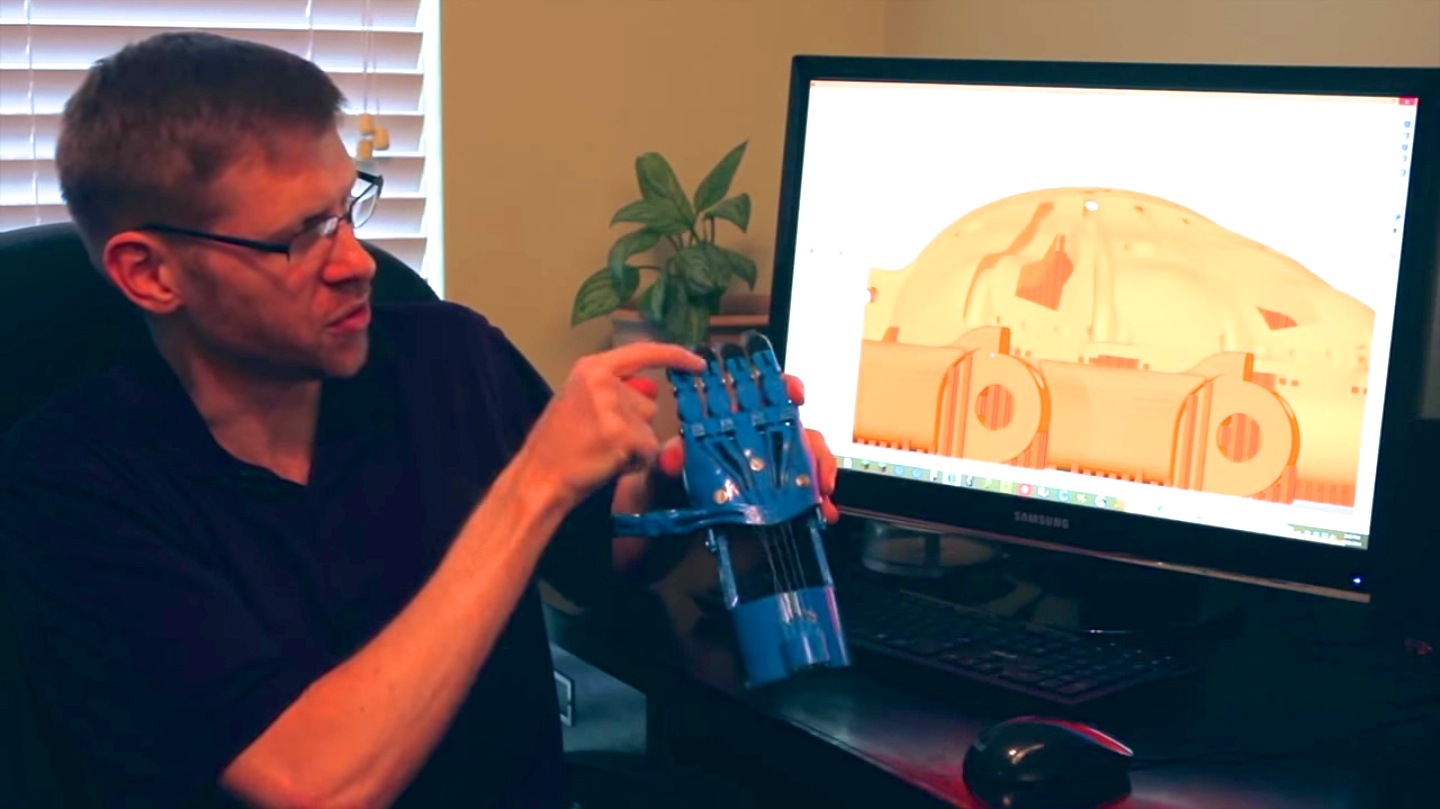
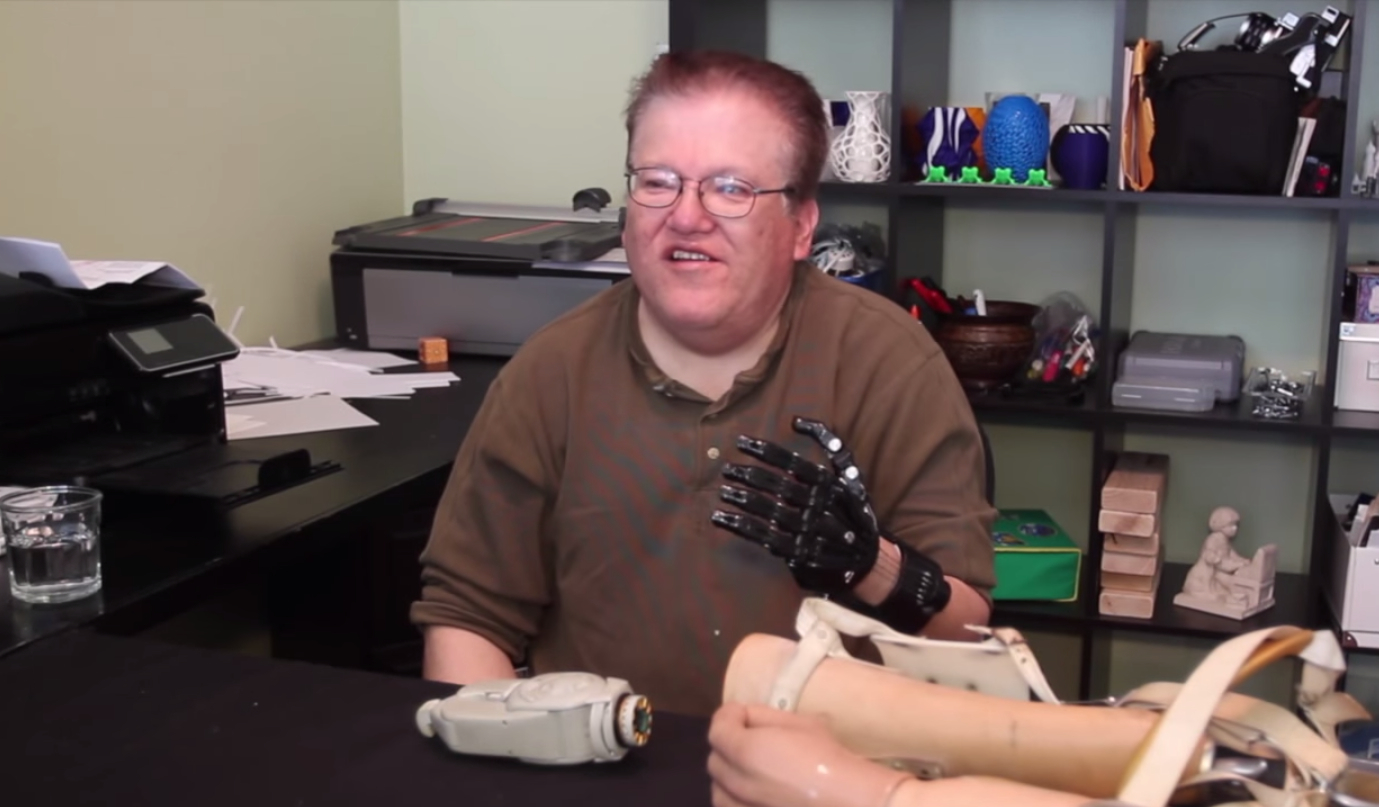 Recently, Simon talked with Fox News and also posted his own video describing the e-NABLE 3D printed hand (dubbed the “Cyborg Beast”) that was provided to Jose Delgado Jr., a 53-year old who formerly wore a $42,000 prosthetic device to improve the functionality of his partial left hand. The e-NABLE hand is made up of 19 3D-printed pieces that are fabricated, treated in an acetone vapor bath, and then assembled. Movement of the prosthetic fingers is triggered by wrist movement, which gives the e-NABLE hand specific dexterity advantages over the $42,000 counterpart. Jose Delgado, Jr. seemed particularly delighted with the ability to grip and hold things, citing examples such as shopping bags and gripping his steering wheel.
After we learned that Simon had used Simplify3D software to prepare the e-NABLE hand for 3D printing, we wanted to know the back-story… What were the challenges, what settings did he use, what advice could he share?
There are critical dimensions on the e_NABLE hand. Simon used the Simplify3D scaling tool to accurately fit the e-NABLE hand to Jose’s measurements. He also made extensive use of the Support Generation Tool (you can see all the supports under each part in the image below). By customizing where the supports were located, Simon insured he would have unimpeded channels running along the hand and finger sections.

Simon shared other specifics regarding his print settings:
- Printed in ABS plastic, with 230C for extruder temp and 110C for the heated bed.
- 50% infill on main parts, 40% infill for supports
- Used “sparse infill” and “sparse support” features to get a nice outer surface with significantly improved printing speed. Simon used 0.16mm for the layer height, with sparse infill and supports every 2 layers (his extruder nozzle is 0.4mm and he likes his layer height to be 80% of the nozzle diameter or less).
- Custom support placement with 2mm support pillars. Simon removed supports from particularly sensitive small curving cavities.
- He applied a 2-outline skirt but no raft.
- For speeds, Simon used 5000mm/s for printing and 7000mm/s for travel. 50% speed for outlines and 80% speed for support.
- Another time-saver was using the “duplicate model” setting. After Simon carefully defined the custom supports for a single object, he simply duplicated that part, including his custom supports.
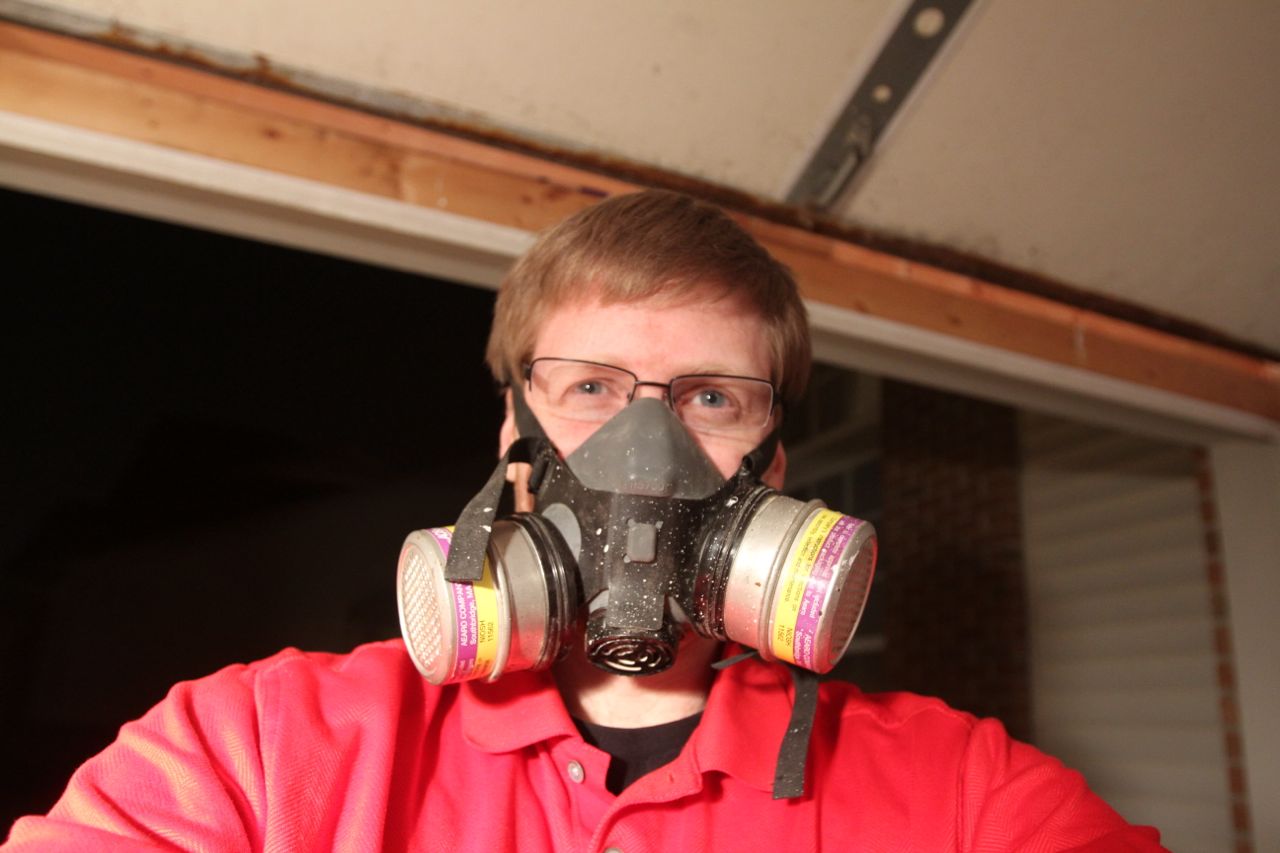 For the finishing touches, Simon used an Acetone Vapor Treatment process to give the parts an extra-smooth finish. Another example of going the extra mile to make the e-NABLE Hand even better.
After we spoke with Simon, he posted a follow-up video describing how Simplify3D Software helped him fabricate the e-NABLE hand. The video helps us see how he used the multi-part printing features and support placement tools. Like we said, Simon keeps at it until he gets it just right. Hats off to Jeremy Simon and the entire contributing team from e-NABLE. Keep up the good work – well done!