Creating and Grouping Processes
Learn how to apply unique settings to different parts by creating multiple processes and grouping them together.Quick Links
Video Transcript
Today, we’re looking at how to Group Processes in Simplify3D. The Group Selection option can be found in the Edit Menu. We’ve talked about how to group models using this feature, but now we’re going to explore how this works with processes.
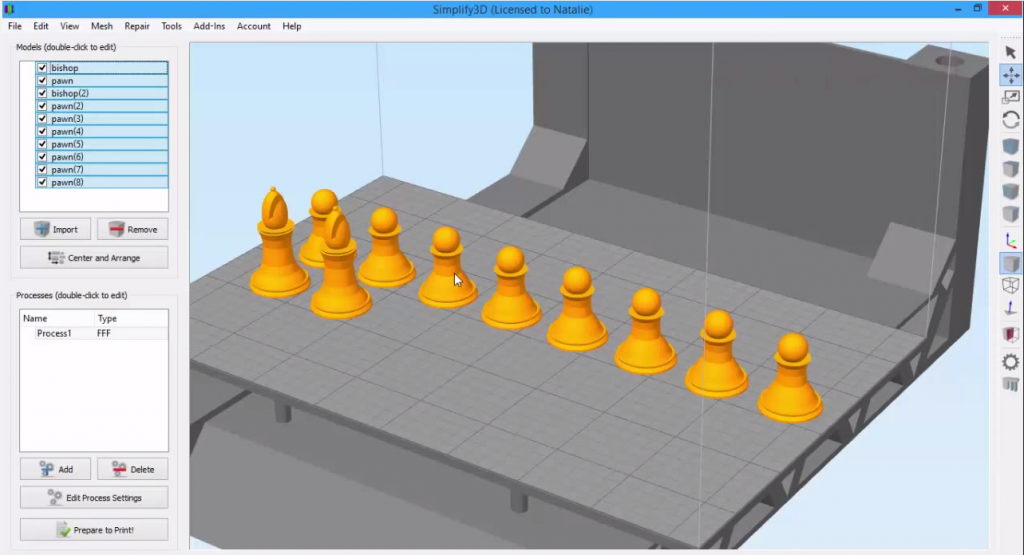
Here is your process list. A process determines how the parts on your virtual build platform will be constructed. In most cases, you just use one process so everything will be printed with the same settings. However, today, we’re looking at a special case where we are using two processes so the parts will be printed using different settings.
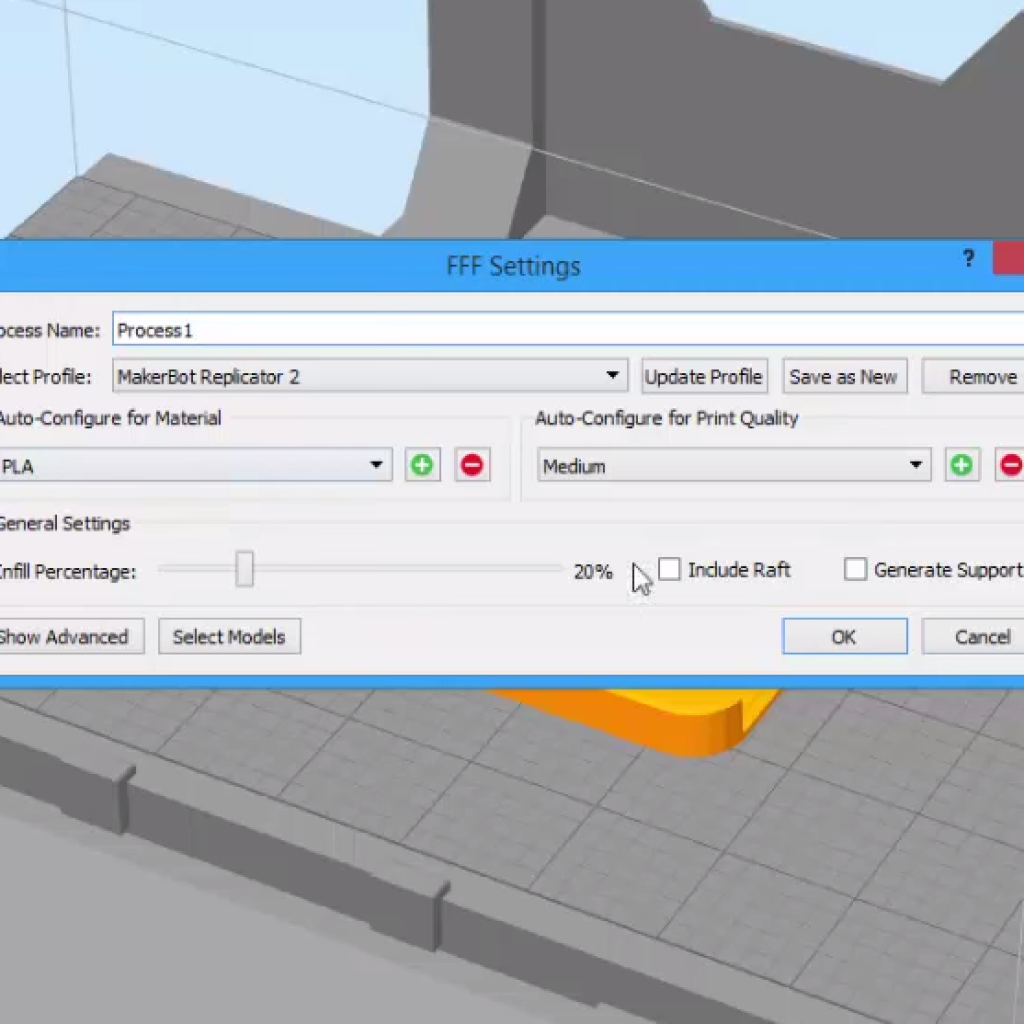
Here I have the standard profile with stock settings for a Replicator 2. Because I only have one process right now, when I click Select Models, you’ll see that all the parts are selected, meaning that all three of my parts will be printed by this process. But because I want to use different settings for my bolts than for my bracket, I will deselect the bolts from this list. So now, this process will only print the bracket. I’ll rename the process to “BracketProcess” to make things easier for myself. When I click Prepare to Print, you can see that only the bracket is going to be printed.
But I’m going to add another process to print my bolts by clicking the Add button. So as before, I’ll click Select Models and make sure both my bolts are assigned to this process. And I’ll rename this one “BoltProcess.” Now when we click prepare to print, the software knows we have two processes to choose from. If I select just BoltProcess, only the bolts will be printed. But if I leave both selected, all the parts will print.
Since both these processes use the stock profile for the Replicator 2, you can see that the settings are currently the same; for example, the infill percentages here are the same. But let’s change that. I want my bolts to have a higher infill density because they need to be strong enough so I won’t damage them when I turn them with a wrench. So I’ll open the BoltProcess and change the infill percentage for my two bolts to 50%. I’ll slice them again and slide down to the bottom layers, and you can see that the bolts have a much higher infill percentage compared to the bracket.
So this is how to use multiple processes to print parts with different settings in Simplify3D. Let’s say I printed these parts, and found that they weren’t sticking to the printer bed very well. So I decide to use a raft to help them stick to the bed better. But because I have two processes, if I want to add a raft to all of my parts, I’d have to open the BracketProcess and click to add a raft, and then open the BoltProcess and click to add a raft. As you can imagine, if we were changing a lot of settings, this could get tedious. Luckily there’s an easier way!
If we group these processes by selecting both then going to Edit and clicking Group Selection, this does something special in Simplify3D. When you group processes, the software makes sure that any setting that is the same between all of the grouped processes stays the same, and any settings that are different between the processes remain different. For example, both of these processes originally had the raft disabled. So if I change it in the BracketProcess, it will automatically change in the BoltProcess because it was the same when we grouped them. But, as you’ll remember, we used a different infill percentage for my bracket than I did for my bolts. So if I open the BracketProcess and change the infill percentage, you’ll see that it doesn’t change for the BoltProcess. That’s because these settings were already different when they were grouped. So to review, when you group processes, settings that were the same stay the same, and settings that were different stay different.
We all know that 3D printing often requires us to make lots of little tweaks to our settings. This way, it’s easy to make the same change to several processes at once. If you ever need to get back to the way things were before, where you could change a process setting independently, just go to Edit and click Ungroup Selection. And that’s it! Now you know how to group processes in Simplify3D.
Related Videos
Using the Interface
Take a quick tour of the Simplify3D interface. You’ll learn how to manipulate models, undo, copy and paste.
The Dual Extrusion Wizard
Learn how to create crisp two-color prints quickly and easily with the Dual Extrusion Wizard.
Selecting & Grouping Models
Learn how to make changes to multiple models at a time by grouping them together.
Adding Material and Quality Options
Edit your material and quality level settings in Simplify3D to gain even more control over your 3D prints.