Selecting & Grouping Models
Learn how to make changes to multiple models at a time by grouping them together.Quick Links
Video Transcript
Today, we’re looking at how to Select and Group Models in Simplify3D. These options can be found in the Edit menu. Being able to group models together is useful when you have multiple models on your build plate and you want to move, scale, rotate or otherwise manipulate them all at the same time.
For example, let’s say we want to print a dual color traffic cone. It’s already broken up into two STL files, one for each color. Let’s say that for some reason I want to print two dual-color traffic cones. So I’ll need to copy part 1 and part 2 to get a complete set. I just select both and copy and paste.
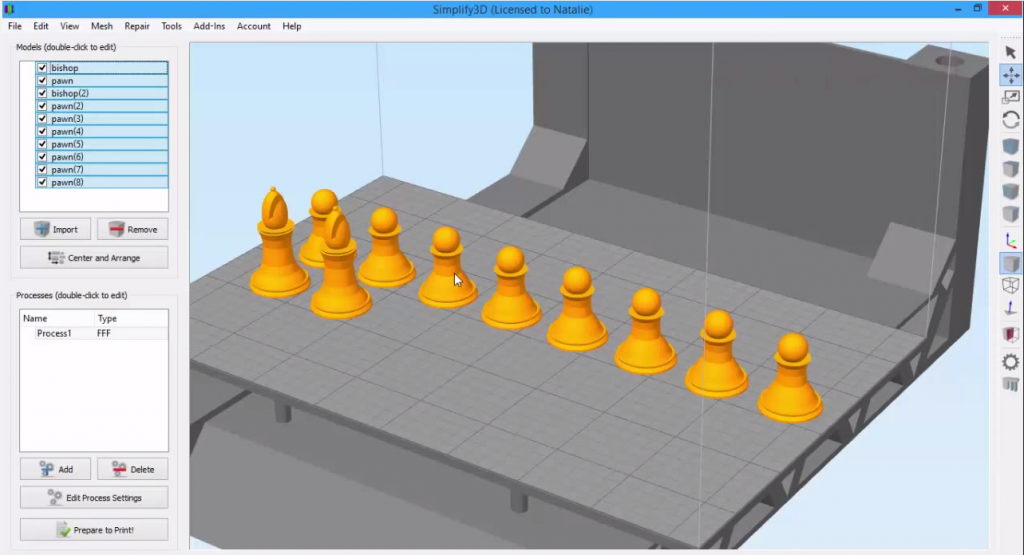
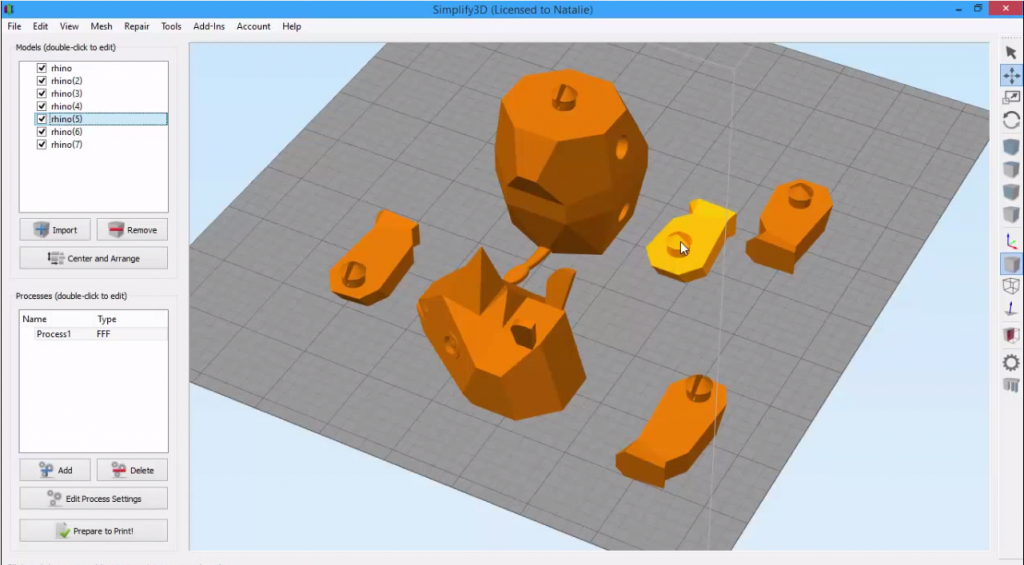
Then we’ll need to align them, just as we did in a previous video. First we need to select the models we want to align. There are two different ways to select models. One way is to just click the 3D model. Hold down Shift to select more than one. You can use Shift to deselect as well. The other way to select models is to use the model list. This works just like your computer’s file browser: hold CTRL or Command to add individual models to the selection, or use Shift to add an entire range.
So now select the models you want to align. Go to Edit and click Align Selected Model Origins. The software automatically centers your aligned parts, so let me move this one before aligning the others.
Now that I have aligned these parts, I want them to stay that way. And it can be easy to forget to select both models before moving or scaling. Of course, you can always Undo, but it would be much easier if these parts were grouped together. To do this, simply select the models you want to have grouped. Then, go to Edit and click Group Selection, or use the keyboard shortcut CTRL+G or command G on a Mac. Now, your models are grouped.
So now you can see that whenever I click on any part of this group, all the parts are selected. You can see the difference between the models that are grouped and the models that aren’t. Now the grouped models will behave as one model. So we can move them, scale them, make whatever changes we want. If you ever want to ungroup the models, simply go back to Edit and click Ungroup Selection, or use CTRL Shift G.
So, if you have a group of parts on your build plate that you always want to be changed and moved together, Grouping is a nice way to go about that.


