Adding Material and Quality Options
Edit your material and quality level settings in Simplify3D to gain even more control over your 3D prints.Quick Links
Video Transcript
Today, we’re talking about how to add new material and quality options in Simplify3D. All these options can be found in the Process Settings. We’re going to focus on the auto configure options here, which will automatically adjust relevant settings based on the choices you make.
For example, the material choice controls settings like temperatures and fan speeds. And the quality choice controls infill percentage, layer height, and top and bottom solid layers. This is what the software does by default for this profile. But you can change these if you want. For example, if I decided that I wanted to change print speeds as part of my material configuration, I could certainly do so, and we’ll talk more about that in a later video. For now, let’s just stick to the default settings.
Let’s take a closer look at quality settings, which, again, control infill percentage and layer settings. We can see infill percentage here, but to see our layer settings, we have to click the Show Advanced button. This reveals some of the other settings behind the scenes.
Let’s go to the Layer tab. If I toggle between the quality levels you can see that the infill percentages and layer settings change. Here at medium quality, you can see the infill defaults to 20%, the layer height is .2mm, and we have 3 top and bottom solid layers. Next, let’s look at High quality. Now our infill has jumped to 30%, our layer height is .1mm and we have 4 top and bottom solid layers. So those are the defaults, but we can change them if we want to.
So let’s say we wanted to make high quality 40% infill instead of 30%. I just drag my slider up to 40%. Now if I switch back to medium quality, it goes back to 20%, as it was previously. And now if I go back to high quality, you see that the software remembered I changed infill to 40%. Our high quality setting now uses 40% infill…It’s as simple as that!
While we can change these three quality settings, we could also easily add a totally new quality setting. So as an example, I’m going to create a new quality level called Extreme Quality, for which I’m going to use 50% infill and 5 top and bottom solid layers So, let’s click the plus button next to Print Quality, and call our new setting Extreme and click OK. So now I just make those changes: move infill to 50% and change the top and bottom solid layers to 5. These are now the settings that will be used for Extreme quality. So as I switch to high quality and then back to extreme, you can see the software has remembered my new setting.
You can also use the minus button to remove a quality setting. For example, let’s say I never use the Fast quality setting, so I select that one then click the minus sign. And it’s gone! So that pretty much covers the changes that take place with quality settings. And it’s very similar for materials.
We mentioned earlier that changing a material will adjust fan speeds and temperatures. So let’s go to the Temperature tab. So here’s PLA, at 230 degrees. I can also choose ABS, PVA, Nylon. For example, here’s Nylon set at 220, so I could easily change that to 210, and as before, the software will remember my change. I could also add a new filament, let’s say it’s a flexible filament, change the temperature as needed, and the software will again remember my change.
While we’ve made a lot of changes here, don’t worry — we haven’t overwritten the Replicator 2’s stock settings — which is why you see the word Modified appearing after the profile name. As we’ve discussed in a previous video, if you wanted to, you could use these two buttons to overwrite the existing profile or create a new one. Or if you want to wipe out these changes completely, you just go to the profile dropdown and choose any other profile, and choose No when asked whether you want to save your changes.
So give it a try and feel free to experiment! This makes it really easy to add new material or quality options so you can take advantage of your 3D printer’s versatility.
Related Videos
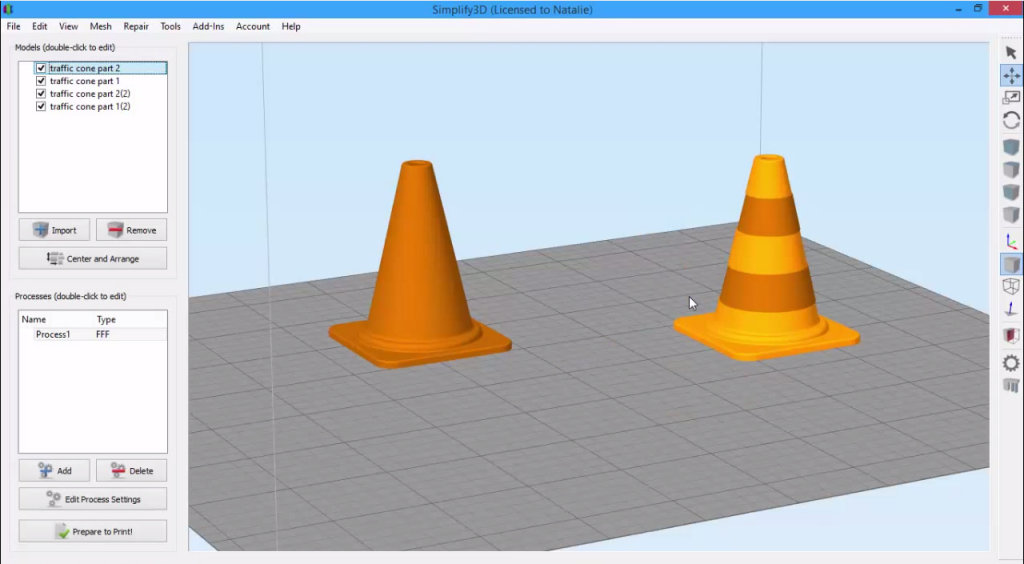
Selecting & Grouping Models
Learn how to make changes to multiple models at a time by grouping them together.
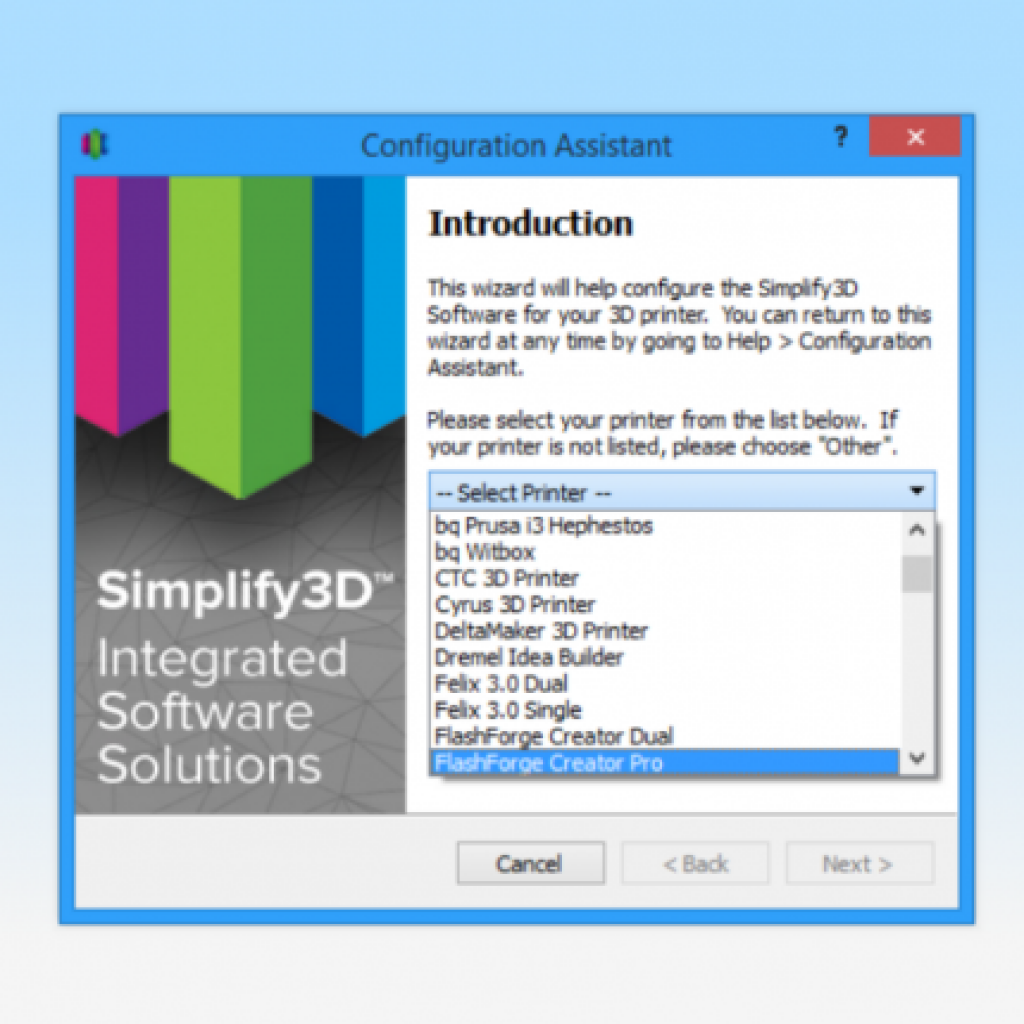
Managing Printer Profiles
Printer profiles in Simplify3D provide pre-configured settings for your 3D printer. This video shows you how to add new profiles, save changes to profiles, and import/export saved profiles.
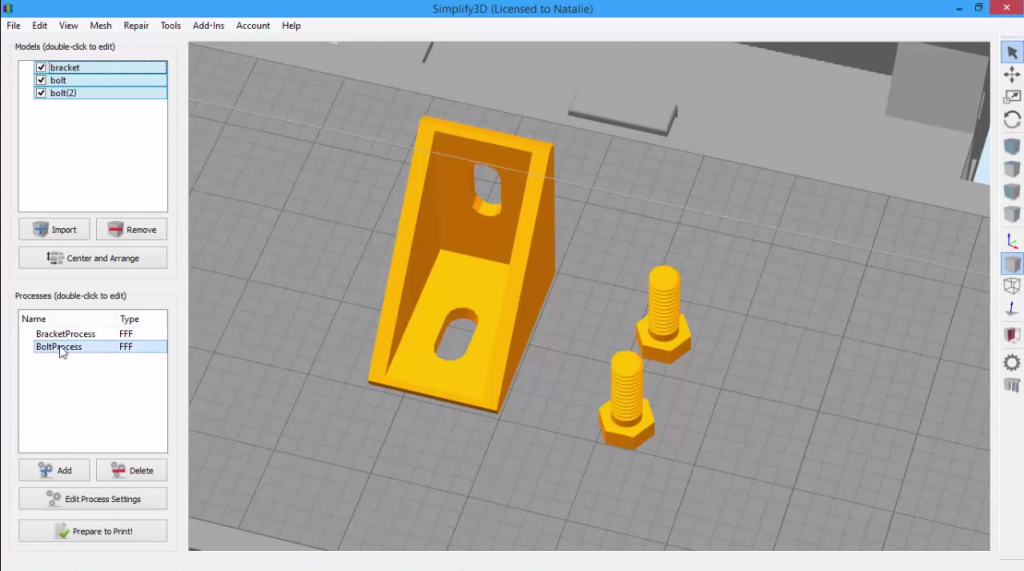
Creating and Grouping Processes
Learn how to apply unique settings to different parts by creating multiple processes and grouping them together.