
Flexible
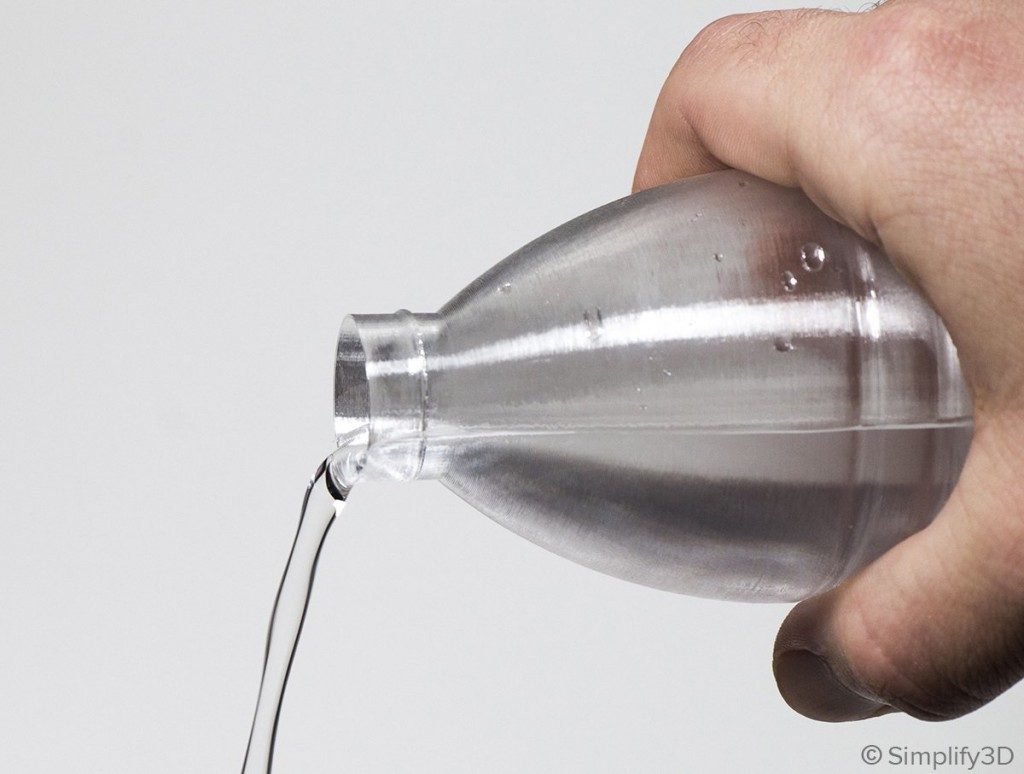
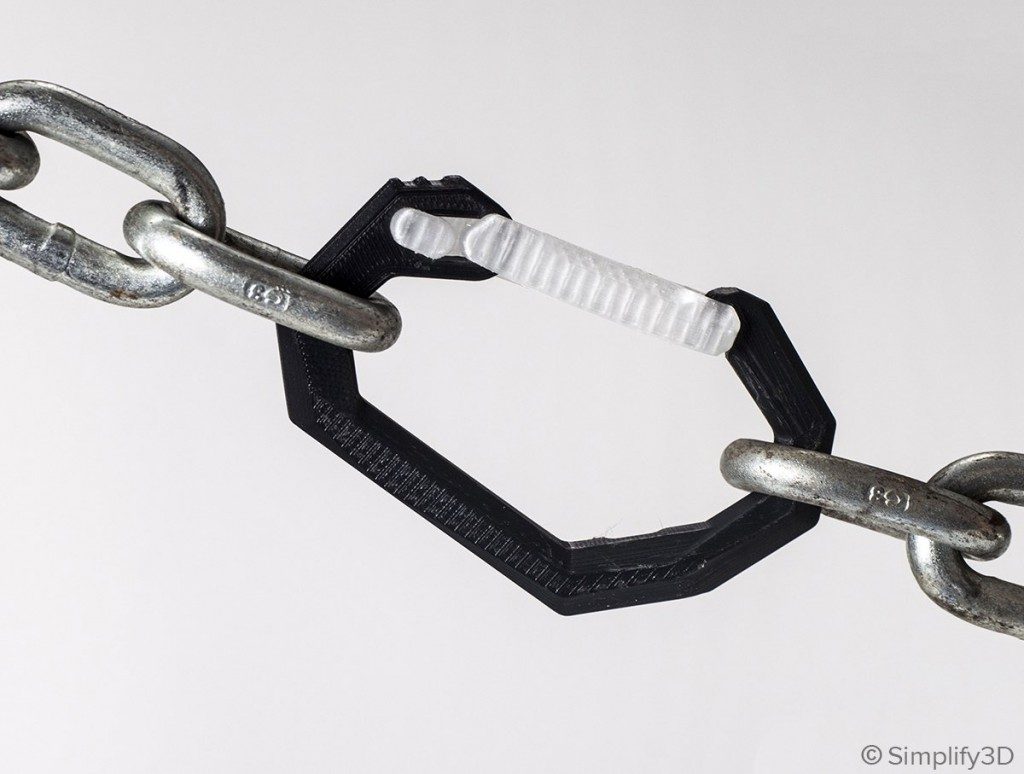
Flexible filaments, commonly referred to as TPE or TPU, are known for their elasticity allowing the material to easily stretch and bend.
Overview
Flexible filaments are made of Thermoplastic Elastomers (TPE) which are a blend of hard plastic and rubber. As the name suggests, this material is elastic in nature allowing the plastic to be stretched and flexed easily. There are several types of TPE, with Thermoplastic polyurethane (TPU) being the most commonly used among 3D printing filaments. In many cases, these terms are used interchangeably, along with popular brand names such as Ninjaflex. The degree of elasticity in the plastic depends on the type of TPE and the chemical formulation used by the manufacturer. For example, some filaments can be partially flexible like a car tire but others can be elastic and fully flexible like a rubber band. This guide will cover tips to help you with both of these variations of flexible filaments.
Pros
- Flexible and soft
- Excellent vibration dampening
- Long shelf life
- Good impact resistance
Cons
- Difficult to print
- Poor bridging characteristics
- Possibility of blobs and stringing
- May not work well on Bowden extruders
Hardware Requirements
Before 3D printing with flexible filaments, make sure your 3D printer meets the hardware requirements listed below to ensure the best print quality.
Bed
Build Surface
Extruder
Cooling
Best Practices
Flexible filaments come with many unique challenges that you want to be aware of. These tips will help you reduce the chances of common 3D printing issues such as clogging, kinking, and stringing.
Use Direct Drive Extruders
While some partially flexible filaments work fine with Bowden Extruders, most fully flexible filaments require a Direct Drive extruder for best results. The distance between the drive gear and the melt zone of the hot-end needs to be as short as possible to efficiently feed the filament into the nozzle. Additionally, the pathway through which the filament travels into the melt zone should have tight tolerances to prevent the filament from kinking or coiling inside. For these reasons, it is typically much easier to print flexible filaments with a Direct Drive extruder versus a Bowden extruder. If you are unsure about your 3D printer’s capabilities, you may want to check with the manufacturer to see if the extruder has been approved for use with flexible filaments.
Use Slow and Consistent Feed Rates
Flexible filaments typically print best using a slow and consistent feed rate. Because the material is elastic, it can be very difficult to control sudden changes in the print speed. Higher print speeds can cause the filament to compress and will most likely result in a jam. Slow and steady is the best approach. Simplify3D provides all of your feed rate settings on the Speeds tab of your process settings so that you can easily configure these values. Finding the optimal print speed for your material can take several attempts based on trial and error. We have seen that speeds of 1200 mm/min (20 mm/s) can be a good starting point for most materials.
Reduce Resistance from the Filament Spool
A few tweaks to your material spool can also make a big difference with flexible materials. Typically, your extruder will pull the filament into the nozzle, forcing the filament spool mounted on your printer to unwind a bit of plastic in the process. However, because flexible materials are elastic, this will stretch the filament out as it is being pulled in and can actually result in under-extrusion. Try mounting the spool above your printer so that the filament unwinds in a downward direction which can reduce the resistance. It can also be incredibly helpful to mount the spool’s hub on a bearing to allow the spool to spin as freely as possible.
Tune Your Retraction Settings
The elastic nature of flexible filament makes it sensitive to quick movements such as retractions. In order to successfully print the filament, you will need to optimize your retraction settings to reduce these movements. While you are first starting with this material, we would recommend disabling retraction completely. You can make this change in Simplify3D on the Extruders tab of your process settings. With retraction disabled, you can focus on finding the perfect speed and extrusion rates that allow you to reliably print your models. After you are more confident in these settings, you may wish to add a very small amount of retraction with a slower retraction speed to help with any potential oozing from the hot-end. Simplify3D also includes a unique option called Coasting, which will automatically help lower the pressure in the nozzle when you approach the end of a segment, which can significantly reduce blobs and stringing with these materials. If you want more information about other options that can help reduce hairs and stringing on your prints, we have an entire section on our Print Quality Guide dedicated to that issue: How to Reduce Stringing and Oozing.
Optimize Your Travel Movements
Retractions can be particularly troublesome for flexible materials, so it is typically best to minimize the number of retractions required for your print. Simplify3D has a great feature that was built specifically for this situation. Instead of moving in a straight line from point A to B, the software will actually choose a completely new path when moving between these points, with the goal of staying within the interior of your object so that there won’t be any oozing or stringing. With this unique feature enabled, you can greatly reduce the amount of retractions required for your print and significantly improve your print quality. To use this feature, click on the Advanced tab of your process settings, and enable the “Avoid crossing outline for travel movement” option.
Pro-Tips
- Optimize the feed rate by printing at lower layer heights in the 0.1mm – 0.2mm range. The lower layer height requires less plastic, so it allows your extruder to use a lower feed-rate, relieving the burden on the filament.
- Try to avoid using rafts with flexible materials, as the base layers of the raft have higher extrusion rates which may create issues.
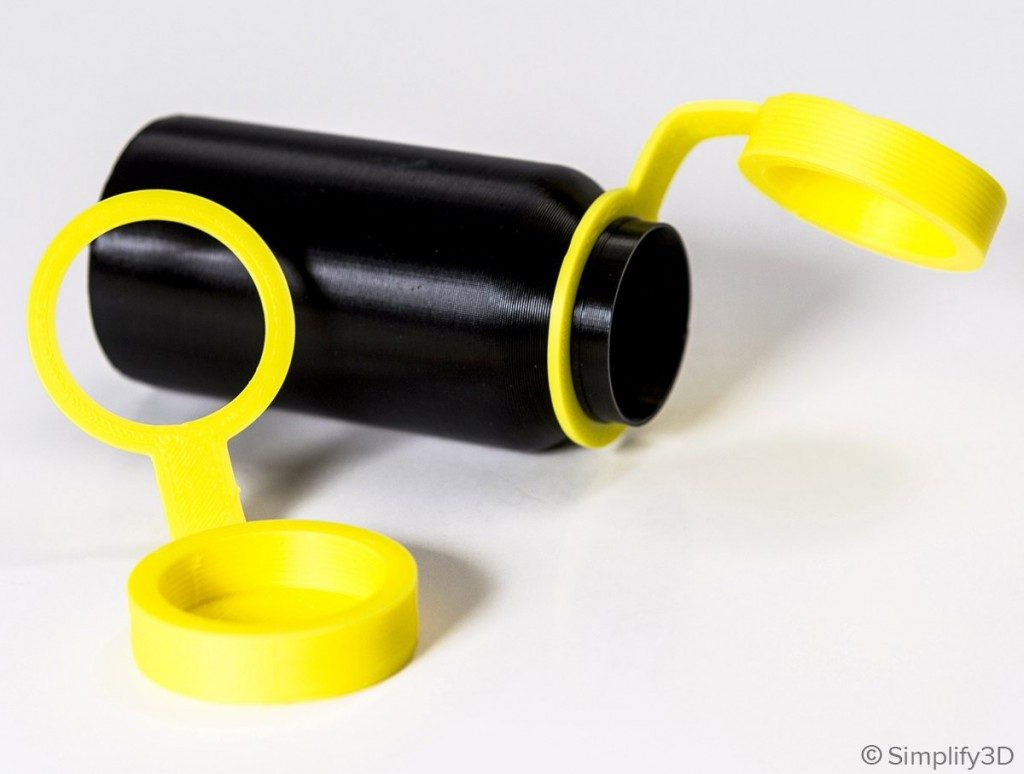
- If you are designing a flexible part that needs to fit on top of another object, try using a negative tolerance between the parts so that the flexible part will need to stretch to fit over the other object snugly.
Get Started with Flexible Filaments
Now that you’re ready to start printing with flexible materials, we have a few tips to help you get started. View some typical applications below, try out a few of our sample projects, or choose a popular filament brand to purchase for your next project.
Common Applications
- Vibration dampening
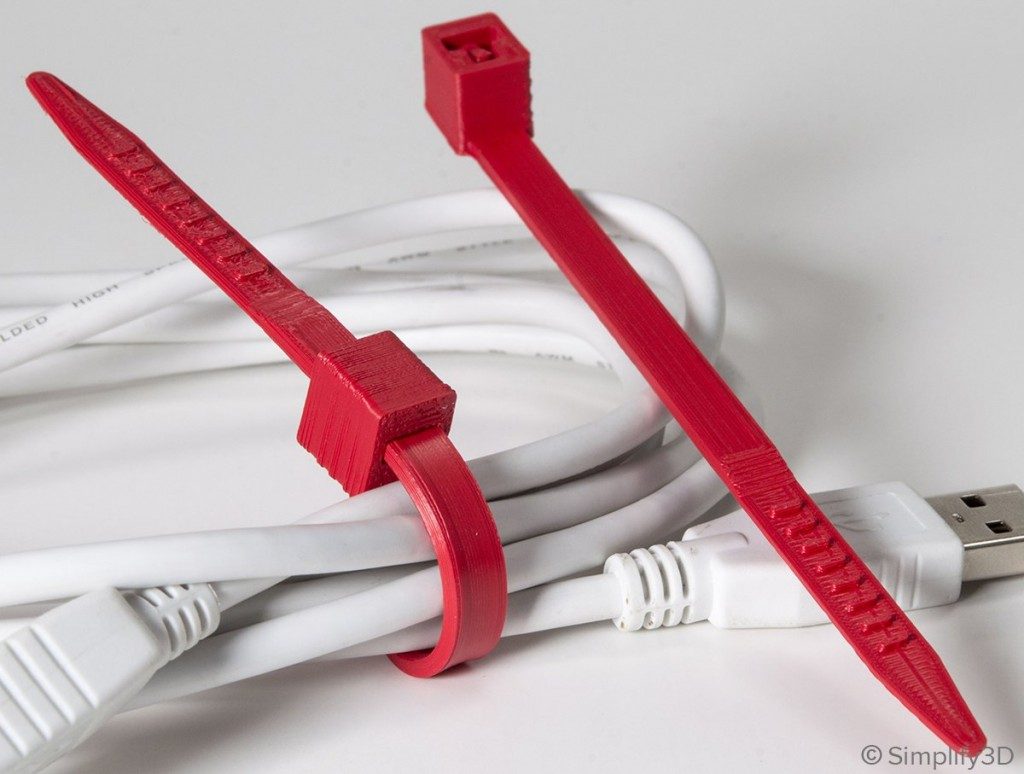
- Grip Sleeves
- Phone cases
Sample Projects
Popular Brands
- NinjaTek Ninjaflex, Armadillo, Cheetah
- Polymaker PolyFlex
- eSun TPE
- Sainsmart Flexible TPU
Related Materials
PETG
PET and PETG filaments are known for their ease of printability, smooth surface finish, and water resistance.
Nylon
Nylon is a tough and semi-flexible material that offers high impact and abrasion resistance. It is an ideal choice for printing durable parts.
Polycarbonate
Polycarbonate is known for its strength and durability. It has very high heat and impact resistance making it an ideal choice for tough environments.
Polypropylene
Polypropylene is great for high-cycle, low strength applications due to its fatigue resistance, semi-flexible, and lightweight characteristics.
Want to see how these flexible materials compare to other plastics?
Click below to view our extensive Properties Table with a complete side-by-side comparison.