
Polycarbonate
Polycarbonate is known for its strength and durability. It has very high heat and impact resistance making it an ideal choice for tough environments.
Overview
Polycarbonate (PC) is a high strength material intended for tough environments and engineering applications. It has extremely high heat deflection, and impact resistance. Polycarbonate also has a high glass transition temperature of 150° Celsius. This means it will maintain its structural integrity up to that temperature, making it suitable for use in high-temperature applications. It can also be bent without breaking and is often used in applications where some minor flexibility is required. Most available Polycarbonate filaments contain additives that allow the filament to be printed at lower temperatures, so make sure to consult the guidelines for your specific brand of plastic.
Polycarbonate is extremely hygroscopic, meaning it will absorb moisture from the air, which will affect its printing performance and strength. It should be stored in air-tight, moisture-free containers after opening. It also requires very high temperatures for printing and will exhibit layer separation if printed at too low of a temperature or with excessive cooling enabled. Polycarbonate is frequently best printed on a machine that has an enclosed build volume and is capable of handling high bed and extruder temperatures.
Pros
- Impact resistant
- High heat resistance
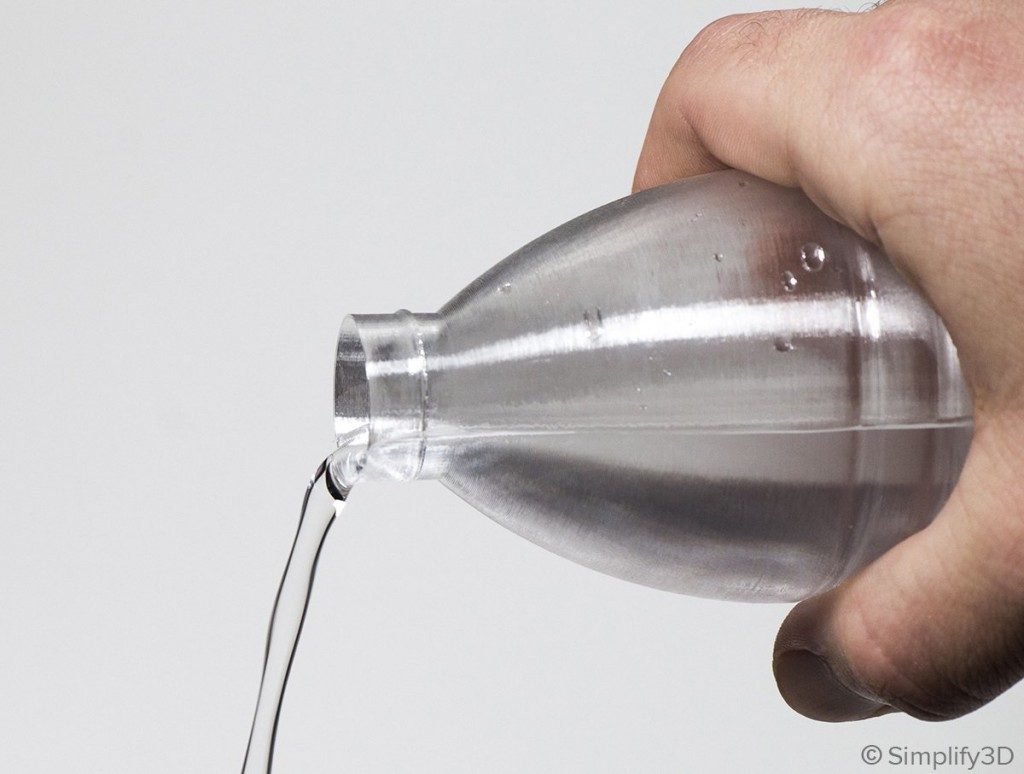
- Naturally transparent
- Bendable without breaking
Cons
- Requires very high print temperatures
- Prone to warping
- High tendency to ooze while printing
- Absorbs moisture from the air which can cause print defects
Hardware Requirements
Before 3D printing with Polycarbonate make sure your 3D printer meets the hardware requirements listed below to ensure the best print quality.
Bed
Build Surface
Extruder
Cooling
Best Practices
These tips will help you reduce the chances of common 3D printing issues associated with Polycarbonate such as warping, stringing, and oozing.
Use a Proper Build Surface
PEI is the best build surface for Polycarbonate. Standard build surfaces like blue tape and glue stick have adhesives that break down at the high temperatures required to print Polycarbonate. Build-tak can also be used but tends to permanently adhere to Polycarbonate at temperatures higher than 80°C, and can sometimes warp aggressively enough at this temperature to pull the Build-tak off the plate. PEI sheets consistently hold on to Polycarbonate at 110°C, without permanently adhering to the part. Once the bed cools down, the part usually self-releases, or can be easily removed with a spatula.
Adjust Settings to Prevent Stringing and Oozing
Due to the extreme printing temperatures and low cooling fan speeds required to print Polycarbonate, there is a high possibility of stringing and oozing with this material. To prevent this, try increasing the retraction distance and retraction speed. Simplify3D also includes a useful option called Coasting, which will automatically reduce the pressure in the nozzle right before the end of a segment to avoid oozing when moving to the next segment. This option can be enabled on the Extruders tab of your process settings. If your 3D printer can handle it, you can also try increasing the XY travel speed on the Speeds tab of your Simplify3D process settings. This allows the printer to make faster movements, which means less time for oozing. For other tips on how to prevent stringing and oozing, please refer to our Print Quality Guide which has an entire section dedicated to this issue.
Customize First Layer Settings
Due to the high warping tendency of Polycarbonate, the first layer is extremely important when printing with this material. From our research, the material seems to stick the best with slow thick extrusions on the first layer. We recommend using a first layer height of 100-150%, a first layer width of 12-150%, and a first layer speed of 15-30%. All of these settings can be entered on the Layer tab of your Simplify3D process settings. Additionally, setting the first layer to print about 30° hotter than the rest of the part can greatly improve first layer adhesion.
Smooth Top Layers
High print temperatures mean that extruded filament will tend to droop if it is unsupported. Solid Infill Layers should be printed slowly, at around 50% speed, so that they have the best chance of successfully bridging the spaces between infill lines. At least 4 top layers should be used, which will ensure that top layers are as smooth as possible. Infill percentage should generally be kept higher than 25% density to ensure support for these top layers. If a part needs less infill, in order to be lighter or use less material, extra top layers can be added to increase the likelihood of a solid top-most layer.
Calibrate your Bridging Settings
Similar to the point above, bridging segments can also be affected by the high printing temperatures of Polycarbonate. As the plastic is extruded in thin air between either side of the bridge, it will have a tendency to droop while it cools. Simplify3D added many new bridging features in Version 4.0, so these can be used to customize exactly how the bridges are printed for the best results. We found that using a bridging speed multiplier of 40%, a bridging extrusion multiplier of 120%, and setting the bridging fan speed to come on at 25% offered a good starting point for most materials. You want to make sure the bridging fan speed stays at a low value, otherwise it has a tendency to cause warping and separation due to the rapid temperature change.
Pro-Tips
- If parts are overheating, curling, or showing signs of drooping when printing sharp overhangs, consider setting the fan to 0% for the first layer (to ensure good bed adhesion), but then increase the fan speed to 40% or below after about 4 or 5 layers.
- If some moisture has been absorbed by the material, try lowering the printing temperature to 280°C or below, which can help prevent artifacts or bubbles in the print from the moisture content.
Get Started with Polycarbonate
Now that you know the basics, you are ready to tackle your first print with Polycarbonate. Below are a few suggestions to help you get started.
Common Applications
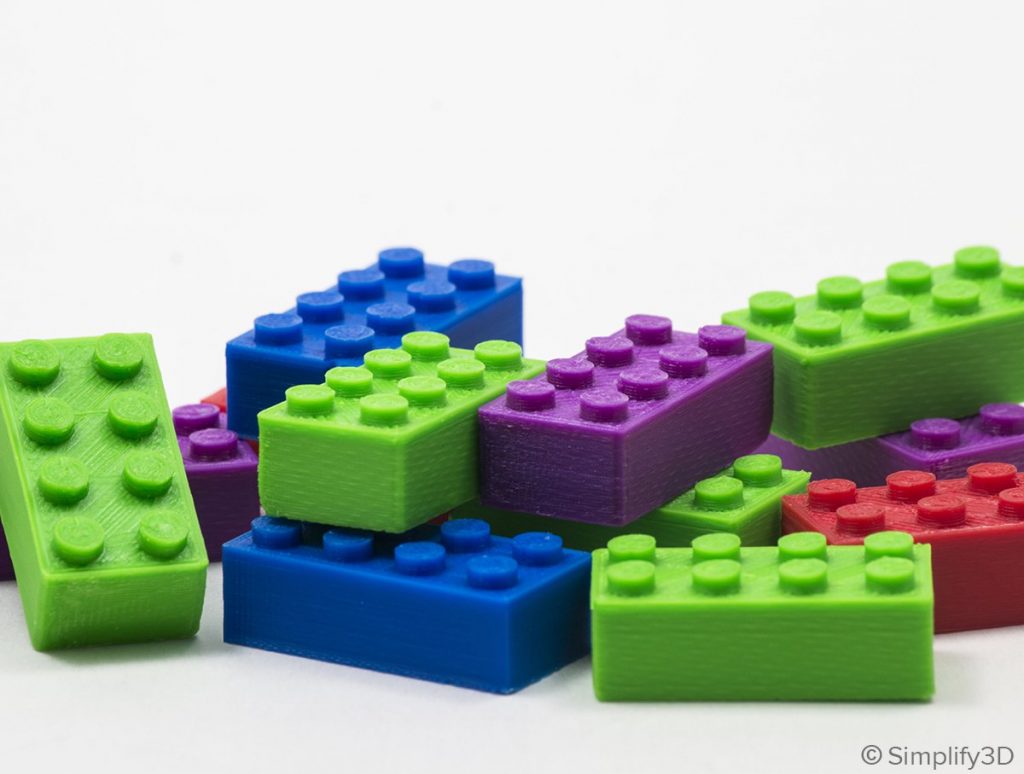
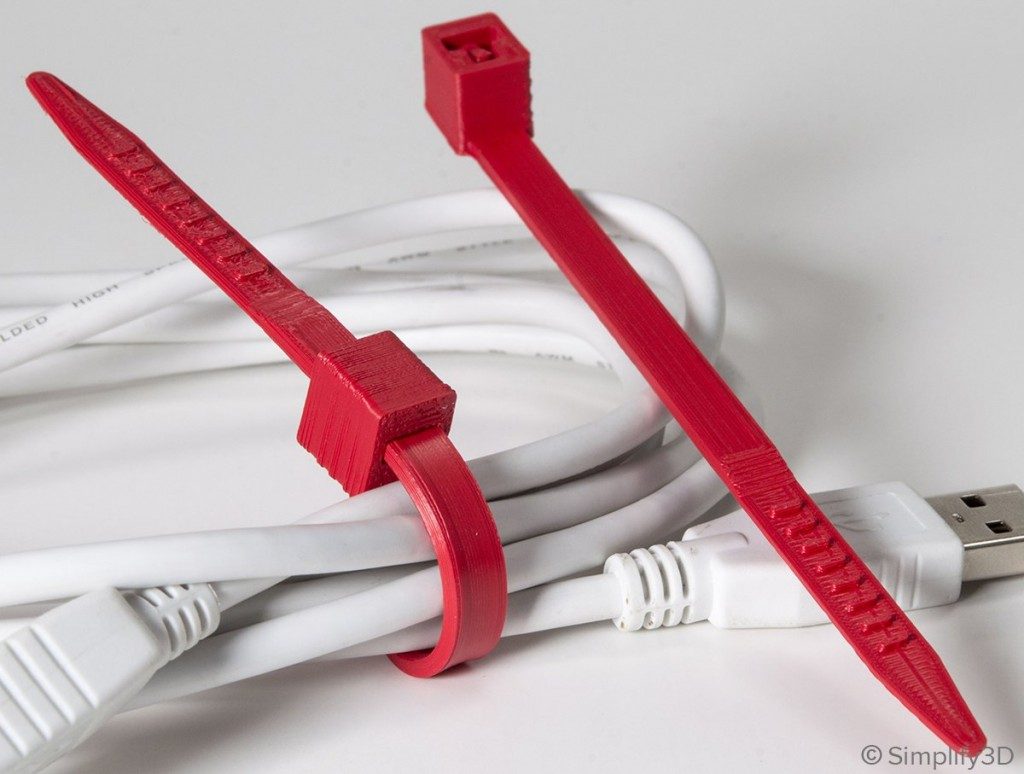
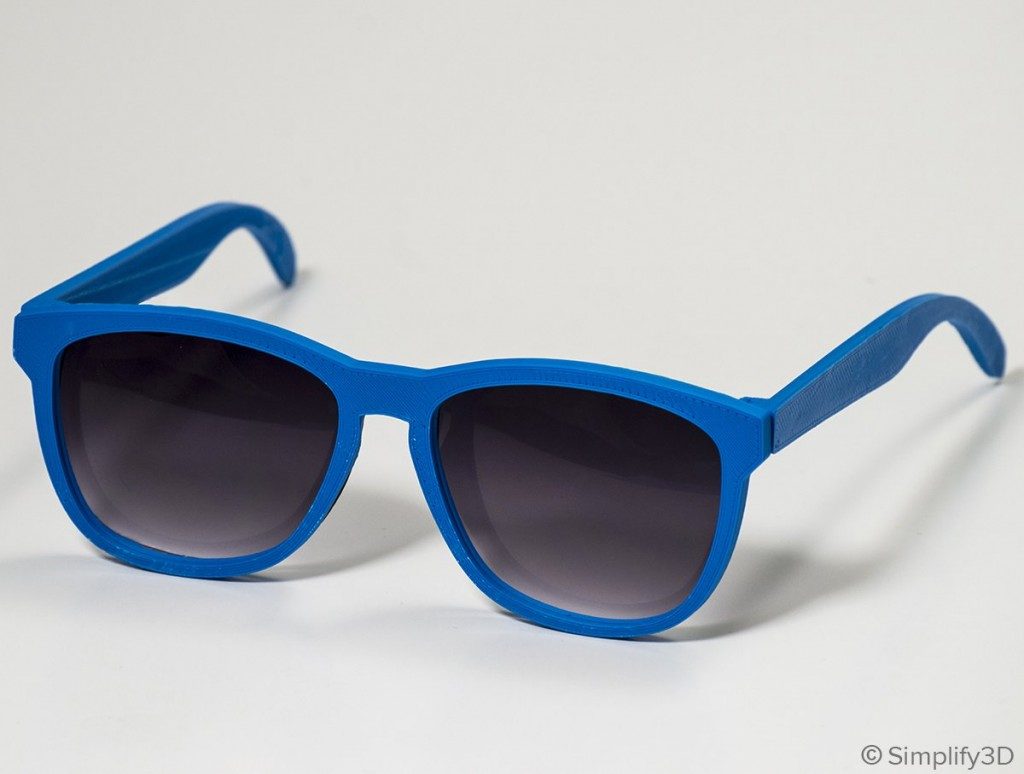
- High-strength parts
- Heat resistant prints
- Electronics cases
Sample Projects
Popular Brands
- Polymaker PC Plus, PC Max
- Matterhackers Flameproof PC
- eSun ePC
Related Materials
ABS
ABS is a low-cost material, great for printing tough and durable parts that can withstand high temperatures.
PETG
PET and PETG filaments are known for their ease of printability, smooth surface finish, and water resistance.
Nylon
Nylon is a tough and semi-flexible material that offers high impact and abrasion resistance. It is an ideal choice for printing durable parts.
ASA
ASA is a common alternative to ABS and is great for outdoor applications due to its high UV, temperature, and impact resistance.
Want to see how Polycarbonate stacks up against other materials?
Click below to view our extensive Properties Table with a complete side-by-side comparison.