Using the Interface
Take a quick tour of the Simplify3D interface. You'll learn how to manipulate models, undo, copy and paste.Quick Links
Video Transcript
Today, I’m going to give you a brief tour of the Simplify3D interface. Here, in the middle is our virtual build plate, is a 3D rendering of your printer’s bed. On the top left is the model list. Click Import to add a new STL or OBJ file, or drag and drop the file. As an example, I’ve imported these chess pieces.
On the bottom left is the process list. A process determines how the parts on your virtual build plate will be constructed.
On the right, you’ll see a toolbar with many icons. For today, I’m going to focus on the top four, which control model manipulation. The first is just a normal pointer for clicking and selecting models. Next is model translation, which lets you move models on the X or Y axis. Next is scaling, which lets you change the size of your model. Last is rotation, which lets you rotate your model about the Z axis. These come in handy for quickly scaling and arranging your parts on the build plate.
These four tools also have keyboard shortcuts to make life a little easier: Q for normal selection, W for translate models, E for scale models, and R for rotate models. In fact, almost all of the frequently used tools in Simplify3D have a keyboard shortcut.
And there’s actually a really nice one that I haven’t mentioned yet: the ability to Undo. For example, if I want to undo all the changes I just made to this bishop model, I just go to Edit then Undo, or use the shortcut CTRL+Z.
Note: if you’re on a Mac, you’ll use the Command key instead of the Control key. So in this case, you’d use Command+Z to undo.
So another option I use all the time is copy and paste, which can be used for models and processes. This can really come in handy when you’ve configured your model exactly how you want it, and want to print more of them in the same print job. Let’s say we are printing half of a chess set in one color. So we’ll need two bishops. It’s as easy as copying and pasting the model. You can, of course, also use the common shortcuts CTRL+C and CTRL+V.
Now I’m also going need 8 pawns for chess set, and I don’t want to copy/paste 7 more times. Thankfully, there’s an easier way. I just go to the Edit menu and click Duplicate. We’ll need 7 more pawns for a total of 8. You can also use CTRL+D to bring up that menu.
Now my pawns are off the plate. So I can click Center and Arrange, which will automatically arrange them on the build plate. But maybe I liked the other arrangement better, so I’ll just CTRL+Z to Undo, then CTRL+A to select all the models, then click W to translate and move them how I want.
So now you have seen some of the basics of the Simplify3D interface. Be sure to watch our other videos for more tips and tricks!
Related Videos
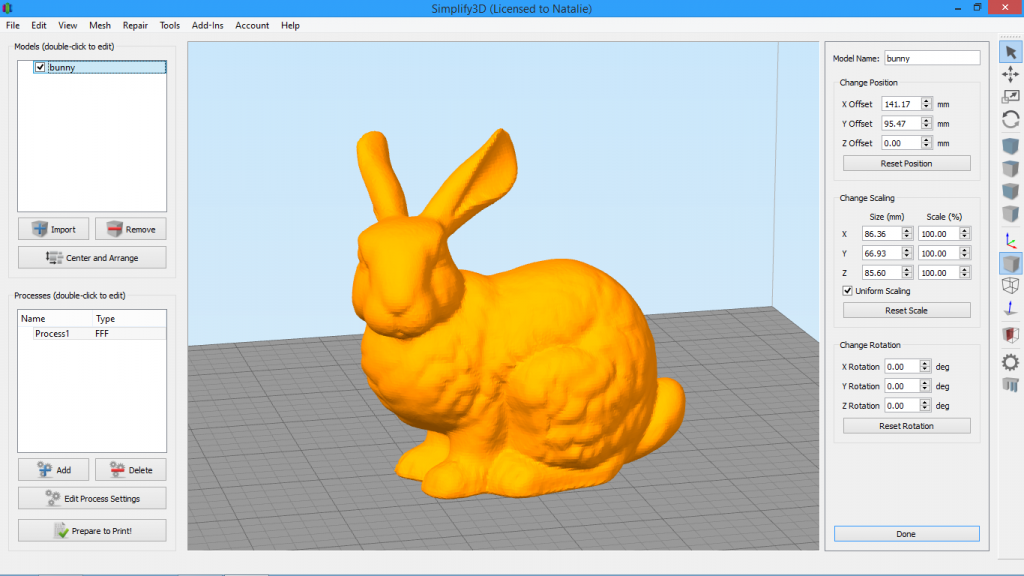
Using the Model Settings Panel
The Model Settings Panel in Simplify3D allows you to make precise numeric adjustments to your model’s scale, rotation, and position. Learn how to use this feature.
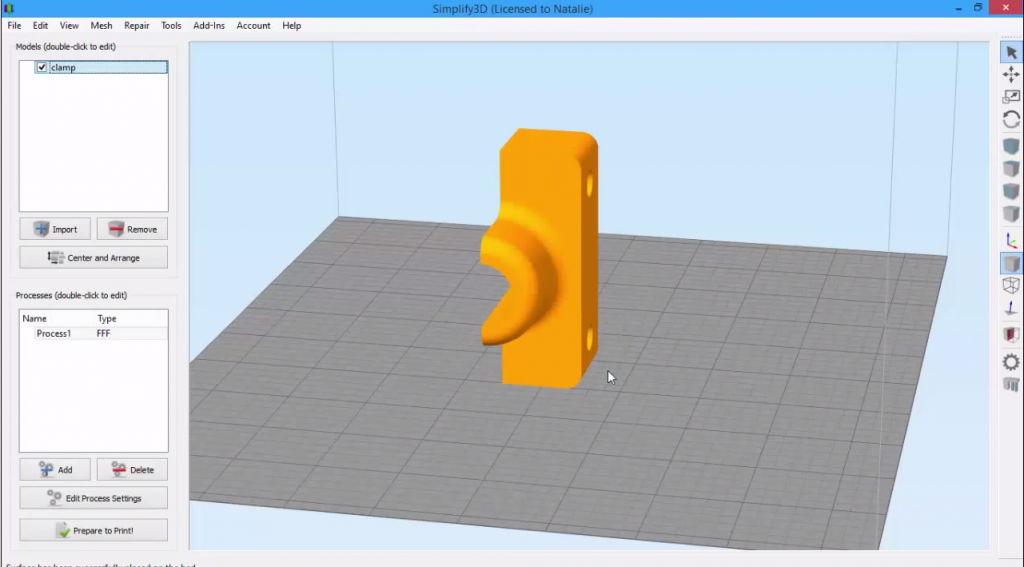
Place Surface on Bed
The Place Surface on Bed feature in Simplify3D is a quick and easy way to re-orient your 3D model for optimal printing. See how it works in this brief video.
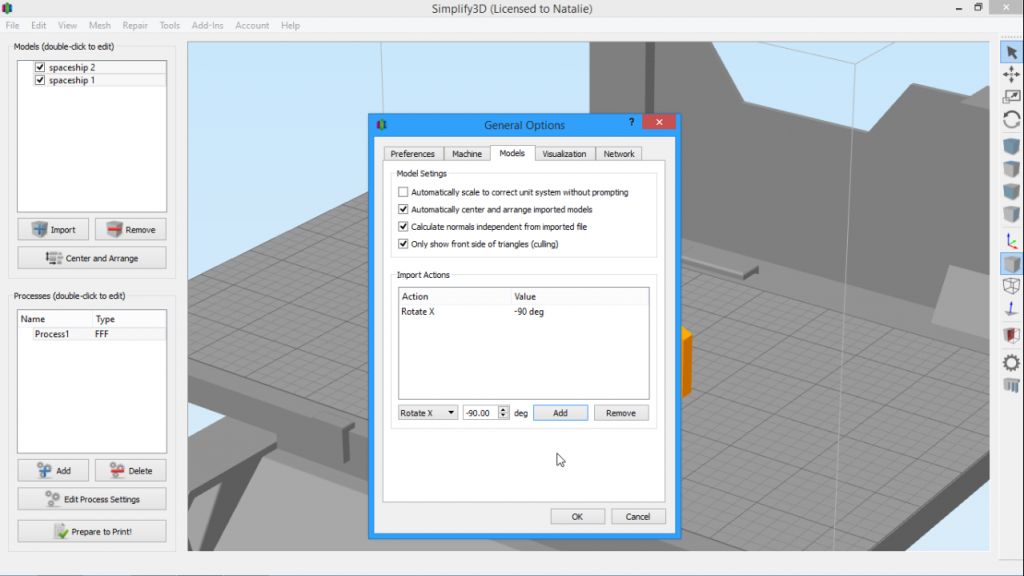
Model Import Actions
Do you find yourself making the same changes to models each and every time you import them? Set up an Import Action to automate the process.
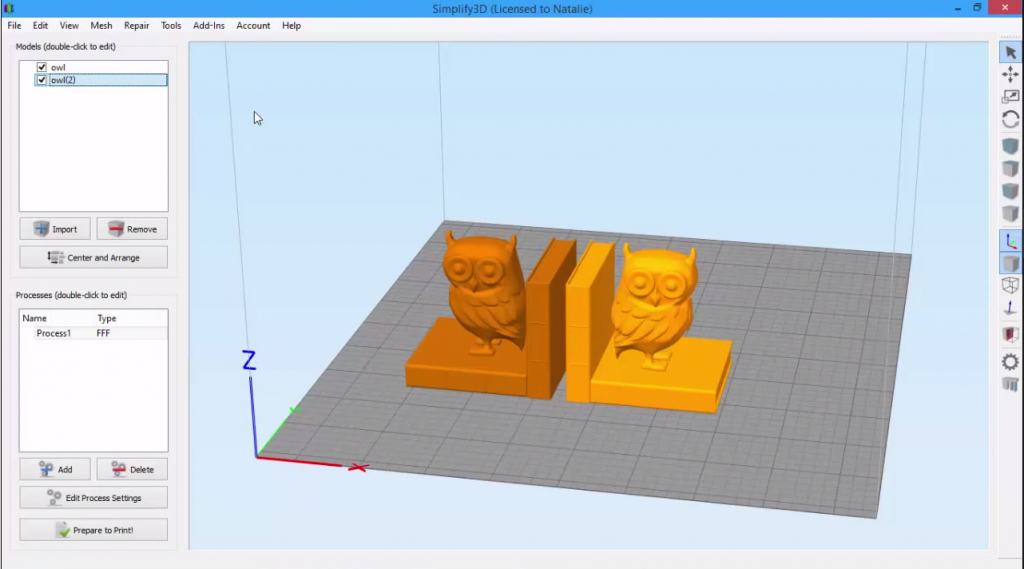
Mirror Mesh
The Mirror Mesh feature in Simplify3D makes it easy to change which direction your model is facing. You can mirror across the X, Y, or Z axis. For example, this comes in handy when you need right-handed and left-handed versions of your model.