Using the Model Settings Panel
The Model Settings Panel in Simplify3D allows you to make precise numeric adjustments to your model's scale, rotation, and position. Learn how to use this feature.Quick Links
Video Transcript
Today, we’re looking at Simplify3D’s Model Settings Panel, which lets you edit multiple aspects of your 3D model, such as position, scaling and rotation. While the top four icons on toolbar on the right are great for making quick changes to your model, the Model Settings Panel is better for precise numeric adjustments.
To open the Panel, double click the model on the bed or its name in the Model List. Here is where you can edit the X, Y or Z offsets. For example, you can see that this model is not completely flat on the bottom, which means the first layer may not stick as well. We’d be better off creating a flat surface. An easy way to do that is to drop the model just slightly below the bed, so the very bottom won’t be printed. Just press the down arrow on the Z offset. We could also enter a precise value here if needed. You’ll notice that, as you make changes, you can immediately see them reflected on your model. This makes it easier to know exactly what you’re getting.
Next is scaling: not only can you scale using percentages, you can also scale to an exact size in millimeters. For example, let’s say we need this bunny to be exactly 75 millimeters tall. We can simply edit the Z axis to 75, hit Enter or anywhere else on the screen and the model will scale accordingly. If we wanted to stretch our model along just one axis, we can uncheck Uniform Scaling and increase one value. We’d end up with a really tall bunny!
At any point, we can use the Undo function (CTRL+Z, or CMD+Z on a Mac), which will undo our changes, or press Reset to revert the model back to its original scale.
Lastly, you can rotate to an exact orientation. If, for some reason, we needed the bunny to be looking the left, which we had figured out would require a rotation of 65 degrees, we could easily edit that here by changing the Z rotation.
All our changes are auto-saved, so just we press Done when finished. And that’s how to use the Model Settings Panel in Simplify3D!
Related Videos
Using the Interface
Take a quick tour of the Simplify3D interface. You’ll learn how to manipulate models, undo, copy and paste.
Place Surface on Bed
The Place Surface on Bed feature in Simplify3D is a quick and easy way to re-orient your 3D model for optimal printing. See how it works in this brief video.
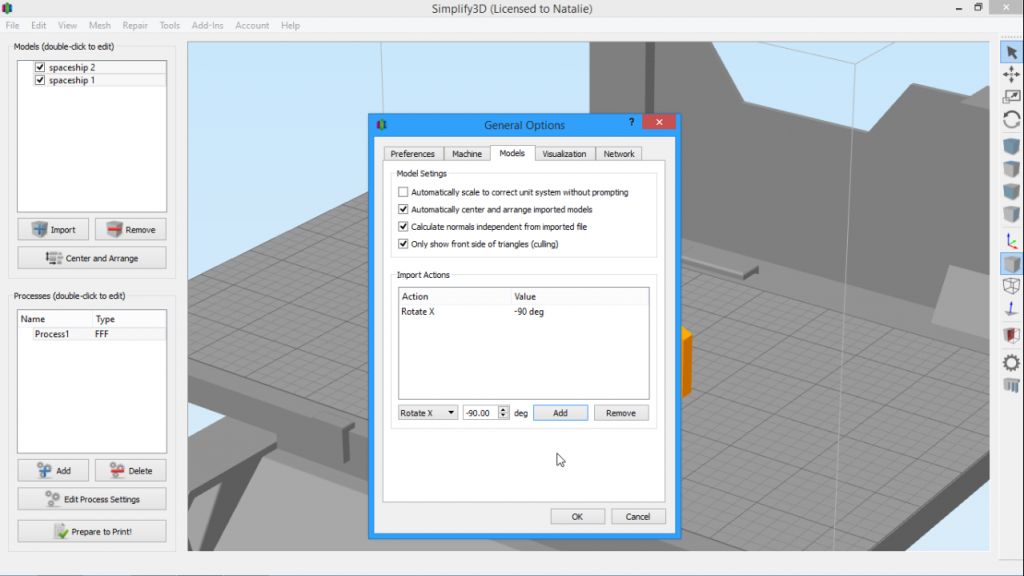
Model Import Actions
Do you find yourself making the same changes to models each and every time you import them? Set up an Import Action to automate the process.
Mirror Mesh
The Mirror Mesh feature in Simplify3D makes it easy to change which direction your model is facing. You can mirror across the X, Y, or Z axis. For example, this comes in handy when you need right-handed and left-handed versions of your model.