The 3D Transform Gizmo
Learn how to use the 3D Transform Gizmo for more advanced model manipulation.Quick Links
Video Transcript
Today, we’re looking at the 3D Transform Gizmo in Simplify3D. This is a feature we’ve included for those of you who are accustomed to using 3D modeling software that may provide similar 3D transformation tools. Typically, you won’t need to use this feature for simple model manipulation, but you may want to use it for more complicated maneuvers, such as moving a model so that it’s not touching the platform, or doing some kind of complex 3D rotation.
A common real world application would be when you have two different files and you want to merge them together to create a new hybrid shape. For example, if I wanted to merge a 3D model of my face onto the head of a famous statue, this would be the way to do that.
For today’s example, we’re going to add an accessory to our Yoda model. But first, I need to make sure the Gizmo is enabled. Go to Tools, then Options. For Mac users, click on the name Simplify3D in the menu bar, then select Preferences. Then you’ll check the box next to “Always show full 3D transform gizmo.”
So to show you what this looks like, we’ll click the icon in the right toolbar to turn on scaling. You’ll see that there are now these three different colored handles that correspond to the three axes. Red is the X axis, Green is the Y axis and Blue is the Z axis. I remember it as RGB, XYZ.
Clicking on one of these handles will perform an action only in the corresponding axis. For example, if I want to scale Yoda non-uniformly in just the X direction, I click on the red handle and drag. I could do the same to stretch him along the Z axis as well. If I want to do uniform scaling, I just grab the model anywhere BUT the handles, and it scales just like we’re used to. The translate and rotate features work the same way.
So now we’ll use the gizmo feature to give Yoda a sweet pair of shades. First, I’ll import my sunglasses model. And now we are going to put these sunglasses on Yoda’s face. So first we’ll move to a front view and zoom in. It looks like these sunglasses are small for Yoda right now, so the first thing we are going to do is scale them. So I am just going to scale them uniformly by clicking anywhere on the model and dragging.
Now, I’ll need to translate them up and over so that they line up with his face. Now let’s take a look at the side view. Let’s zoom in. We can see that we’re going to need to move the glasses back a little bit, but now it looks like the earpiece is going inside of his head. So, we’ll turn on rotation and just tilt them up a little bit.
We can also help this by non-uniformly scaling the glasses. So we will stretch them in the X direction so they are a little bit wider for Yoda’s head. Now we will check back on the side. Looks like we also need to scale them a little so that the earpieces will go back behind his ears. So we just scale non-uniformly across the Y axis. So, now we will shift them back and see how they fit. Bring them up a little bit. Check how they are fitting on the ears.
We obviously used a sort of silly example today, but as I’m sure you can imagine, there are many practical applications for the gizmo. Personally, I tend to leave the gizmo off for most models because it is easy to accidentally grab a handle I didn’t mean to, and so I only use it when I have a more complicated situation. Thankfully, when I do need it, it’s only one checkbox away.
Related Videos
Using the Model Settings Panel
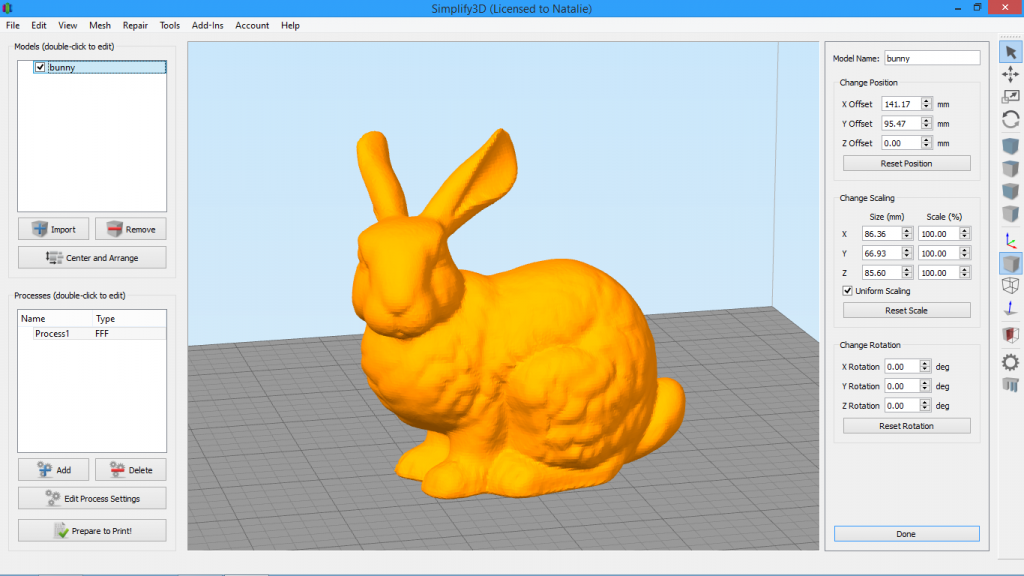
The Model Settings Panel in Simplify3D allows you to make precise numeric adjustments to your model’s scale, rotation, and position. Learn how to use this feature.
Using the Interface
Take a quick tour of the Simplify3D interface. You’ll learn how to manipulate models, undo, copy and paste.
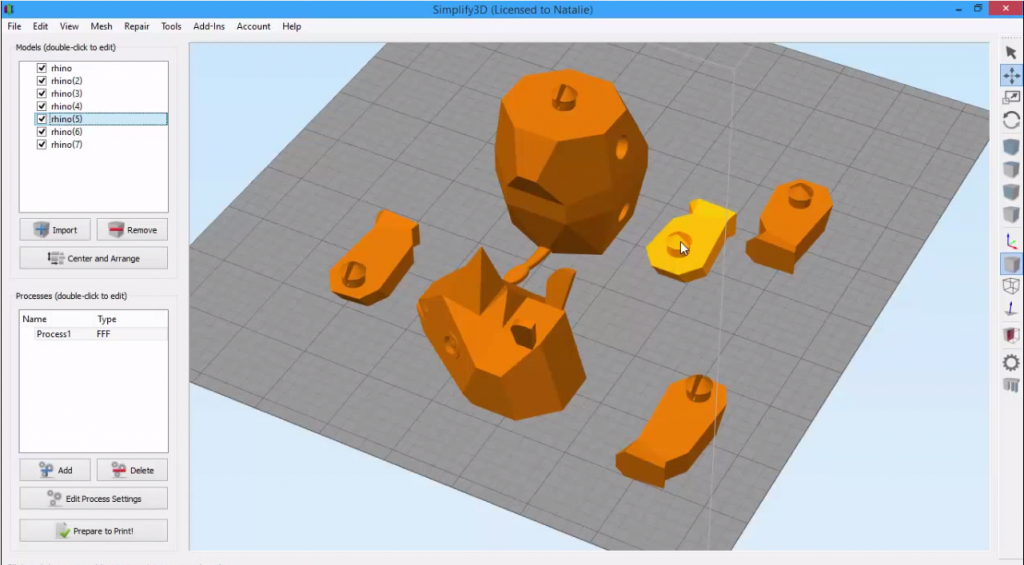
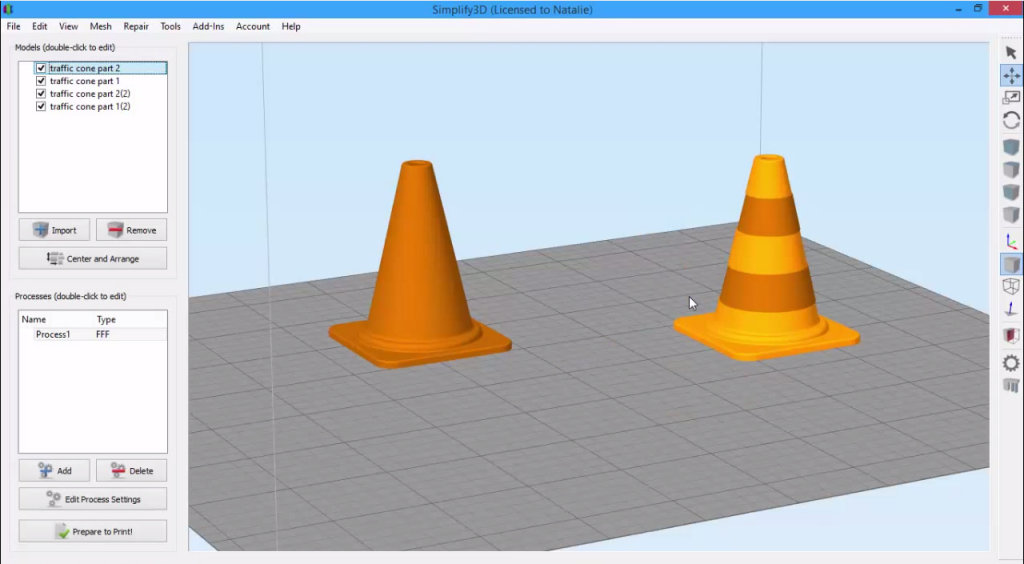
Splitting & Aligning Models
Sometimes you may need to split a model into individual pieces so you can work with each part independently. Other times, you might want to realign parts exactly as they were originally modeled. Simplify3D offers two features to help: Separate Connected Surfaces and Align Selected Model Origins.
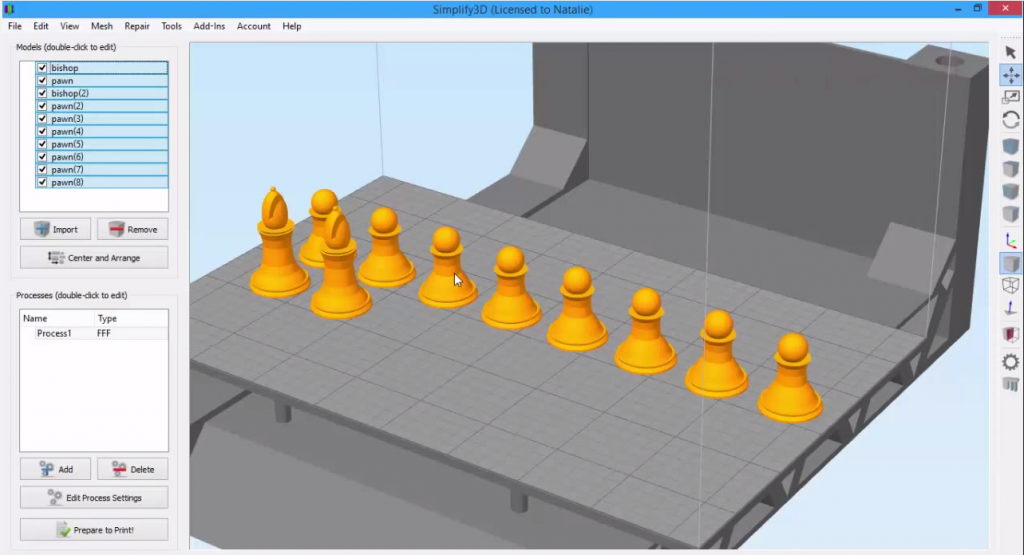
Selecting & Grouping Models
Learn how to make changes to multiple models at a time by grouping them together.