Splitting & Aligning Models
Sometimes you may need to split a model into individual pieces so you can work with each part independently. Other times, you might want to realign parts exactly as they were originally modeled. Simplify3D offers two features to help: Separate Connected Surfaces and Align Selected Model Origins.Quick Links
Video Transcript
Today, we’re looking at the Separate Connected Surfaces feature in Simplify3D, which can be found in the Mesh menu.
When you import an STL file, it just contains a bunch of triangles. If you toggle on the wireframe view from the right-hand toolbar, you can actually see each of the individual triangles that make up the model. You’ll notice the triangles all fit together to form a surface. If it’s a completely enclosed surface, the software sees that as a solid object.
Sometimes, a file has multiple solids that are all contained in the same file, like this rhino. This can make models more difficult to work with, but thankfully there’s a great feature in Simplify3D to help with that.
If we want to make changes to just the rhino’s legs, we can split the model into its individual parts. We just go to Mesh, then Separate Connected Surfaces. Now you can see the rhino has split into seven different parts. Doing this allows you to work with each part independently, and you can even apply different print settings to different pieces–but we’ll cover that in another video. And now the rhino that previously came in as one big STL file is broken up and will behave as if I imported seven different files.
So, let’s say we’ve moved our rhino pieces all around the build plate, but in fact, we’d like to go back to how the parts were arranged when they were originally modeled. Luckily, there is an easy way to do that. Just select all your models — here I’m using the keyboard shortcut CTRL+A to select all the models in the list– go to Edit and click Align Selected Model Origins. Now the parts are arranged in the same way they were modeled.
To show another example of when the Align Selected Model Origins feature can be useful, I’m going to get rid of our rhino and import a Hilbert cube. The designer created these parts with 3d printing in mind, so they are already broken up into two STL files. However, we want them to be aligned with each other when we print them! So, we select both models, go to Edit and choose Align Selected Model Origins. Now they are aligned so they will print properly.
So, if you ever import a file that contains multiple pieces, use the Separate Connected Surfaces feature to split them up so you can work with each part independently. And to realign parts that belong together, use Align Selected Model Origins.
Related Videos
Using the Model Settings Panel
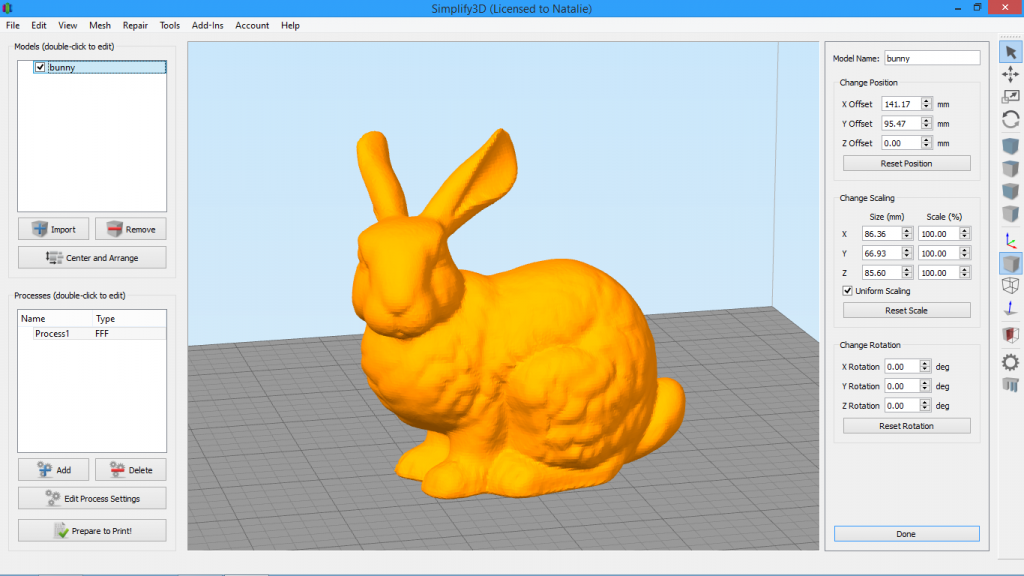
The Model Settings Panel in Simplify3D allows you to make precise numeric adjustments to your model’s scale, rotation, and position. Learn how to use this feature.
Using the Interface
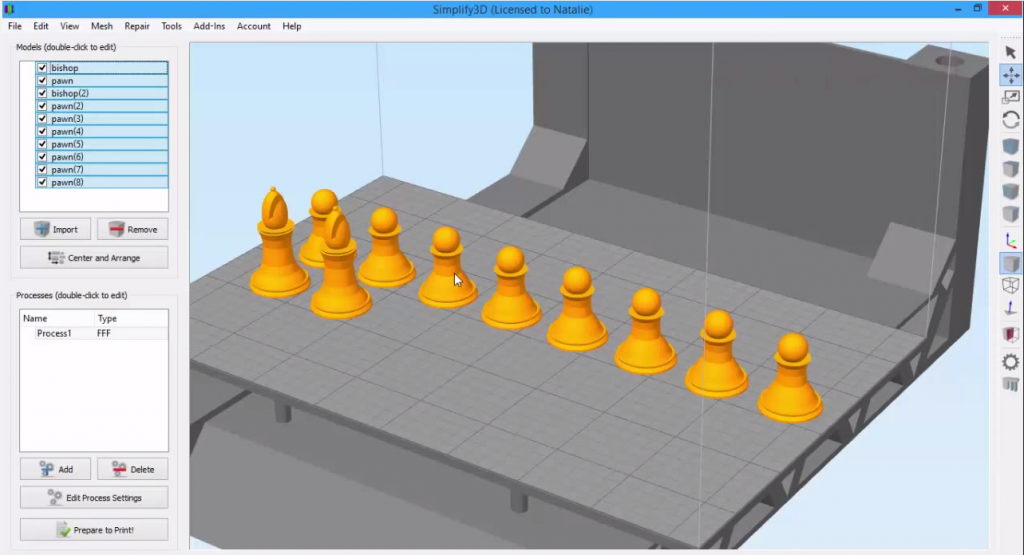
Take a quick tour of the Simplify3D interface. You’ll learn how to manipulate models, undo, copy and paste.
The Dual Extrusion Wizard
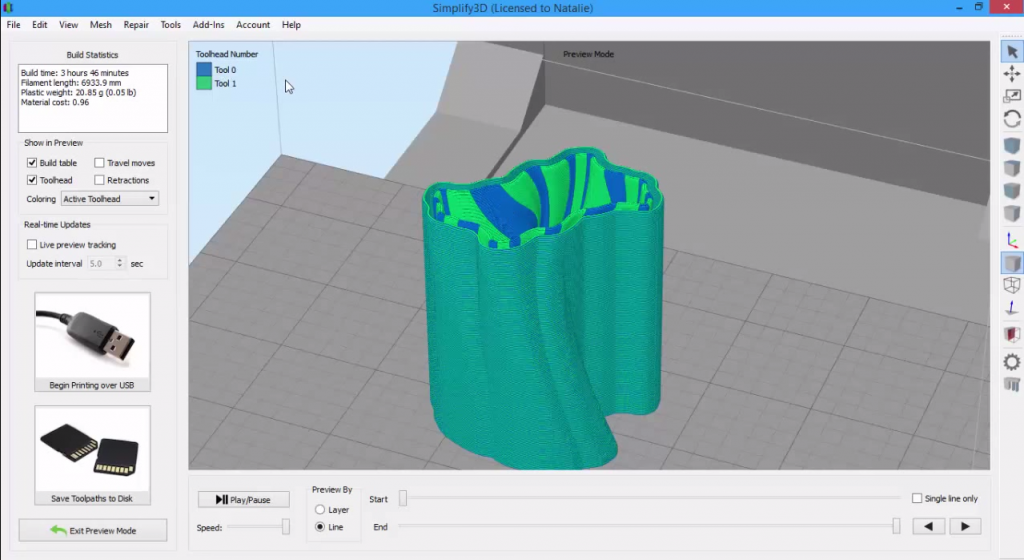
Learn how to create crisp two-color prints quickly and easily with the Dual Extrusion Wizard.
The 3D Transform Gizmo
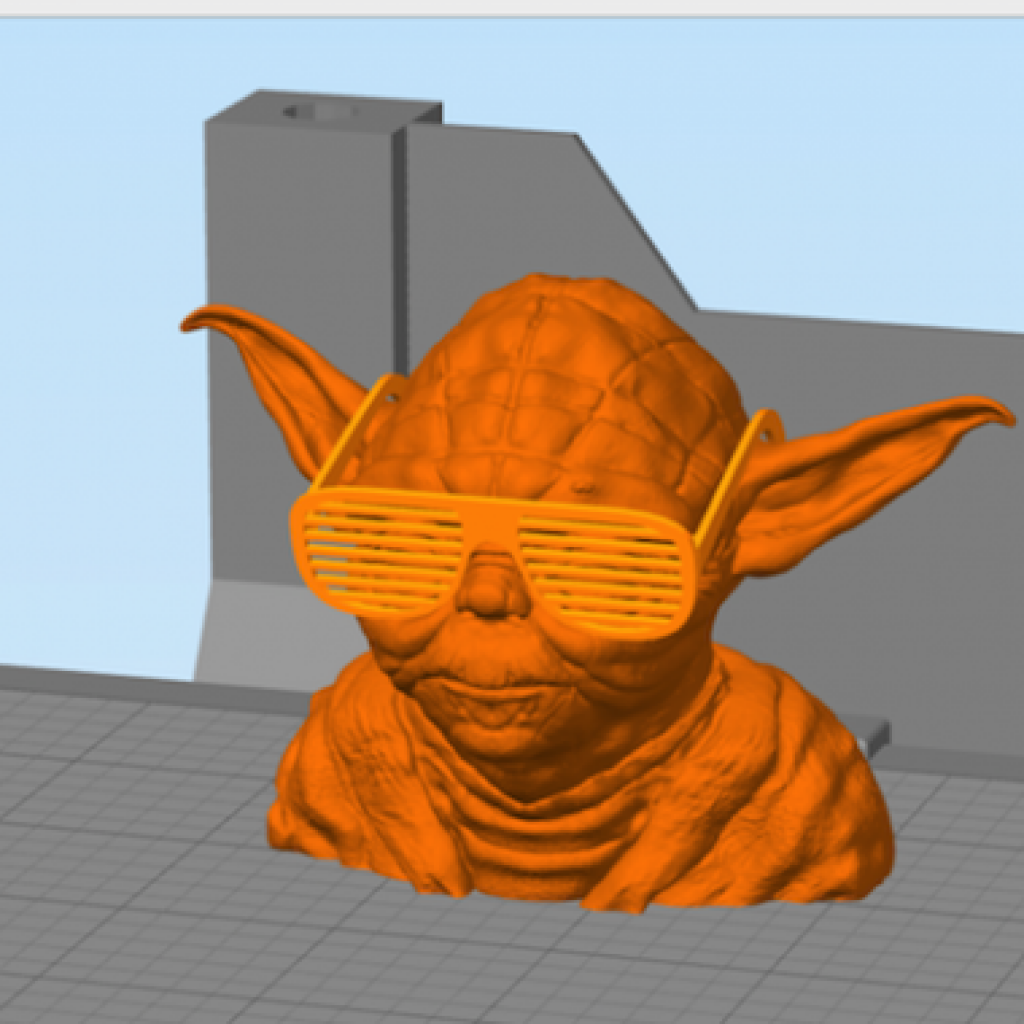
Learn how to use the 3D Transform Gizmo for more advanced model manipulation.