Managing Printer Profiles
Printer profiles in Simplify3D provide pre-configured settings for your 3D printer. This video shows you how to add new profiles, save changes to profiles, and import/export saved profiles.Quick Links
Video Transcript
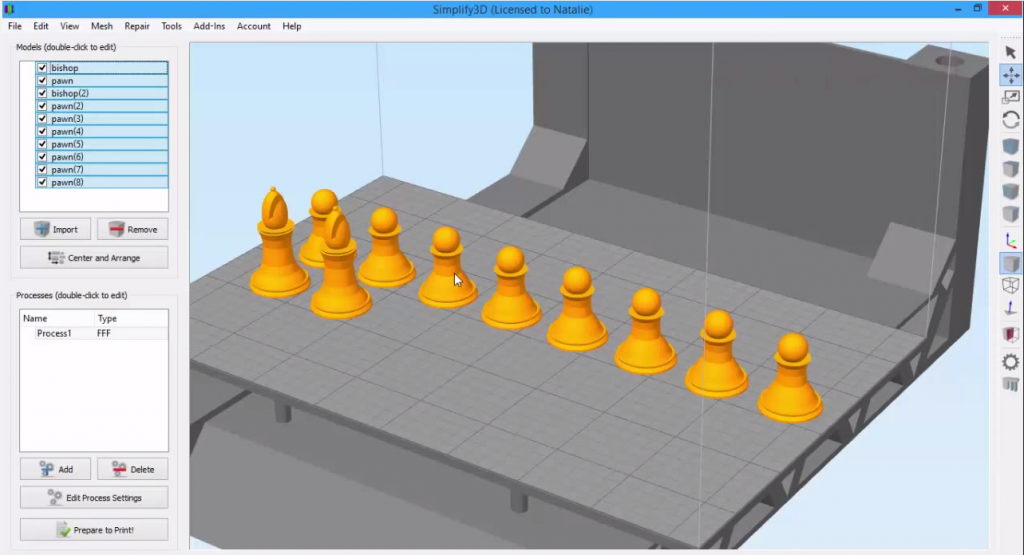
Today, we’re going to look at how printer profiles are managed in Simplify3D. Simplify3D puts all of the settings you’re going to use for a print into something called a process, which is here in the lower left.
I can either double click or click edit process settings to open it up. In this case, it’s an FFF process where FFF stands for Fused Filament Fabrication. That’s just a fancy name for the type of 3D printing that all of these extrusion based printers use. This contains all of the settings needed to print a 3D part.
Instead of making you configure all these settings by yourself, you can use the Configuration Assistant, where we do all the hard work for you. The Configuration Assistant can be found under the Help menu, and as long as you have created an online Simplify3D account, will pull the latest printer profiles from the cloud. If you are migrating from version 2.2 (or earlier), we recommend trying the Configuration Assistant first, rather than importing old profiles, as we have recently made many changes. This will ensure compatibility with the latest features.
Open the Configuration Assistant. Select your printer from the list (or select the option for “Other” if you do not see your printer listed). For this example, I’ll select the Leapfrog Creator Single.
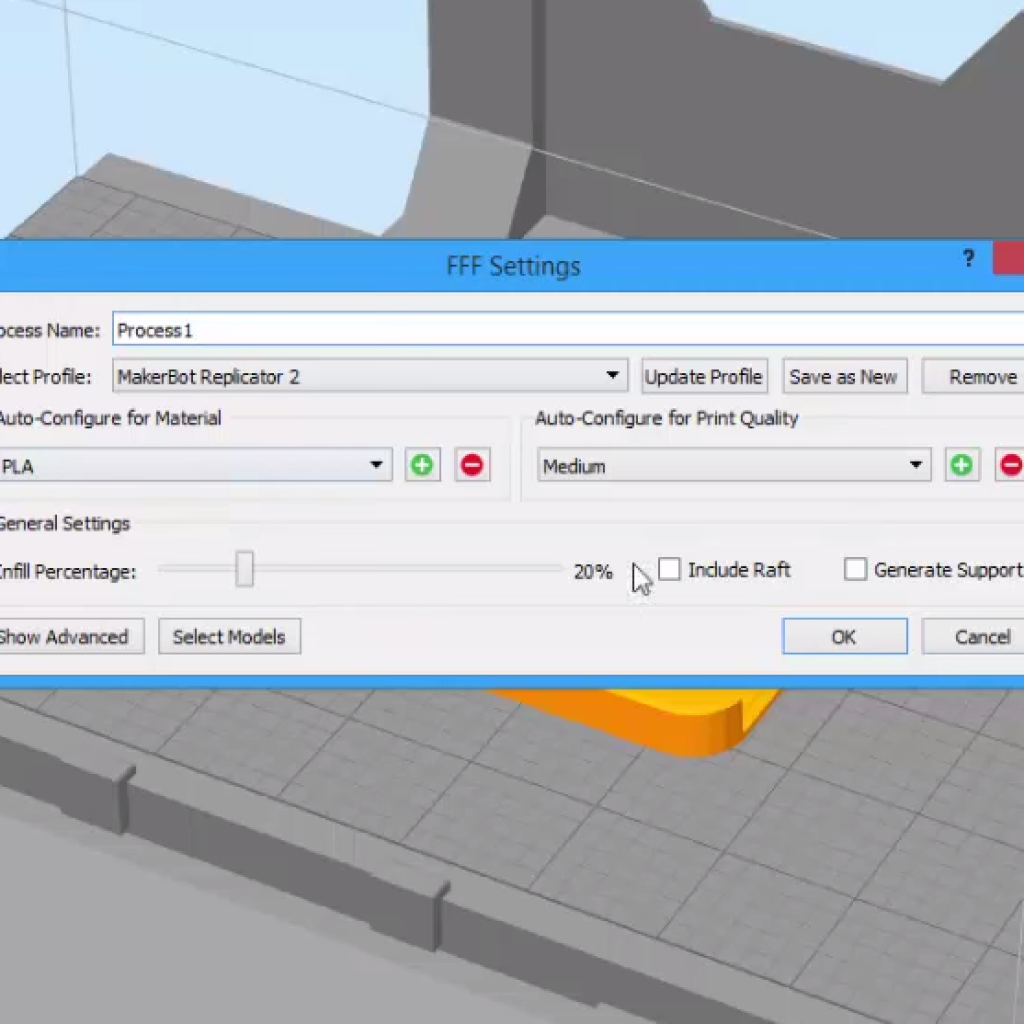
Go to Edit Process Settings to open the FFF Settings Window. The printer profile you selected now appears in the dropdown menu. The settings that are loaded here are the recommended settings from our team at Simplify3D. So right out of the box, you have a really good starting point. These profiles handle many settings behind the scenes but also allow you to easily change several high level options like material, desired quality level, infill percentage, and if your model needs support material.
For example, I’m going to change the infill percentage from 20% to 40%. You’ll notice that the word “Modified” appears after the profile name, which reflects that I have just changed something. At this point, I could click OK, and proceed to print my model with 40% infill.
Let’s say that I did do that, and the print went really well. Now I want to keep those settings for future use. So there are a couple easy ways to do that within the FFF Settings, if I select Update Profile, the software will overwrite the original Leapfrog profile with my changes. But, if I wanted to keep the original profile intact, I could also click Save as New and create a new profile. I’ll name it “Leapfrog 40% infill.” This way, you can save the settings that work really well.
As you experiment with which settings result in the best prints, you’ll probably build up quite the list of modified profiles and need to clean out this list from time to time. That’s where the Remove function comes in handy. I just select any profiles I’m not using anymore, and remove them from my list.
There’s another thing I want to show you today regarding profiles. The software saves your profiles for you, but if you need to export the file, for example to share with a friend, you can go to the File menu, and click “Export FFF profile.” As you can see, you can also import FFF profiles, should you want to.
One more thing: if you ever want to get back to the recommended settings from our team, just go to the Configuration Assistant and reload the profile. And that’s how printer profiles are managed in Simplify3D.
Related Videos
Using the Interface
Take a quick tour of the Simplify3D interface. You’ll learn how to manipulate models, undo, copy and paste.
Getting Started with Your Account
With Simplify3D Version 3.0, there is a new account system that allows you to manage your account settings and access software updates. This video will give you a quick tour!
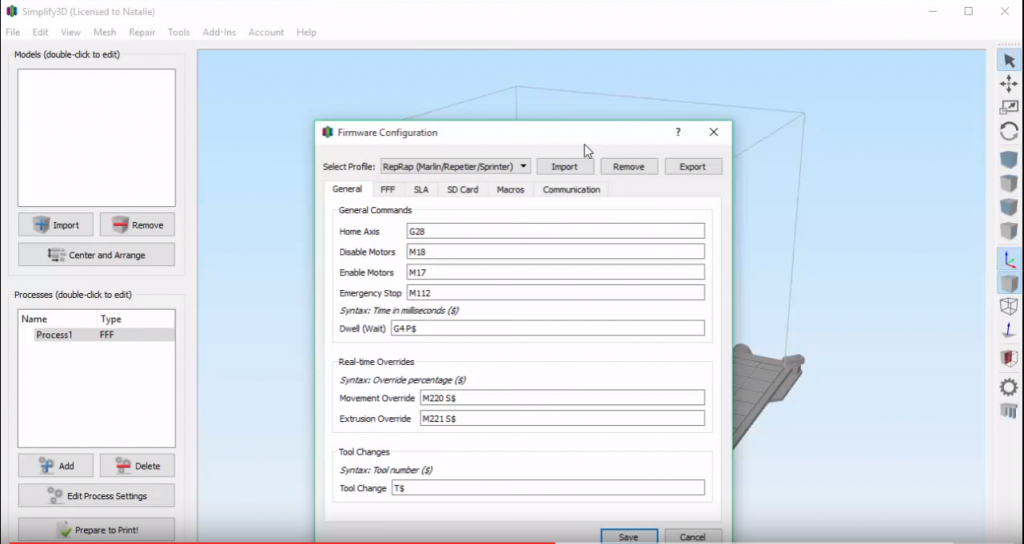
Firmware & Machine Settings
More advanced users of Simplify3D may want to edit machine or firmware settings, especially if they are building their own 3D printers. Learn how to change the machine settings and firmware configuration.
Adding Material and Quality Options
Edit your material and quality level settings in Simplify3D to gain even more control over your 3D prints.