Firmware & Machine Settings
More advanced users of Simplify3D may want to edit machine or firmware settings, especially if they are building their own 3D printers. Learn how to change the machine settings and firmware configuration.Quick Links
Video Transcript
For the software to correctly interface with your printer, it needs to know some details about the hardware you’re using; second, it needs to know how to communicate with your printer, which is typically determined by what type of firmware it’s running. So let me show you where both of these things can be set up in Simplify3D.
You can set up your machine settings by going to Tools, Options, Machine tab. If you’re on a Mac, you would go to Simplify3D then Preferences to get to this window. On this tab you can see there are settings like what type of printer, such as cartesian or delta, and some basic things like the build volume, orientation and coordinate system.
Now let’s go look at our firmware settings. Go to Tools, Firmware Configuration. This window defines the language that your 3D printer uses to communicate. The most common firmwares are already included.
What we really want to talk about today is how Simplify3D automatically manages these settings for you. Let’s do an example. There are two printers I am planning to use today, the Flashforge Creator Pro and the Lulzbot Taz 5. So you can see I have those two printer profiles loaded. In previous videos we’ve talked about how the profiles that you choose automatically adjust the process settings to what’s optimized for that printer. But they also change a few other things. To see this, click on the G-code tab.
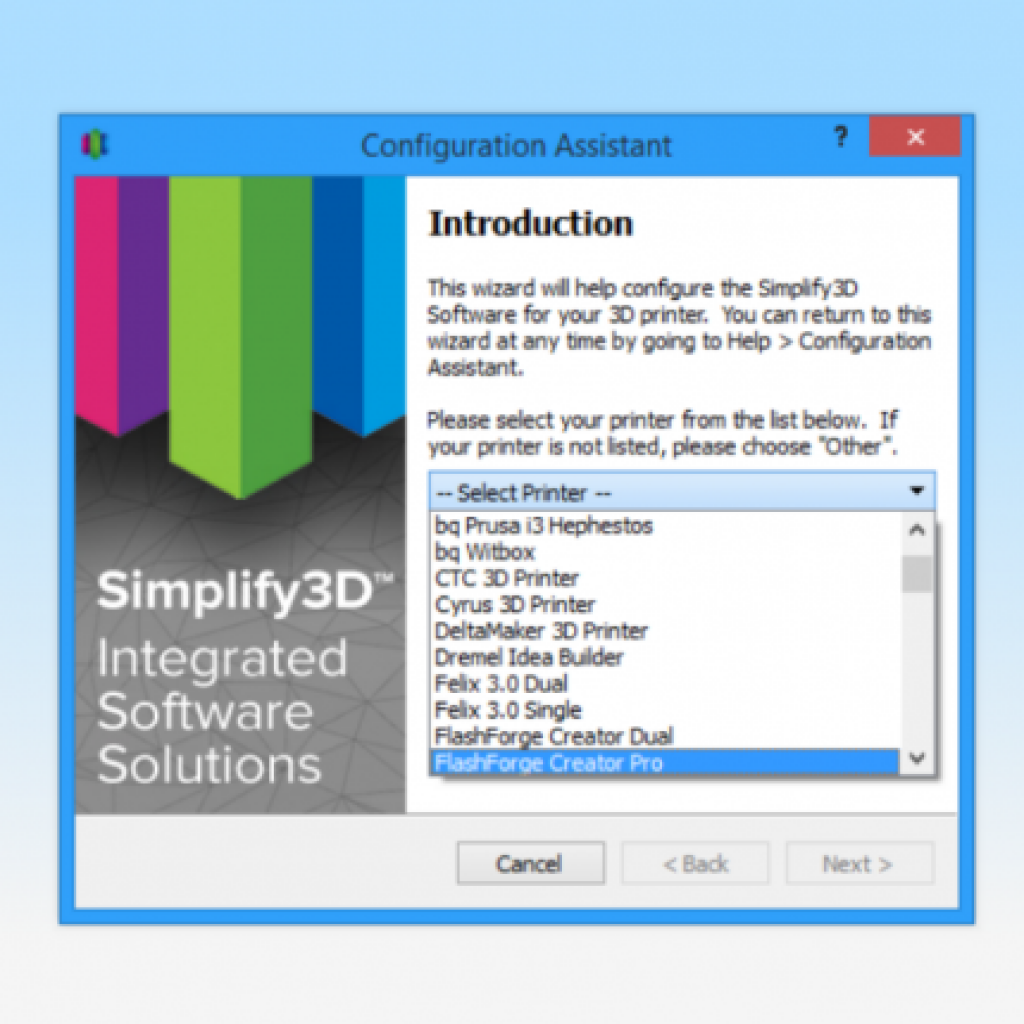
I want to point out two areas here on the right: the Machine Definition and Firmware Configuration. If these boxes are checked, your machine settings and your firmware configuration will be automatically updated based on the settings you have chosen. So what’s happening here is that we’ve connected our process settings, machine settings, and firmware settings so that they all change together. All of the profiles you use from Simplify3D already have this built in, making it much easier to switch between printers. You’ve probably noticed this if you’ve used the Configuration Assistant before.
I’ll click OK, and you can probably already see in the main window here that my machine settings have been updated, but let’s verify that. You’ll see that a lot these settings have changed. Now let’s check the firmware settings — we can tell that it’s now using the Makerbot/Sailfish firmware, and we can see we have the added X3G tab, which is what we would expect since these printers use X3G files.
But let’s say later in the day I want to print on the Lulzbot. So if I go to Edit Process Settings and choose the Lulzbot Taz 5, and look under the G-Code tab, you’ll see this profile also has the machine and firmware overrides enabled. I click OK, you see things are updated once again. In most cases, you won’t need to mess with any of these settings, because as I mentioned, the default profiles in Simplify3D have all this taken care of. But, some of you out there may be building a custom machine or using a printer that isn’t already in the Simplify3D database, so in that case, let’s talk about how to set this up.
I’ll go to Edit Process Settings. Let’s pretend I’m designing my own printer and I know it’s very similar to the Prusa Mendel, so I’ll select that profile and Save as New, which will create a new profile based on the Prusa Mendel settings. My printer is called the SuperPrinter 3000. Since I know I’m going to be using this printer along with the other printers, I want to make sure my machine and firmware settings will be synced properly.
I’ll go to the G-Code tab, I can see that both these options are already enabled. For any changes you ever need to make to the machine settings, you can change them right here; for instance, my SuperPrinter 3000 has a wider build platform, it’s 300×300, so I need to update these numbers. For the firmware configuration, if the changes you need to make can be done solely by using the settings in this window, then make them here. However, it’s important to note that the only options available here are the stock firmware profiles already included in Simplify3D.
So if you need to make more advanced customizations to your firmware settings, there is one other thing you need to do first. Click OK, go to Tools, Firmware Configuration, and let’s change a couple things. I’ll set up a couple of custom macros, and I’ll up my communication timeout to 40 seconds. Now, we have to be careful here: remember we have set up our SuperPrinter 3000 profile to use the stock Marlin firmware, so if I just click Save, that profile will eventually overwrite the changes I just made. So, if I want to ensure I don’t lose these changes, I click Export to save them as a new firmware profile. Now I just need to integrate these changes into my custom profile by re-opening the G-Code tab and selecting my new firmware.
Related Videos
Using the Model Settings Panel
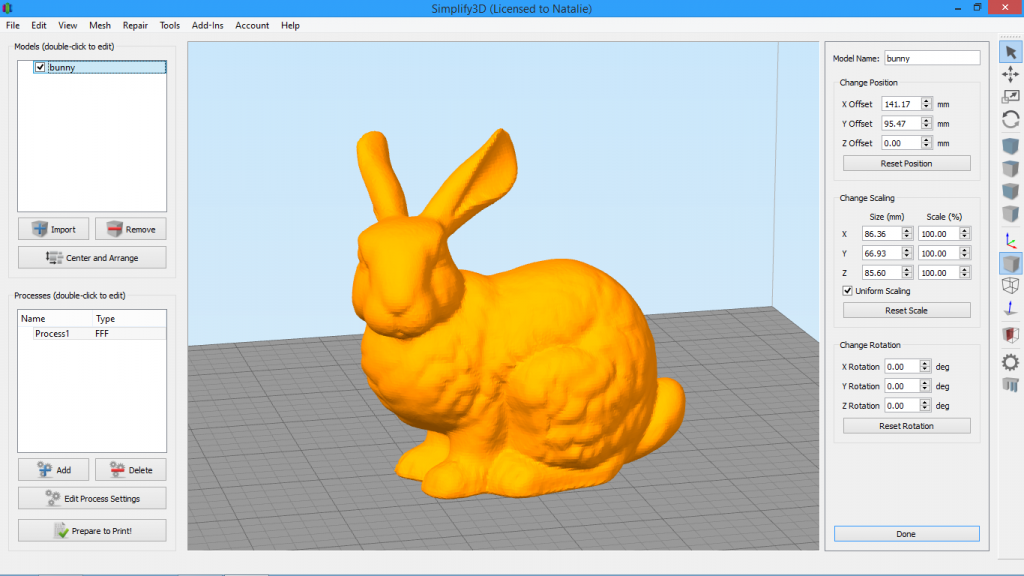
The Model Settings Panel in Simplify3D allows you to make precise numeric adjustments to your model’s scale, rotation, and position. Learn how to use this feature.
Using the Interface
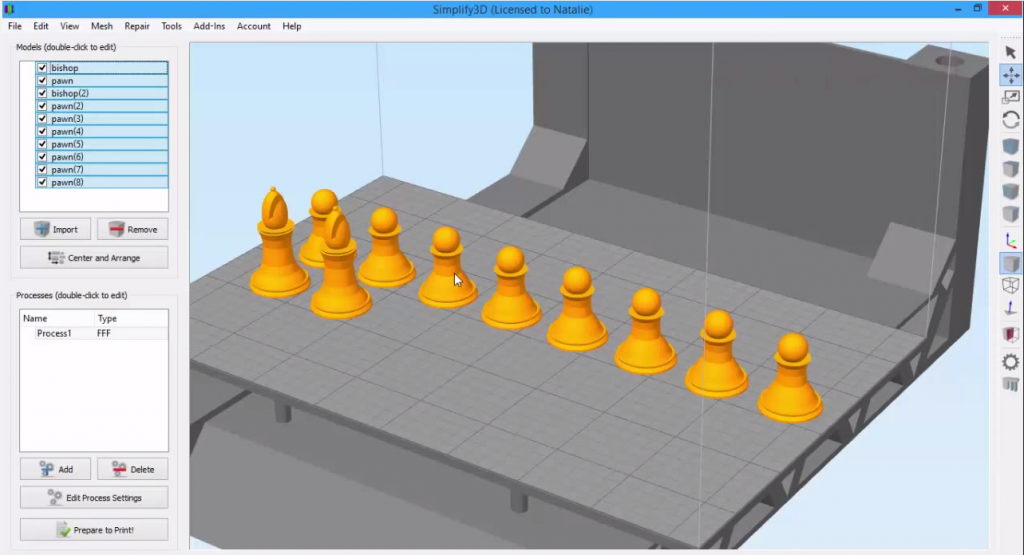
Take a quick tour of the Simplify3D interface. You’ll learn how to manipulate models, undo, copy and paste.
Managing Printer Profiles
Printer profiles in Simplify3D provide pre-configured settings for your 3D printer. This video shows you how to add new profiles, save changes to profiles, and import/export saved profiles.
Getting Started with Your Account
With Simplify3D Version 3.0, there is a new account system that allows you to manage your account settings and access software updates. This video will give you a quick tour!