Customizing Support Structures
Simplify3D allows you to customize where and how support material is placed on your model, making it easier to remove. This means a better 3D printed result!Quick Links
Video Transcript
Supports are used to help construct models with overhangs or features that aren’t supported from below. Because the part is printed layer by layer, when we print the bottom of Hulk’s arms or his chin there are no layers below it to support it. To help with this, we add breakaway support structures so these layers aren’t printing over thin air, and then throw them away when we’re done. We’re going to walk through the different ways to create and modify these support structures.
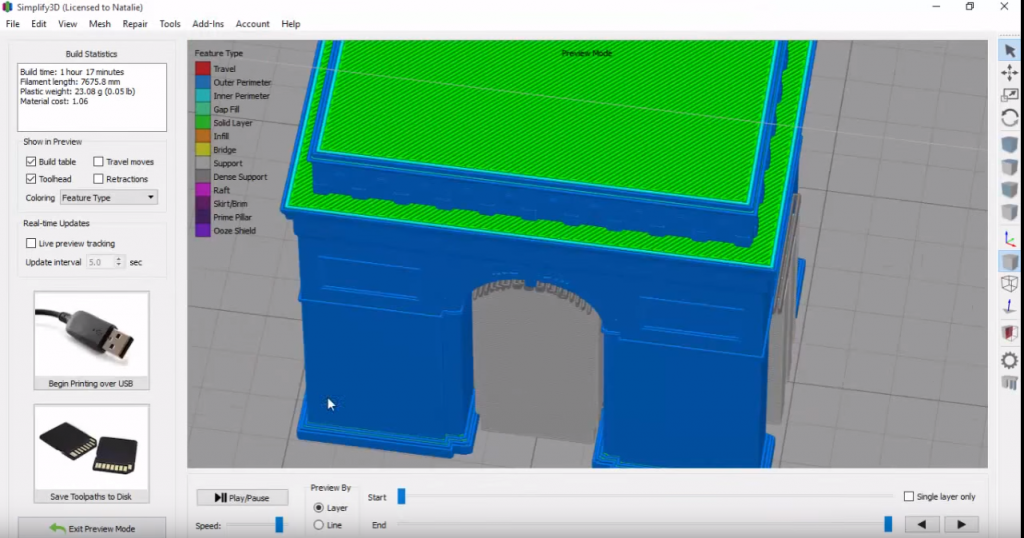
Let’s take a look at how to add supports to this Hulk piggy bank model. Simplify3D makes this easy: Just open the process settings and click the checkbox next to Generate Support. When you do this, the software will automatically add supports to the selected model based on the stock settings from your printer profile. Let’s generate a preview to see how these supports will be constructed. Also, let’s change the preview coloring to Feature Type, which will show us each component of our print in a different color. Here the support structures are gray. So with one click, you’ve got supports and you’d be ready to go. But one of the great features of Simplify3D is that you are able to fully customize your support structures.
So let’s go back to the interface, and open the support generation window by going to Tools, Customize Support, or by clicking the icon on the right toolbar. You’ll want to use this window anytime you want to customize your support material. First, automatic placement. This section will automatically place support where the software thinks the model needs it, so it’s going to be very similar to what we just did by checking the Generate Support checkbox in the process settings. So if we click Generate Automatic Supports, you’ll notice these pillars under your model that represent the location where support structures will be placed.
It’s worth pointing out that even though they looked like individual pillars on the previous screen, those pillars merged to form a network of interconnected support material. You’ll probably notice that there are a lot of support structures inside our piggy bank; the problem being that this slot is the only way to get things in or out of the piggy bank.
So let’s go back to the support generation window to customize our supports. Normal means you’ll get support everywhere that has a steep overhang. This is probably fine for most parts. For some special circumstances, we have another support type called From Build Platform Only, which will only generate support that touches the build plate. So for example, if you had a completely enclosed cavity or a small channel that ran through the inside of the part, the support structures for these features wouldn’t be able to reach the build platform. So if we use this option, we wouldn’t get support material in those locations. So if I change to From Build Platform Only and re-generate my supports, you can see that the support material that was inside the piggy bank is gone. However the supports underneath Hulk’s arms which are touching the build plate will be there.
Next is support pillar resolution, which determines the size of the pillars. For large parts with simple features, you can use a higher pillar resolution. For small parts or parts that have small, detailed features, it’s best to reduce the support pillar size.
The last setting is the overhang angle, which determines at which angle the software will begin generating support. Smaller numbers mean more support structures, and would be useful if your printer can’t handle printing much of an overhang. Larger numbers mean fewer support structures, which works when your printer can handle a larger overhang. If you’re not sure what your printer is capable of, 45 degrees is a good starting point.
If you want to change where supports are placed, come down to the manual placement options. For example, you can get rid of supports by clicking Remove existing supports and simply clicking on the supports you want to remove. Or, to add new supports, select Add new support structures, and you’ll see a new pillar appear. Move it to where you want to add a support, then click to place it there. If you accidentally add or remove a support, just CTRL+Z to undo (or Command+Z on a Mac).
Here are your options for saving supports. But if you were to save a factory file, that will automatically include your support structures. If for some reason, you didn’t want any supports for this model at all, you would just Clear All Supports that you’ve placed with this window, and then make sure that “generate support” is disabled within the Process Settings.


