Cross Section View
Spot hidden internal features or mesh errors within your 3D models by using the Cross Section View in Simplify3D.Quick Links
Video Transcript
Today, we’re exploring how to use the Cross Section View in Simplify3D. The Cross Section View can be useful any time you want to see inside of your model. For example, if there was a hollow cavity, or internal features, or anything that you can’t see from the outside of the part, this view can come in handy. This can also be helpful to spot any mesh errors within your model.
To show you how this feature works, I’m first going to import a big cube. The Cross Section View can be enabled by going to View, then Cross Section, or by clicking this icon in the right toolbar. So let’s walk through the controls in this window. The “Enable cross section” checkbox lets you toggle the cross section on and off. The “Reverse section view” changes which side of the cross section we’re showing. Right now we’re showing the bottom section of the cube, but if I reverse it, it will show the top section of the cube.
Finally we have positioning. Think of the cross section as a plane that is slicing your model in two. These radio buttons control along which axis the plane is moving. Right now I have the Z axis checked, so if I move the slider you can see that the cross section is moving in the Z axis. You can do the same in the X and Y axis if you like. You’ll notice as I drag the slider, the plane goes from one side of the build plate to the other. You could also type a number in here if you need a more exact position. For example, I might need to cross section this model at exactly 130mm on the X axis. If you close out of the window, the Cross Section View goes away. So those are all the settings in the Cross Section View Window.
Now let’s take a closer look at the model itself. As we’ve discussed in a previous video, a 3D model consists of a bunch of triangles. (Turning on the wireframe view allows you to see this very clearly.) In this case, there are two triangles on each side of the cube, totaling 12 triangles in all. The triangles come together at the edges to form surfaces, and if those surfaces are completely enclosed, the software sees that as a solid model.
For example, this is a solid cube since it’s made up of a completely enclosed surface. So if we cross section it, we’re really cutting through the surface that represents this solid. Even though it might look hollow inside, that’s just because you’re seeing inside the surfaces that define the model. So this is a normal way for a solid model to look.
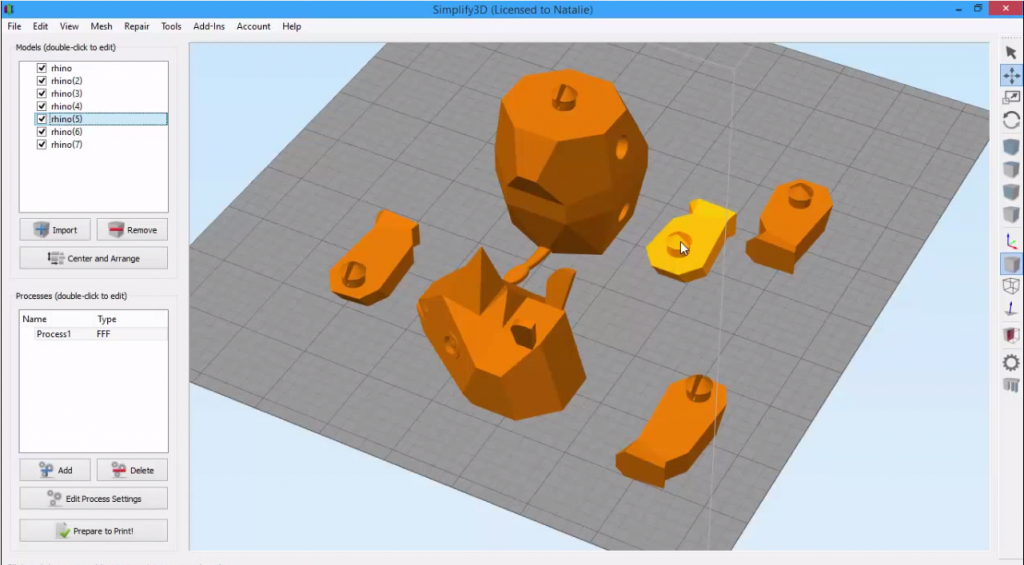
Now let’s move on to a part that isn’t solid all the way through. Here I have a 10-sided shape, called a dodecahedron. Let’s go ahead and slice it first so you can see what it would look like when printed. And you can see that it’s actually hollow inside, even though you wouldn’t have been able to tell just by looking at it.
So let’s go back and examine it with the cross section tool. As we cut through this, you can see that I have two separate surfaces — one for the outer boundary of the part, and one for the internal cavity. If these internal surfaces weren’t here, the software would see this as a solid model. So now you understand why the cross section tool can be useful, especially for getting an inside look of the models you’re going to print.
Related Videos
Using the Interface
Take a quick tour of the Simplify3D interface. You’ll learn how to manipulate models, undo, copy and paste.
The 3D Transform Gizmo
Learn how to use the 3D Transform Gizmo for more advanced model manipulation.
Splitting & Aligning Models
Sometimes you may need to split a model into individual pieces so you can work with each part independently. Other times, you might want to realign parts exactly as they were originally modeled. Simplify3D offers two features to help: Separate Connected Surfaces and Align Selected Model Origins.
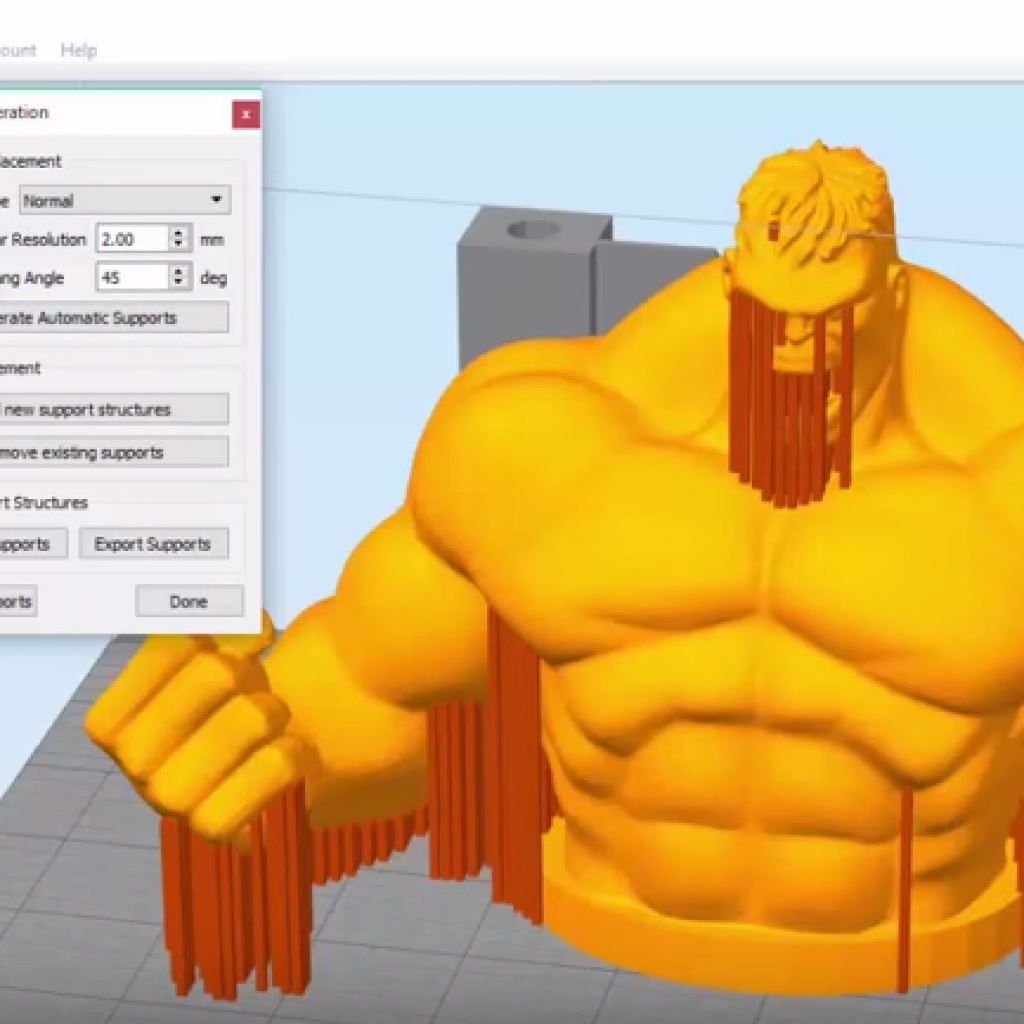
Customizing Support Structures
Simplify3D allows you to customize where and how support material is placed on your model, making it easier to remove. This means a better 3D printed result!