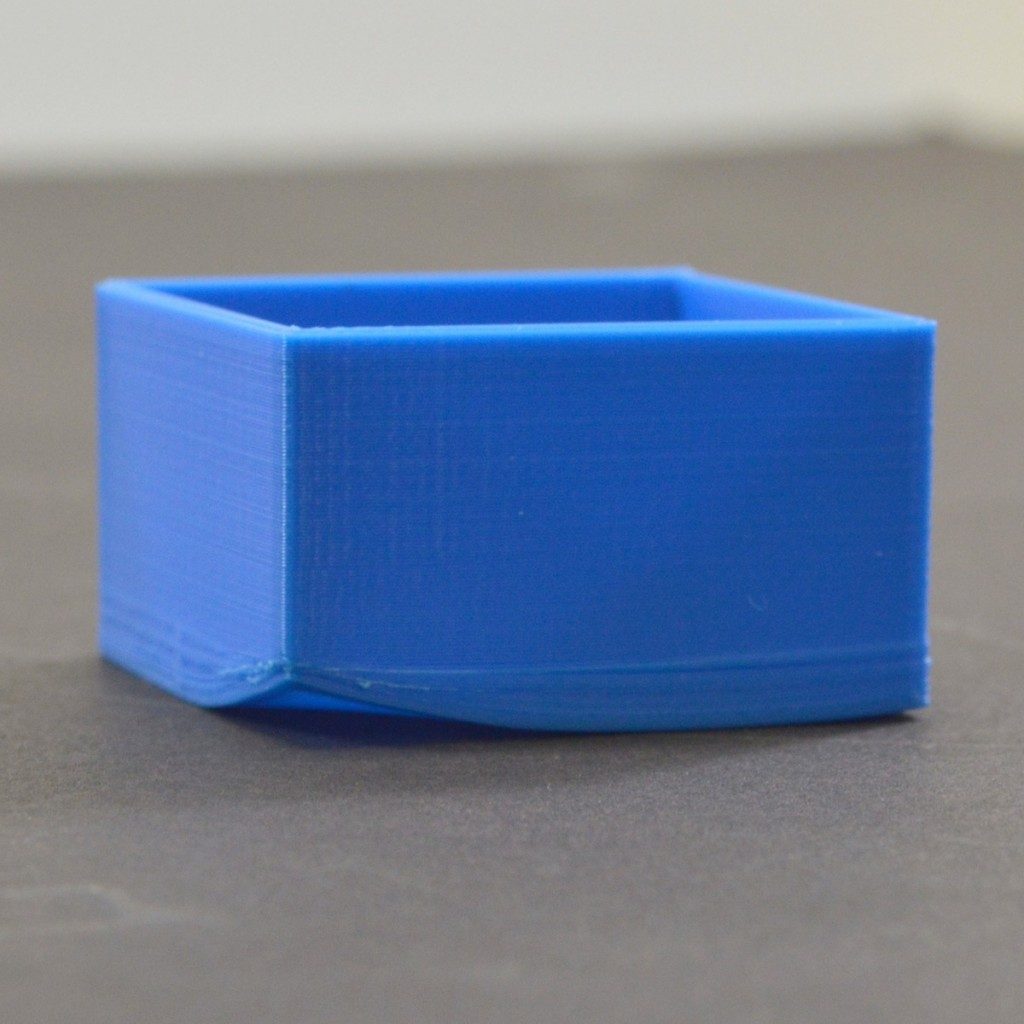
Not Sticking to the Bed
It is very important that the first layer of your print is strongly connected to the printer’s build platform so that the remainder of your part can be built on this foundation. If the first layer is not sticking to the build platform, it will create problems later on. There are many different ways to cope with these first layer adhesion problems, so we will examine several typical causes below and explain how to address each one.
Common Solutions
Build platform is not level
Many printers include an adjustable bed with several screws or knobs that control the position of the bed. If your printer has an adjustable bed and you’re having trouble getting your first layer to stick to the bed, the first thing you will want to verify is that your printer’s bed is flat and level. If the bed is not level, one side of your bed may be too close to the nozzle, while the other side is too far away. Achieving a perfect first layer requires a level print bed. Simplify3D already includes a useful bed leveling wizard that you guide you through the bed leveling process. You can find this wizard by going to Tools > Bed Leveling Wizard, and following the on-screen instructions.
Nozzle starts too far away from bed
Once your bed has been properly leveled, you still need to make sure that the nozzle is starting at the correct height relative to the build platform. Your goal is to locate your extruder the perfect distance away from the build plate — not too far and not too close. For good adhesion to the build plate, you want your filament to be slightly squished against the build plate. While you can adjust these settings by modifying the hardware, it is typically much easier (and much more precise!) to make these changes from Simplify3D. To do this, click “Edit Process Settings” to open your process settings and then go to the G-Code tab. You can use the Z-Axis global G-Code Offset to make very fine adjustments to your nozzle position. For example, if you enter -0.05mm for the Z-axis G-Code offset, the nozzle will begin printing 0.05mm closer to your build platform. Be careful to only make small adjustments to this setting. Each layer of your part is usually only around 0.2mm thick, so a small adjustment goes a long way!
First layer is printing too fast
As you extrude the first layer of plastic on top of the build platform, you want to make sure that plastic can properly bond to the surface before starting the next layer. If you print the first layer too fast, the plastic may not have time to bond to the build platform. For this reason, it is typically very useful to print the first layer at a slower speed so that the plastic has time to bond to the bed. Simplify3D provides a setting for this exact feature. If you click on “Edit Process Settings” and go to the Layer tab, you will see a setting labeled “First Layer Speed”. For example, if you set a first layer speed of 50%, it means that your first layer will print 50% slower than the rest of your part. If you feel that your printer is moving too fast on the first layer, try reducing this setting.
Temperature or cooling settings
Plastic tends to shrink as it cools from a warm temperature to a cool temperature. To provide a useful example, imagine a 100mm wide part that is being printed with ABS plastic. If the extruder was printing this plastic at 230 degrees Celsius, but it was being deposited onto a cold build platform, it is likely that the plastic would quickly cool down after leaving the hot nozzle. Some printers also include cooling fans that speed up this cooling process when they are being used. If this ABS part cooled down to a room temperature of 30C, the 100mm wide part would shrink by almost 1.5mm! Unfortunately, the build platform on your printer is not going to shrink this much, since it is typically kept at a fairly constant temperature. Because of this fact, the plastic will tend to separate from the build platform as it cools. This is an important fact to keep in mind as you print your first layer. If you notice that the layer seems to stick initially, but later separates from the print bed as it cools, it is possible that your temperature and cooling settings are to blame.
Many printers that are intended to print high-temperature materials like ABS include a heated bed to help combat these problems. If the bed is heated to maintain a temperature of 110C for the entire print, it will keep the first layer warm so that it does not shrink. So if your printer has a heated bed, you may want to try heating the bed to prevent the first layer from cooling. As a general starting point, PLA tends to adhere well to a bed that is heated to 60-70C, while ABS generally works better if the bed is heated to 100-120C. You can adjust these settings in Simplify3D by clicking on “Edit Process Settings” and then selecting the Temperature tab. Choose your heated build platform from the list on the left-hand side and then edit the temperature setpoint for the first layer. You can just double-click on the value to change it.
If your printer has a cooling fan, you may also want to try disabling that cooling fan for the first few layers of your printer so that the initial layers do not cool down too quickly. You can do this by clicking “Edit Process Settings” and going to the Cooling tab. You can adjust the fan speed setpoints on the left-hand side. For example, you may want the first layer to start with the fan disabled and then turn on the fan to full power once you reach the 5th layer. In that case, you will need to add two setpoints into that list: Layer 1 at 0% fan speed, and Layer 5 at 100% fan speed. If you are using ABS plastic, it is common to disable the cooling fan for the entire print, so entering a single setpoint would suffice (Layer 1 at 0% fan speed). If you are working in a breezy environment, you may also want to try to insulate your printer to keep the wind away from your part.
The build platform surface (tape, glues, and materials)
Different plastics tend to adhere better to different materials. For this reason, many printers include a special build platform material that is optimized for their materials. For example, several printers use a BuildTak sheet on the top of their bed that tends to stick very well to PLA. Other manufacturers opt for a heat treated glass bed such as Borosilicate glass, which tends to work very well for ABS when heated. If you are going to print directly onto these surfaces, it is always a good idea to make sure that your build platform is free of dust, grease, or oils before starting the print. Cleaning your print bed with some water or isopropyl rubbing alcohol can make a big difference.
If your printer does not include a special build platform material to help with adhesion, you still have options! Thankfully, there are several types of tape that stick well to common 3D printing materials. Strips of tape can be applied to the build platform surface and easily removed or replaced if you want to print with a different material. For example, PLA tends to stick well to blue painter’s tape while ABS tends to stick better to Kapton tape (otherwise known as Polyimide film). Many users have also had great success using a temporary glue or spray on the top of their build platforms. Hair spray, glue sticks, and other sticky substances tend to work very well if everything else has failed. Feel free to experiment to see what works best for you!
When all else fails: Brims and Rafts
Sometimes you are printing a very small part that simply does not have enough surface area to stick to the build platform surface. Simplify3D includes several options that can help increase this surface area to provide a larger surface to stick to the print bed. One of these options is called a “brim.” The brim adds extra rings around the exterior of your part, similar to how a brim of a hat increases the circumference of the hat. This option can be enabled by going to the “Additions” tab end enabling the “Use Skirt/Brim” option. Simplify3D also allows users to add a raft under their part, which can also be used to provide a larger surface for bed adhesion. If you are interested in these options, please take a look at our Rafts, Skirts, and Brims tutorial which explains things in greater detail.
Related Topics
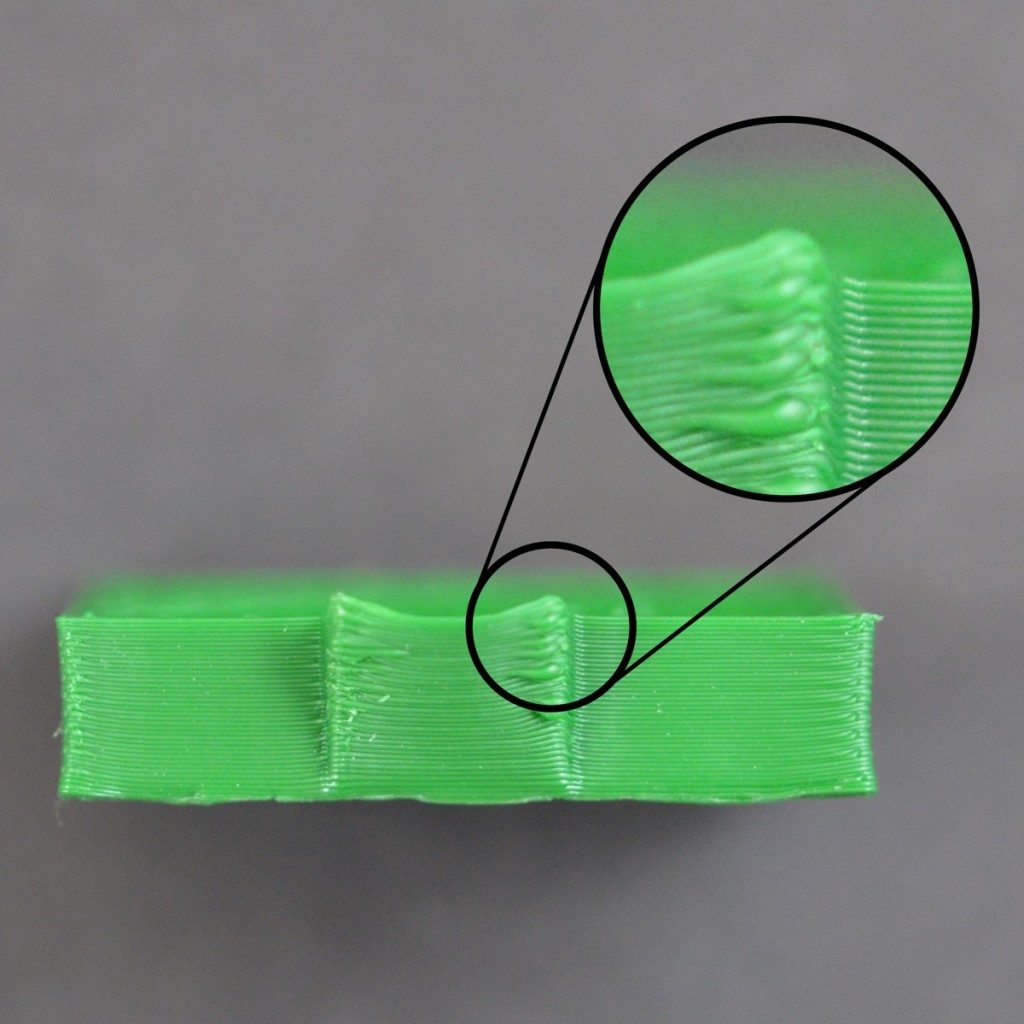
Under-Extrusion
Printer does not extrude enough plastic, gaps between perimeters and infill
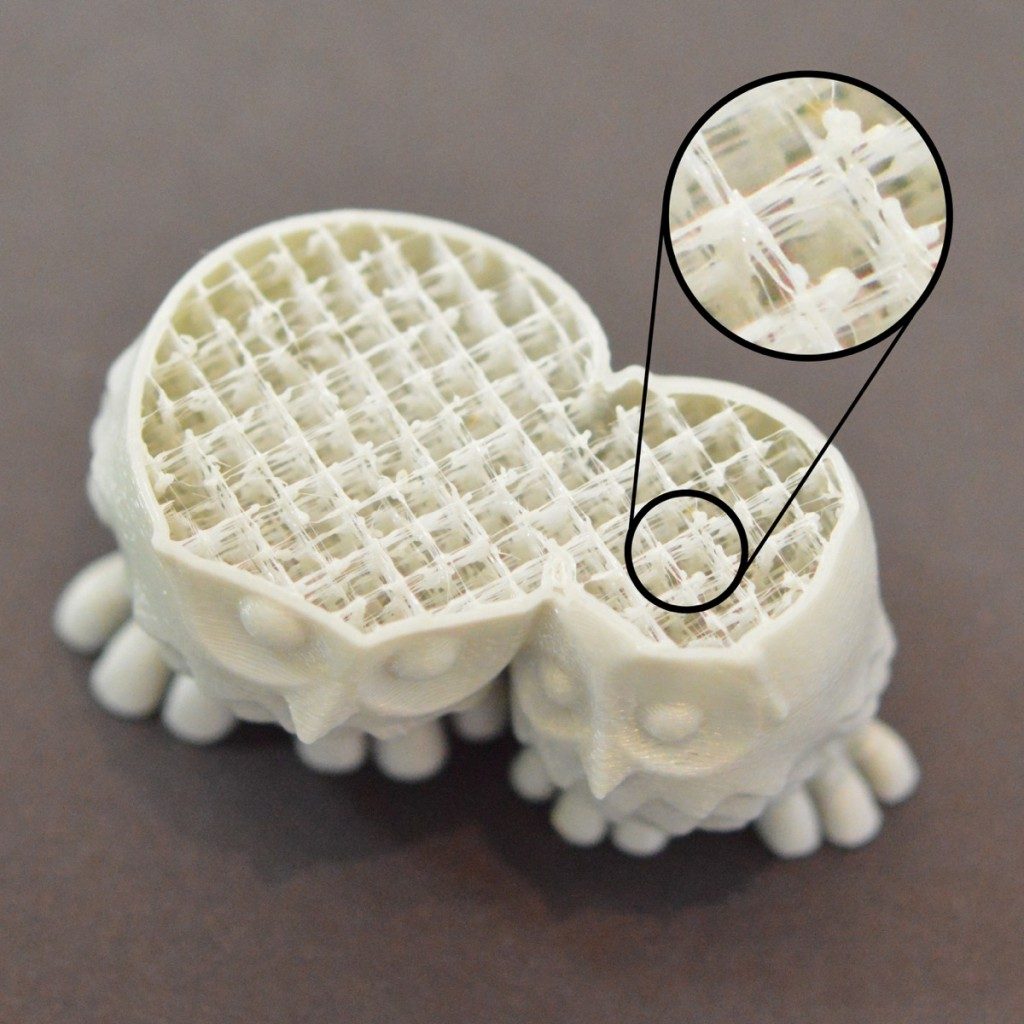
Weak Infill
Very thin, stringy infill that creates a weak interior and does not bond together well
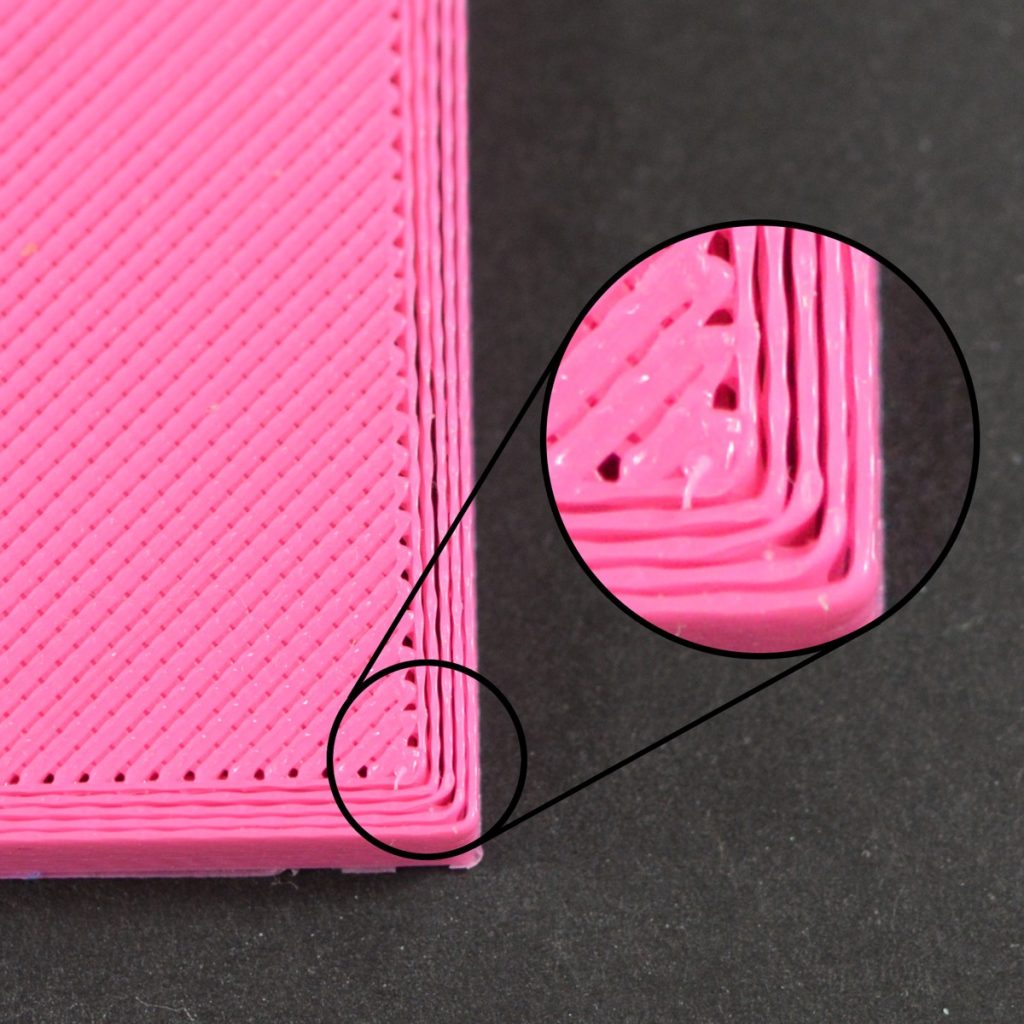
Curling or Rough Corners
Corners of the print tend to curl and deform after they are printed