The Dual Extrusion Wizard
Learn how to create crisp two-color prints quickly and easily with the Dual Extrusion Wizard.Quick Links
Video Transcript
Today, we’re exploring the Dual Extrusion Wizard in Simplify3D, which will help you create high quality dual color prints. It can be found in the Tools Menu.
I’ve imported this dual color vase model. If you’re new to dual extrusion, let me point out that you’ll need to have two separate STL files, one for each color. With my vase, which has vertical stripes, you can see that there are two distinct parts that will fit together, and as I walk through the Wizard, you’ll see how it all happens.
So, let’s open the Wizard by going to Tools, then Dual Extrusion Wizard. This window will help us configure the basic settings for this print. Here is where we can see the printer we’re using. If you don’t have any profiles loaded that are capable of dual extrusion, you will receive a warning message while trying to open the wizard, so make sure to use the Configuration Assistant to load a dual extrusion profile.
Today I’m using the FlashForge Creator Dual. Although I have many other printer profiles loaded into the software, only my dual extrusion printers are showing up in this list.
I have two spools of ABS loaded on my machine, so I’ll need to change the material configuration. This will heat both my extruders to the proper temperature for ABS. If you have some other combination of materials that you want to use, for example, red ABS with blue PLA, you would first have to add that into your profile’s material configuration, similar to what we’ve done here with PLA for the right and PVA for the left. But we’ll cover that in a different video.
Here is where the wizard has automatically chosen which part will print with which extruder. But, if I wanted to print part 1 of my vase with the left extruder, I could easily change that.
There’s one other aspect of the wizard I want to point out because it has some powerful functionality. We’ve talked about grouping and aligning models in previous videos, but this little checkbox makes it even easier. When we click OK, you’ll see that the wizard has aligned and grouped the two parts so they act as one model.
As we’ve discussed in a previous video, if I move, scale, or rotate grouped models, they stay locked together. You can also see that two processes have been created, one for each color, and they’ve even been grouped to make them easier to work with. We’ve talked about the advantages of grouped processes in an earlier video.
So now, we’ll click Prepare to Print! to go into the Preview mode. We obviously want to print both colors, so we leave both processes selected. Now every time you’re doing dual extrusion, I recommend changing the Preview mode to show the active toolhead coloring, so you can verify which toolhead is printing which part of the model. If we zoom in, we can see that the blue represents Tool 0, which is the right extruder on my printer, and green represents Tool 1 which is typically the left extruder.
You may notice that the shape of this model looks a little different in the Preview. This is because of the Ooze Shield, a feature that forms an external shell around your dual extrusion prints for the purpose of catching any oozing filament; you can just throw it away after the print is complete. The Ooze Shield is standard for all of Simplify3D’s dual extrusion profiles. Here’s what the model looks like as it prints. You can clearly see the Ooze Shield being constructed around the part.
And here’s the finished product! As you can see, the Ooze Shield comes right off. Looking more closely at the Ooze Shield, you can see all these little strings and blobs along the side. The Ooze Shield keeps these defects from appearing on your print!
As you can see, this part printed with crisp definition between colors and it looks great. So next time you want to print in two colors, the Dual Extrusion Wizard will get you there in just a few clicks.
Related Videos
Using the Interface
Take a quick tour of the Simplify3D interface. You’ll learn how to manipulate models, undo, copy and paste.
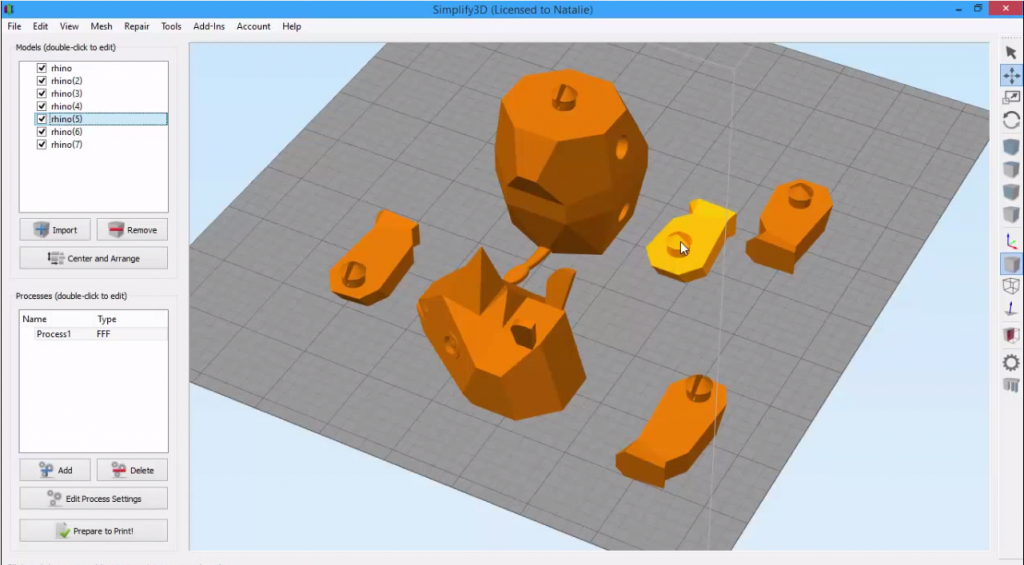
Splitting & Aligning Models
Sometimes you may need to split a model into individual pieces so you can work with each part independently. Other times, you might want to realign parts exactly as they were originally modeled. Simplify3D offers two features to help: Separate Connected Surfaces and Align Selected Model Origins.
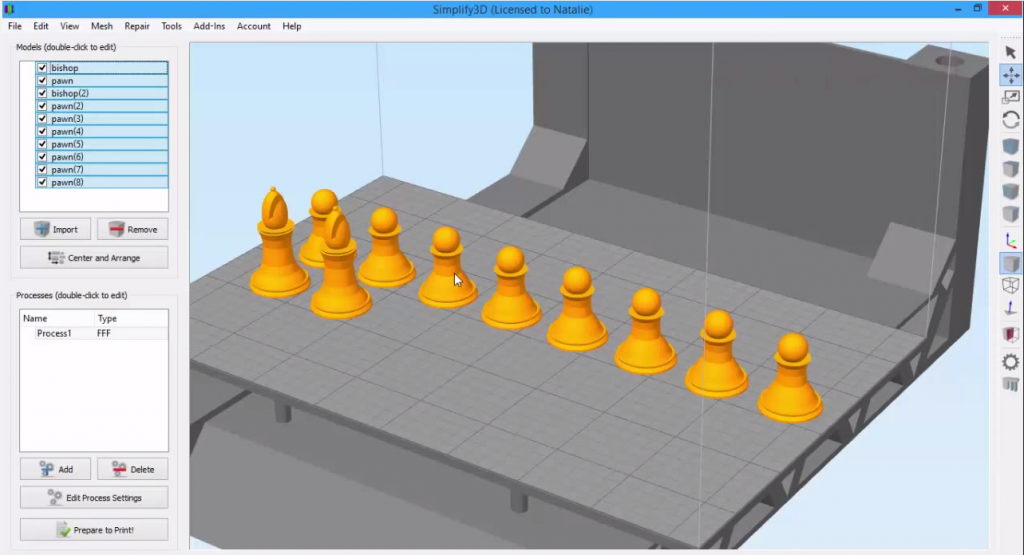
Selecting & Grouping Models
Learn how to make changes to multiple models at a time by grouping them together.
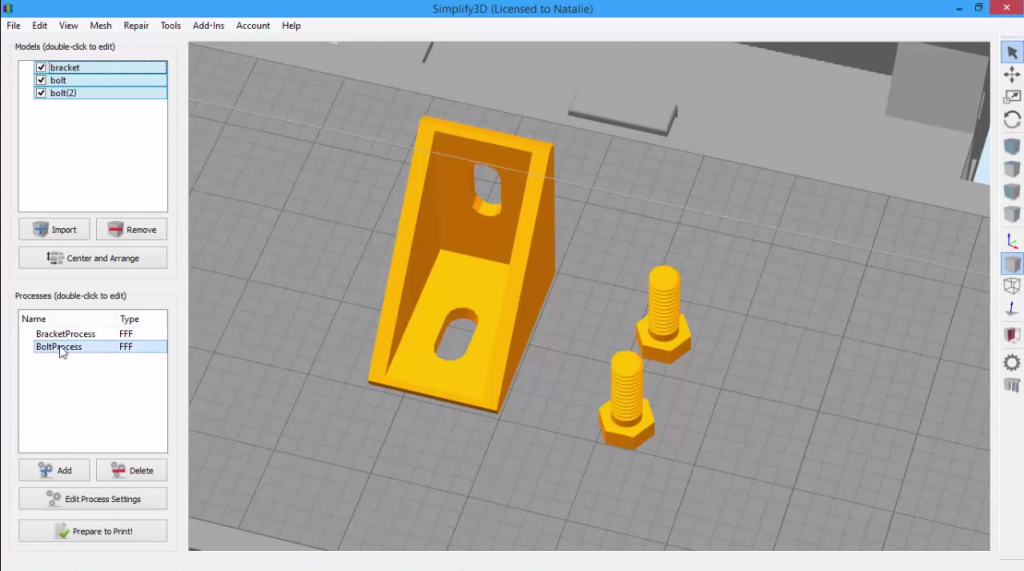
Creating and Grouping Processes
Learn how to apply unique settings to different parts by creating multiple processes and grouping them together.