
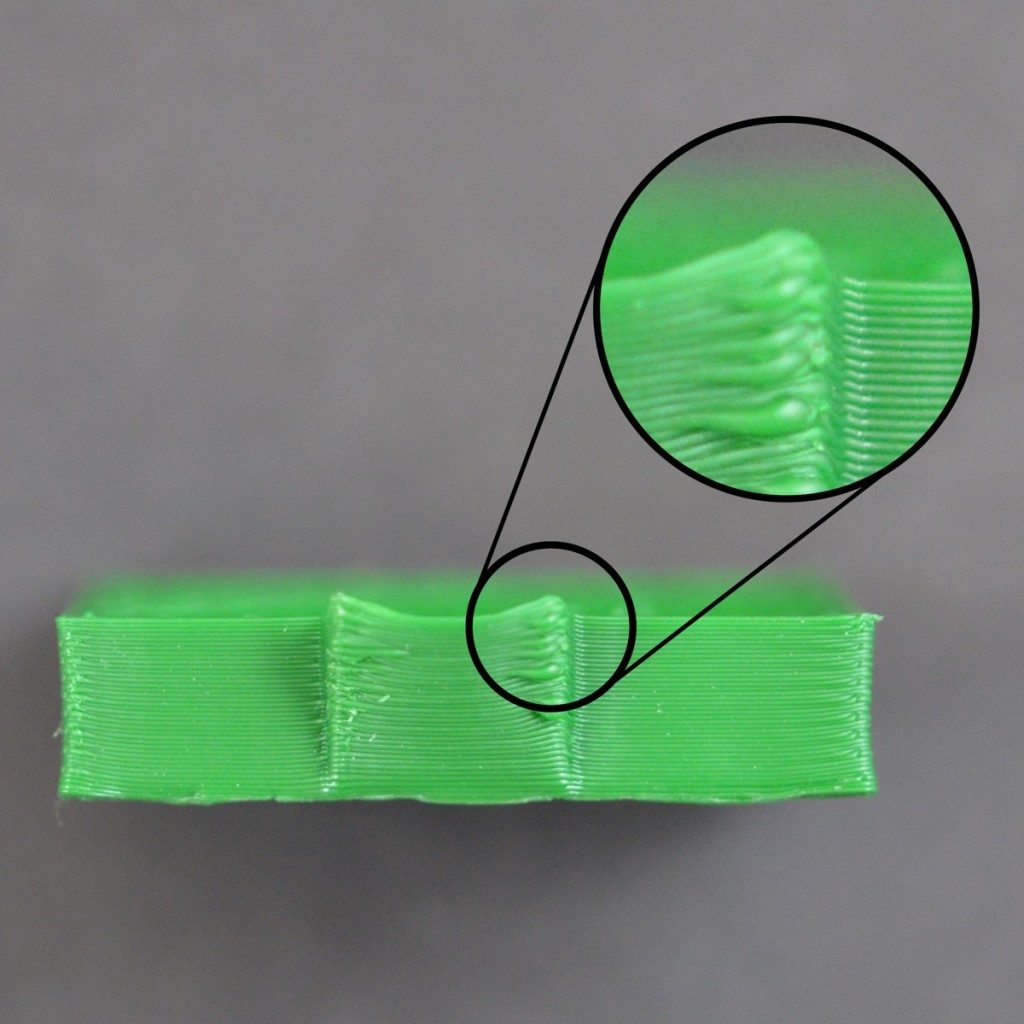
Scars on Top Surface
One of the benefits of 3D printing is that each part is constructed one layer at a time. This means that for each individual layer, the nozzle can freely move to any portion of your print bed, since the part is still being constructed down below. While this provides for very fast printing times, you may notice that the nozzle leaves a mark when it travels on top of a previously printed layer. This is typically most visible on the top solid layers of your part. These scars and marks occur when the nozzle tries to move to a new location, but ends up dragging across previously printed plastic. The section below will explore several possible causes for this and provide recommendations for what settings can be adjusted to prevent it from happening.
Common Solutions
Extruding too much plastic
One of the first things you should verify is that you are not extruding too much plastic. If you extrude too much plastic, each layer will tend to be slightly thicker than intended. This means that when the nozzle tries to move across each layer, it may drag through some of the excess plastic. Before you look at any other settings, you should make sure that you are not extruding too much plastic. Please read the Over-extrusion section for more details.
Vertical lift (Z-hop)
If you know you are extruding the correct amount of plastic, but are still having trouble with the nozzle dragging across your top surface, then it might be worth looking at the vertical lift settings in Simplify3D. Enabling this option will cause the nozzle to lift up a set distance above the previously printed layer before moving to a new location. When it arrives at its final location, the nozzle will lower back down to prepare for printing. By moving at an elevated height, this can avoid the nozzle scratch on the top surface of your print. To enable this option, click “Edit Process Settings” and select the Extruder tab. Make sure that retraction is enabled, and then set the “Retraction Vertical Lift” to the distance that you would like the nozzle to raise. For example, if you enter 0.5mm, the nozzle will always raise up 0.5mm before moving to a new location. Please note that this vertical lift will only occur when the nozzle is performing a retraction. If you want to ensure that a retraction is taking place for every single move that the printer does, click on the Advanced tab and make sure that “Only retract when crossing open spaces” and “Minimum travel for retraction” are disabled.
Related Topics

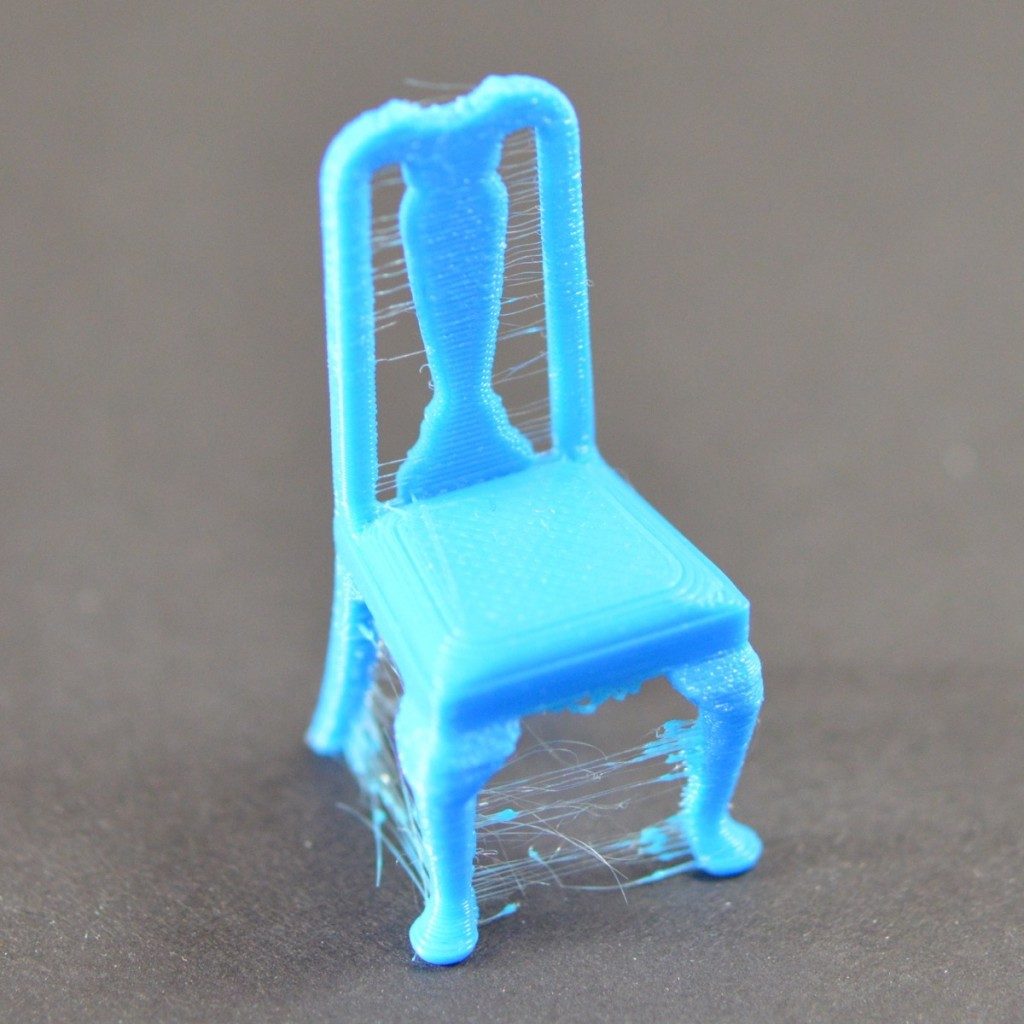
Stringing or Oozing
Lots of strings and hairs left behind when moving between different sections of the print
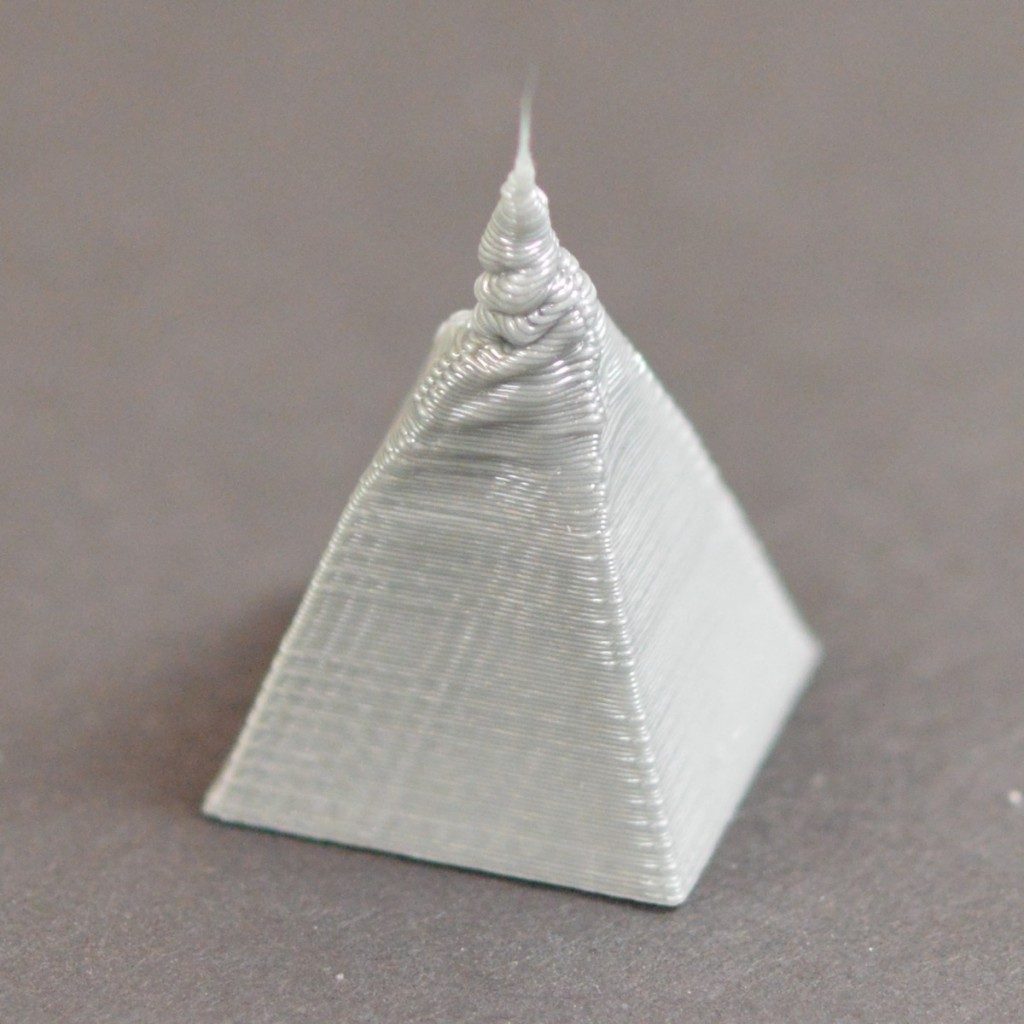
Curling or Rough Corners
Corners of the print tend to curl and deform after they are printed