Simplify3D® and the FlashForge® Dreamer
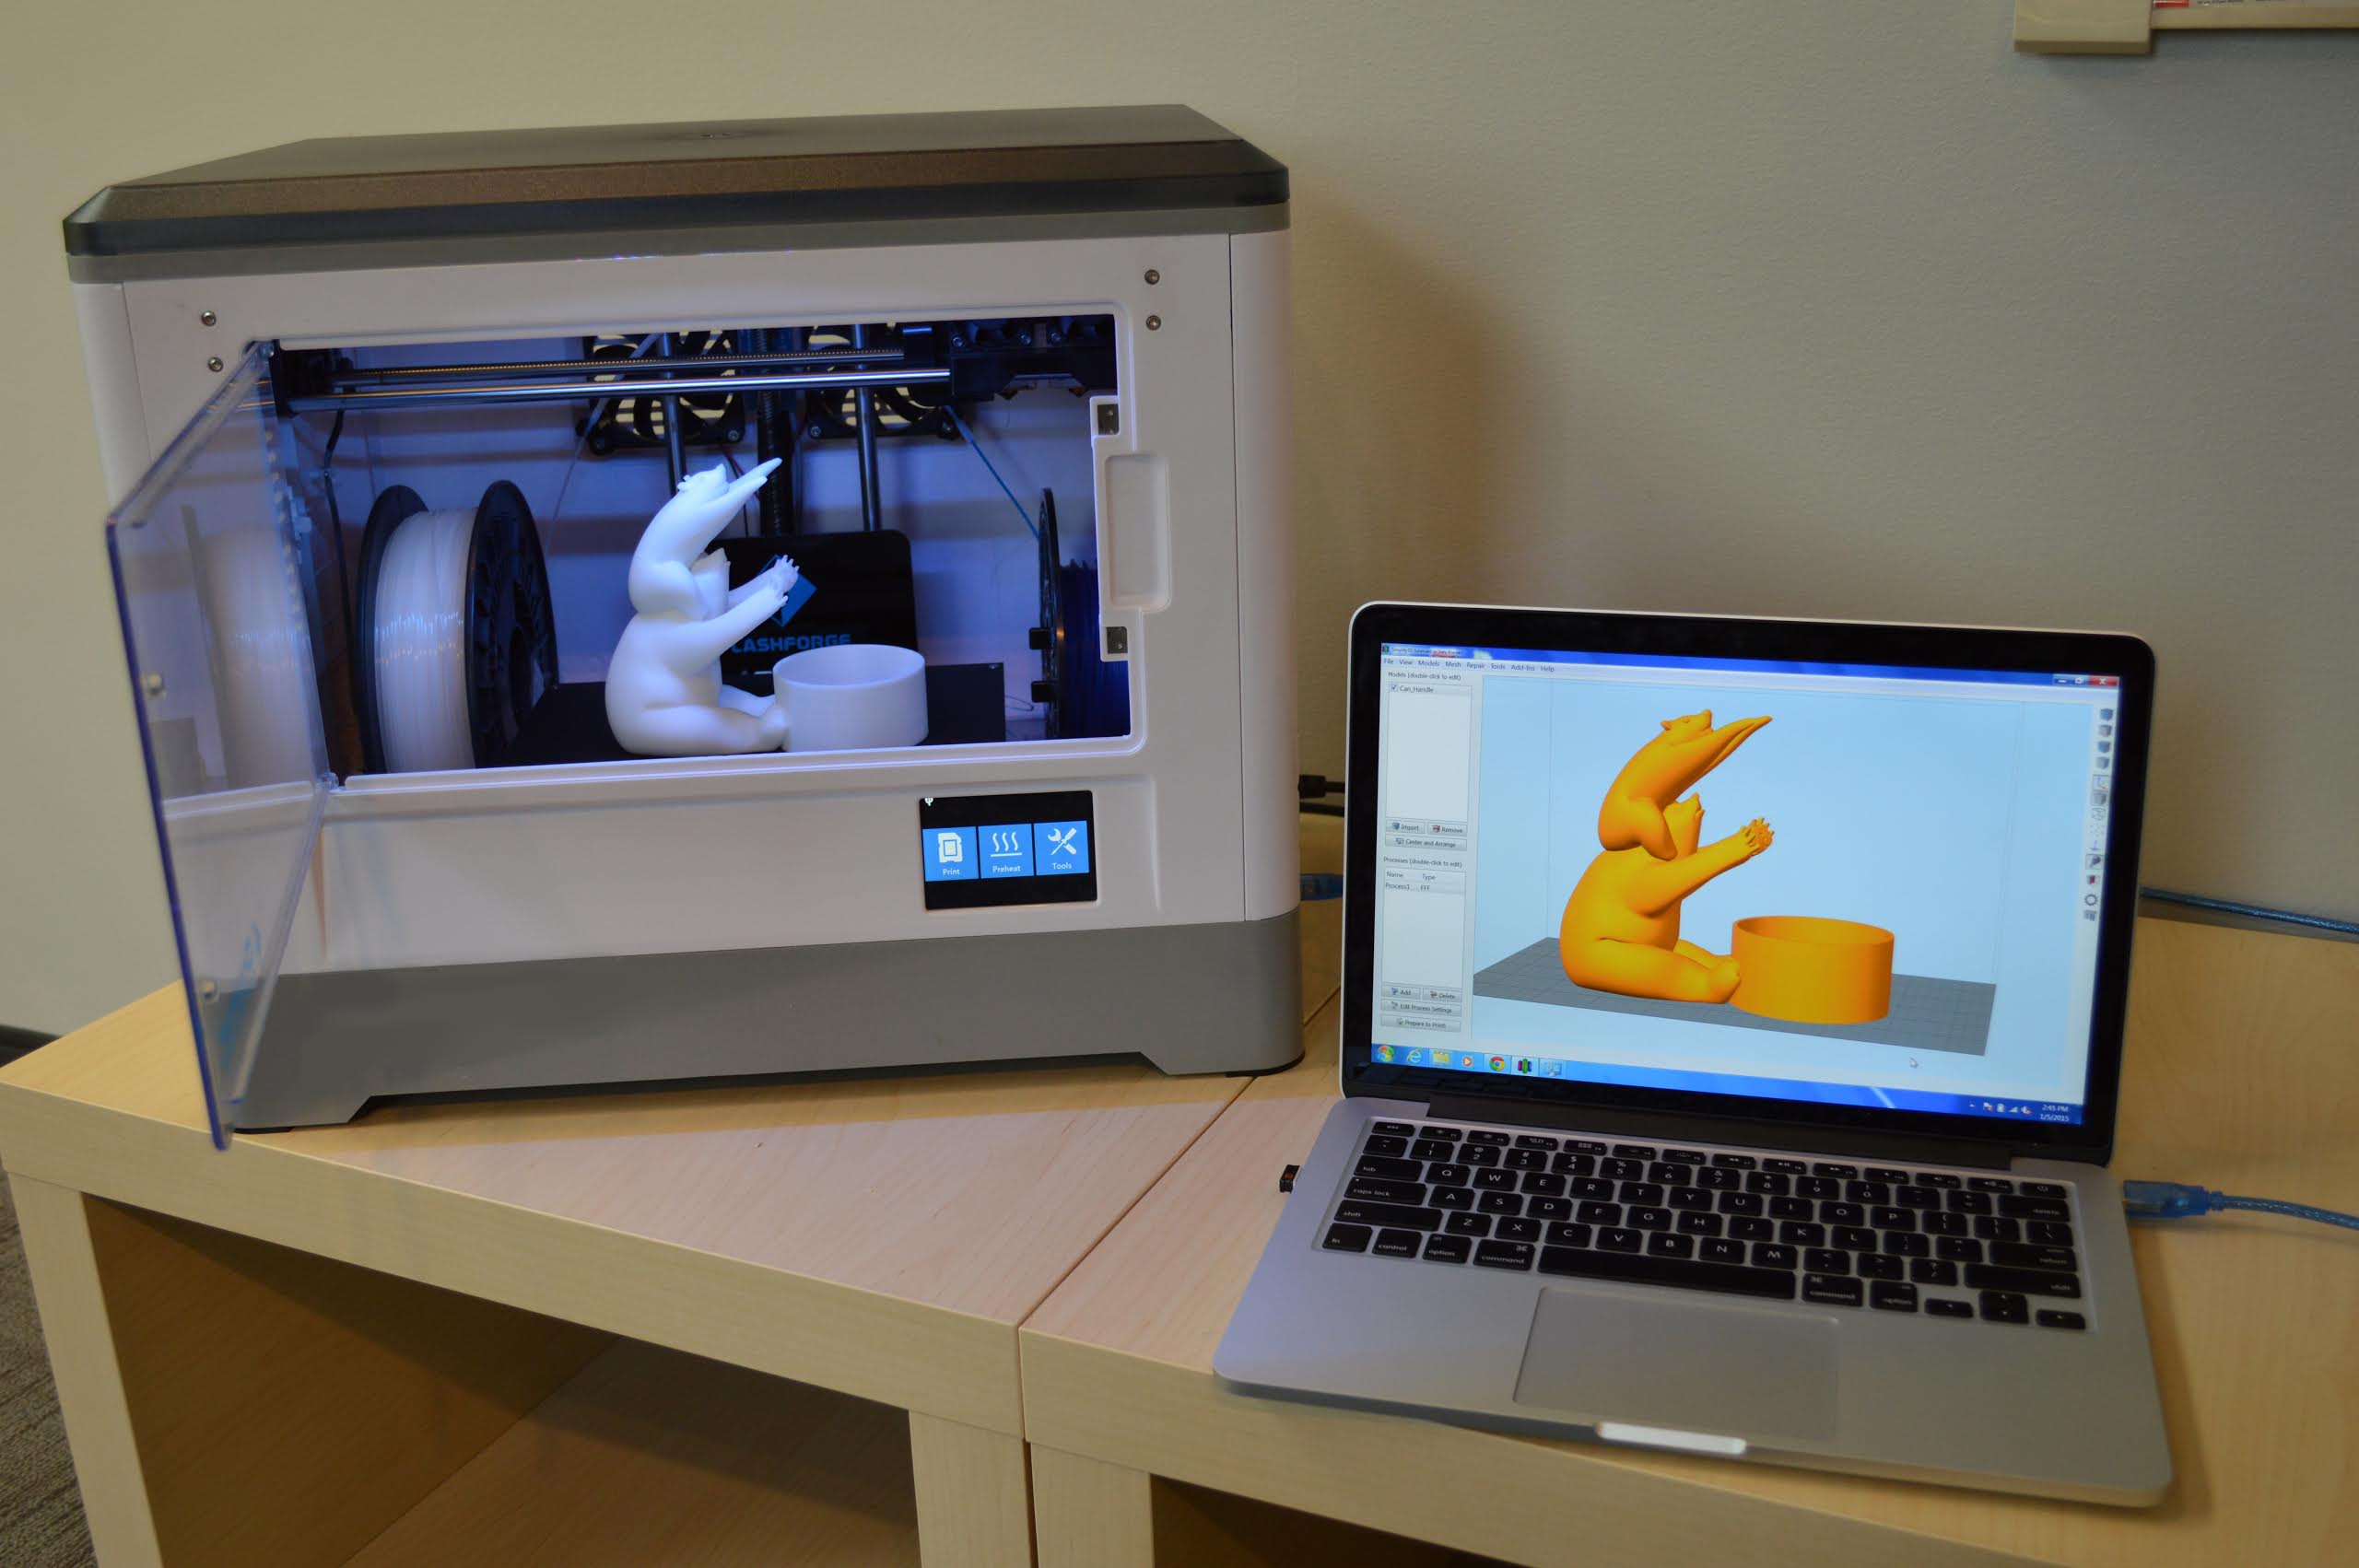 This page is designed to help you set up your FlashForge® Dreamer for use with the Simplify3D® All-in-One software suite. The FlashForge Dreamer printer has two extruders, a heated bed and is capable of printing very high-quality parts.
The printer has USB, SD card and WiFi capabilities. Through Simplify3D software, users are able to directly print over USB as well as save to SD card. For WiFi capabilities, users are still able to use FlashPrint software and route the Simplify3D made G-Code through FlashForge’s program.
Final Hardware Checks
Before using the FlashForge Dreamer printer with the Simplify3D Software, here are a few steps to make sure that your machine is ready for printing.
Please confirm that all cardboard and packaging materials are removed from the inside of the printer and check that all packaging is removed. Please ensure the roll of filament is properly mounted and that the plastic is being routed through the guide tube. The FlashForge Dreamer comes with both PLA and ABS filament, so please be sure to note which filament you are loading into which extruder, this will be important for printing. To load the filament, please either use the Machine Control Panel in Simplify3D software by going to Tools > Machine Control Panel or use the built-in functions on the touch-screen panel of the Dreamer printer.
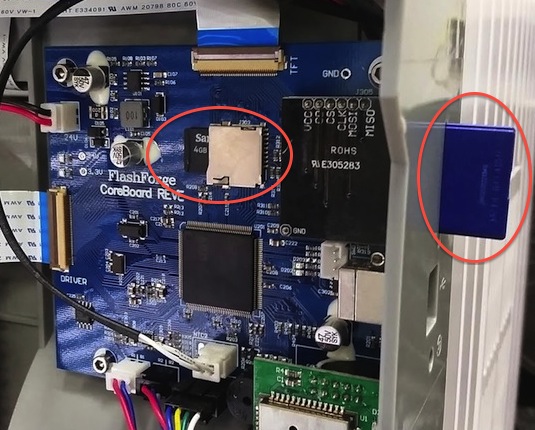 The Dreamer has 4GB of internal storage via a micro SD card connected to the electronics control board, as well as an externally removable SD card accessible from the right side of the machine. When printing over USB, the files will be transferred onto the internal storage. You also have the option of copying files onto the external SD card if you wish to print using the LCD screen. This guide will explain how to print using both of these methods.
Printing with Simplify3D
 The first time a user starts Simplify3D they are greeted with a Configuration Assistant that includes a list of printers. Select the FlashForge Dreamer to automatically configure the software for your machine. If this is not your first time opening the software, you can still load the necessary settings by going to Help > Configuration Assistant and then selecting your printer.
After completing the Configuration Assistant, import the 3D model you’d like to print. After importing the model, please click “Edit Process Settings”. This will open the FFF Settings window where you can configure a wide variety of slicing options.
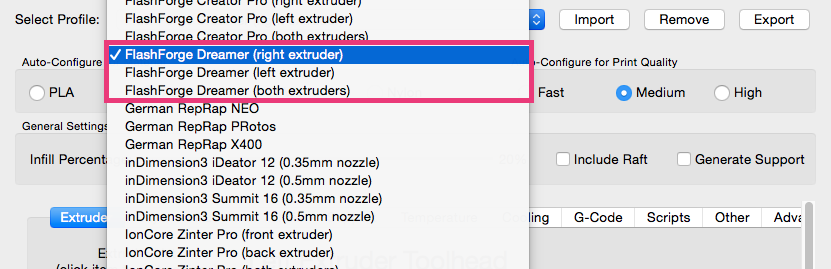
In the FFF Settings Window, you can select the appropriate profile for your machine using the “Select Profile” drop down list depending on what extruder you plan to use for the print.
- FlashForge Dreamer (right extruder) – Use this profile for prints involving the right extruder only
- FlashForge Dreamer (left extruder) – Use this profile for prints involving the left extruder only
- FlashForge Dreamer (both extruders) – Use this profile for any prints that will involve both extruders. For example, when performing dual extrusion, all processes should be using the “both extruders” settings.
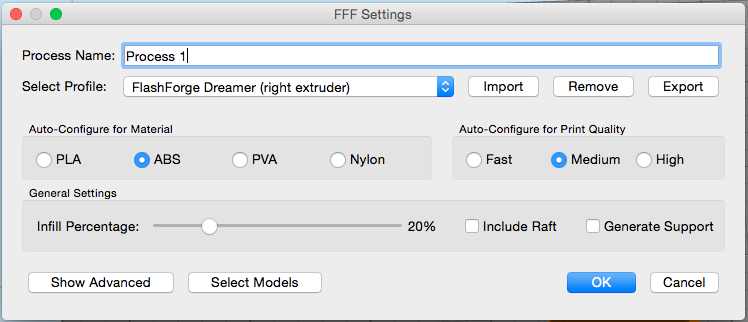 In this same window, you will also find options to select the material for the print, the preferred quality, infill percentage, and whether to use a raft or generate support material. If you’d like to customize your prints further, please click the Show Advanced button. For more information on the settings in the Advanced Settings, please view our other tutorials, which are available in the Tutorial Library.
If you are interested in dual-extrusion prints, it is highly advisable to view our tutorial on Printing with Multiple Extruders.
After the Process Settings are configured, please click “Prepare to Print!”. This will prompt the Simplify3D slicing engine to slice the file and create the necessary toolpaths for the FlashForge Dreamer. Once this process is complete, you will then have the option to “Begin Printing over USB” or to “Save Toolpaths to Disk”. If printing to USB, please turn on the Dreamer printer and connect the printer’s USB cable to your computer. If the USB connection does not automatically occur, please open the Machine Control Panel by going to Tools > Machine Control Panel and verify your connection settings. If printing from the SD card, you can simply click “Save Toolpaths to Disk” to export the toolpaths as a .gcode file. You can then copy this file onto the Dreamer’s external SD card and begin printing using the built-in LCD screen.
If you have any questions about using FlashForge Dreamer printer with Simplify3D, please feel free to Contact our Support Staff.
Troubleshooting
Simplify3D won’t connect to my printer
It’s very important that the FlashForge Dreamer drivers are installed on your computer. The easiest way to install these drivers is by installing the FlashPrint software from FlashForge. If you are unable to connect with Simplify3D, please install FlashPrint, and then attempt to connect to the printer using that software. If this is successful, it ensures your drivers are properly installed. You can then close FlashPrint and attempt the connection a second time using Simplify3D. Note that you may need to power cycle the Dreamer between connection attempts.
I recently upgraded my software and I do not see the profiles for the FlashForge Dreamer
Please go to Help > Reset All Settings, then reopen the software. This will restore all of the stock profiles, including those for the FlashForge Dreamer.
Using a different FlashForge printer?
For the FlashForge Creator and Creator Pro/X, please see our FlashForge Creator Tutorial.