Infill Pattern Basics
Whether you're looking for a strong infill or an aesthetically pleasing one, Simplify3D has several infill options to choose from.Quick Links
Video Transcript
In this video we’re going to be talking about a really popular feature in Simplify3D — and that’s infill patterns. Simplify3D has several infill options available, so we’re going to teach you about the different types and how they work.
For today’s example, I’m going to be building a phone case, so I’ll drag that in. Let’s go ahead and slice this with the default settings. I’ll change the coloring to see the feature type and slide into the middle of the part so you can see the infill. As you can see from the legend, the infill is shown in orange. It’s currently in sort of a crisscross pattern, called rectilinear.
So if I change this to By Layer, we can see this prints a set of lines in one direction on the first layer, then in the other direction on the second layer, and alternates until complete. A trick to be able to see this better is to check the Single Layer Only box, so now it’s easy to see the pattern being printed in one direction on each layer.
But there are different patterns you can choose from in Simplify3D, so let’s take a look. We’ll exit the preview, click into the process settings, and everything we’re working with today is on the Infill Tab. There are quite a few options here, but we’re only going to talk about a few basics today.
The first is the actual pattern used for the infill. There are two settings: the pattern used for the outer layers and the pattern used for the internal layers. As you can see, the default is rectilinear, the crisscross pattern we just saw in the preview, but if I click the dropdown, you’ll see there are several different options.
To save time, I’ll go ahead and show you a snapshot of what each of these patterns look like in the preview. Many of these options are used for different purposes. Rectilinear, the default, is a good balance of strength and printing speed. But other patterns like grid and triangular can provide a stronger print at the expense of some extra printing time. And there are also some patterns that are more for aesthetic purposes, like wiggle or fast honeycomb. So you can choose the one that is best for your print.
I’m going to use triangular for my print today. You also have some options to control the external fill pattern. However, since this makes up the outer skin of your model and needs to be completely solid, you have fewer options here. Our choices are rectilinear and concentric. Many times people change this setting just for looks alone. In most cases, the default of rectilinear works just fine, so I’ll leave that selected.
So I click okay and go back to our preview. If I go to the very first layer of my part you can see the completely solid external layers we just talked about, here in green, and as I click through you can see the rectilinear pattern. Once we get to the first infill layer, you can see the triangular pattern. This pattern prints lines in three directions on each layer. This means it’s putting out more plastic on each layer than the rectilinear infill pattern we looked at earlier, since that pattern only prints lines in one direction on each layer. So because the triangular layer puts out so much more plastic per layer, the lines end up spaced farther apart than the rectilinear. This is due to a concept called the infill percentage.
The infill percentage is another term for the density of your part. It represents how much plastic is actually inside your part. So for example, this part has an infill percentage of 20%, meaning that 20% of the inside of the part is plastic and the other 80% is just air. But thankfully, even at just 20%, these patterns are very strong and can still create a durable part while saving plastic.
So now that you know what the infill percentage is, let’s look at how to change it. The infill percentage slider is right here at the top of the process settings for easy access. You can also adjust it on the infill tab, and the slider will respond accordingly. 0% infill would be completely hollow and 100% infill would be completely solid. Most people use between 20 and 50 percent because it still provides a strong part without using a ton of plastic.
That covers the basics of what you need to know for adjusting the infill of your part in Simplify3D. Now I’m going to go print my phone case!
Related Videos
Using the Interface
Take a quick tour of the Simplify3D interface. You’ll learn how to manipulate models, undo, copy and paste.
Place Surface on Bed
The Place Surface on Bed feature in Simplify3D is a quick and easy way to re-orient your 3D model for optimal printing. See how it works in this brief video.
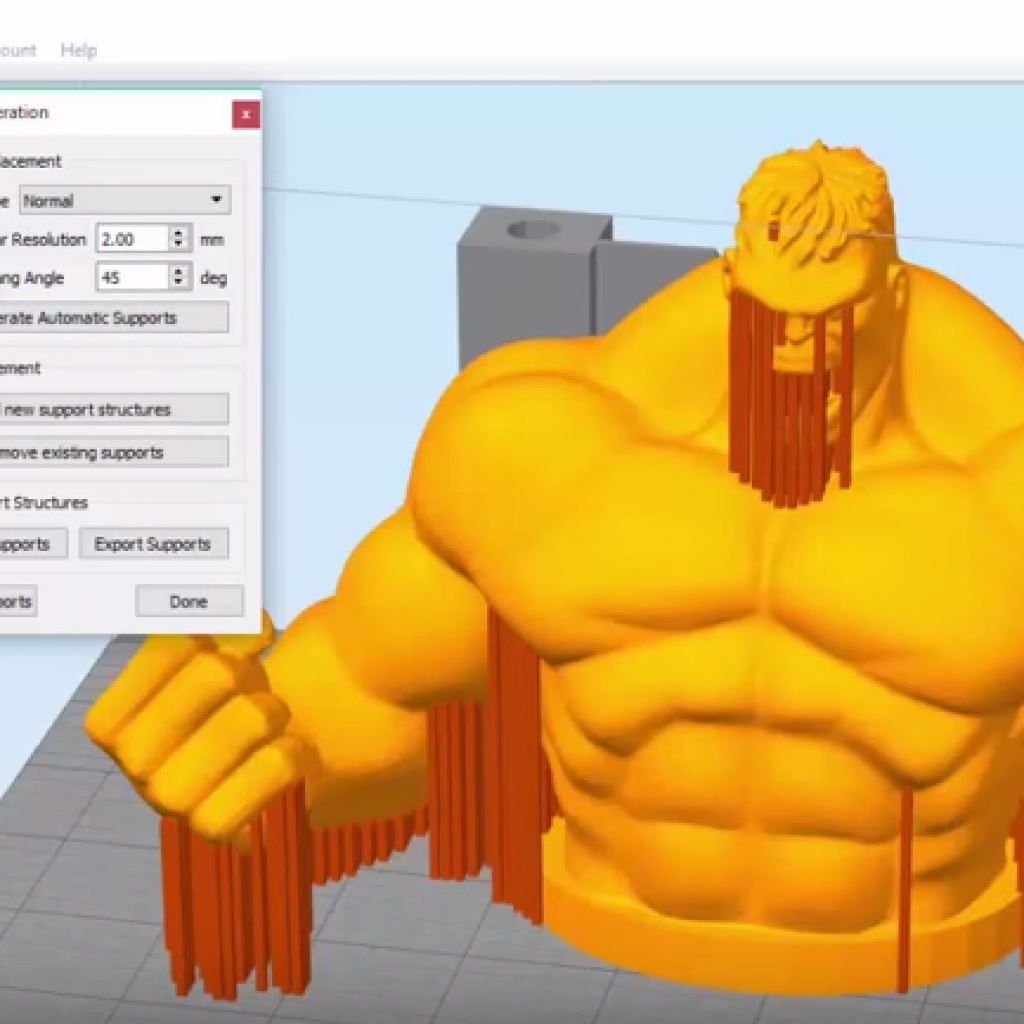
Customizing Support Structures
Simplify3D allows you to customize where and how support material is placed on your model, making it easier to remove. This means a better 3D printed result!
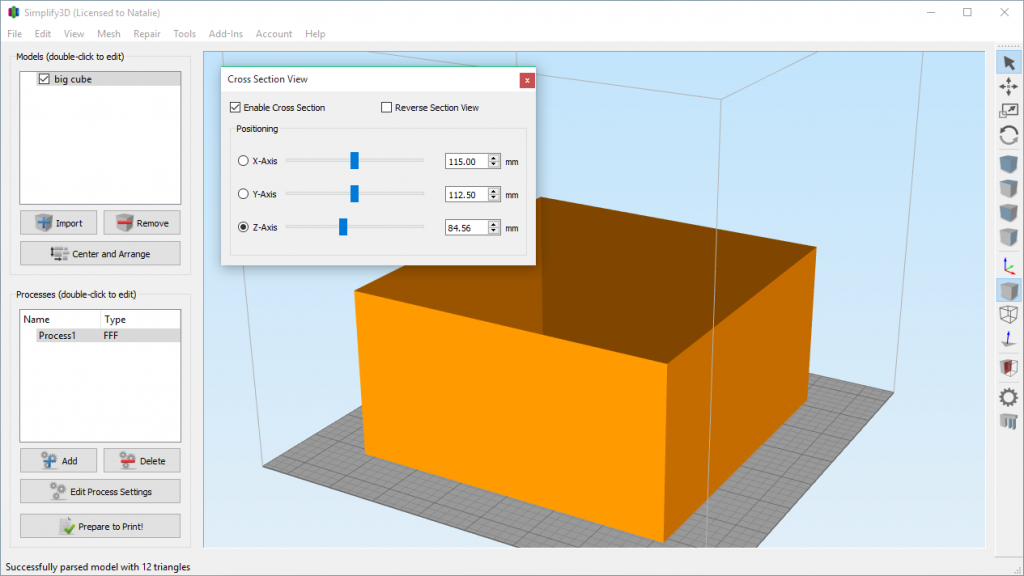
Cross Section View
Spot hidden internal features or mesh errors within your 3D models by using the Cross Section View in Simplify3D.