
Grinding Filament
Most 3D printers use a small drive gear that grabs the filament and sandwiches it against another bearing. The drive gear has sharp teeth that allow it to bite into the filament and push it forward or backward, depending on which direction the drive gear spins. If the filament is unable to move, yet the drive gear keeps spinning, it can grind away enough plastic from the filament so that there is nothing left for the gear teeth to grab on to. Many people refer to this situation as the filament being “stripped,” because too much plastic has been stripped away for the extruder to function correctly. If this is happening on your printer, you will typically see lots of small plastic shavings from the plastic that has been ground away. You may also notice that the extruder motor is spinning, but the filament is not being pulled into the extruder body. We will explain the easiest way to resolve this issue below.
Common Solutions
Aggressive Retraction Settings
One of the first things you will want to check are the retraction settings for your extruder. If the retraction speed is too fast, or you are trying to retract far too much filament, it may put excessive stress on your extruder and the filament will struggle to keep up. As an easy test, you can try reducing your retraction speed by 50% to see if the problem goes away. If so, you know that your retraction settings may be part of the problem.
Increase the extruder temperature
If you continue to encounter filament grinding, try to increase the extruder temperature by 5-10 degrees so that the plastic flows easier. You can do this by clicking “Edit Process Settings” and selecting the Temperature tab. Select your extruder from the list on the left and then double-click on the temperature setpoint you wish to change. Plastic will always flow easier at a higher temperature, so this can be a very helpful setting to adjust.
Printing too fast
If you continue to encounter filament grinding, even after increasing the temperature, then the next thing you should do is decrease the printing speed. By doing this, the extruder motor will not need to spin as fast, since the filament is extruded over a longer period of time. The slower rotation of the extruder motor can help avoid grinding issues. You can adjust this setting by clicking “Edit Process Settings” and selecting the Speeds tab. Adjust the “Default Printing Speed,” which controls the speed of any movements where the extruder is actively extruding plastic. For example, if you were previously printing at 3600 mm/min (60 mm/s), try decreasing that value by 50% to see if the filament grinding goes away.
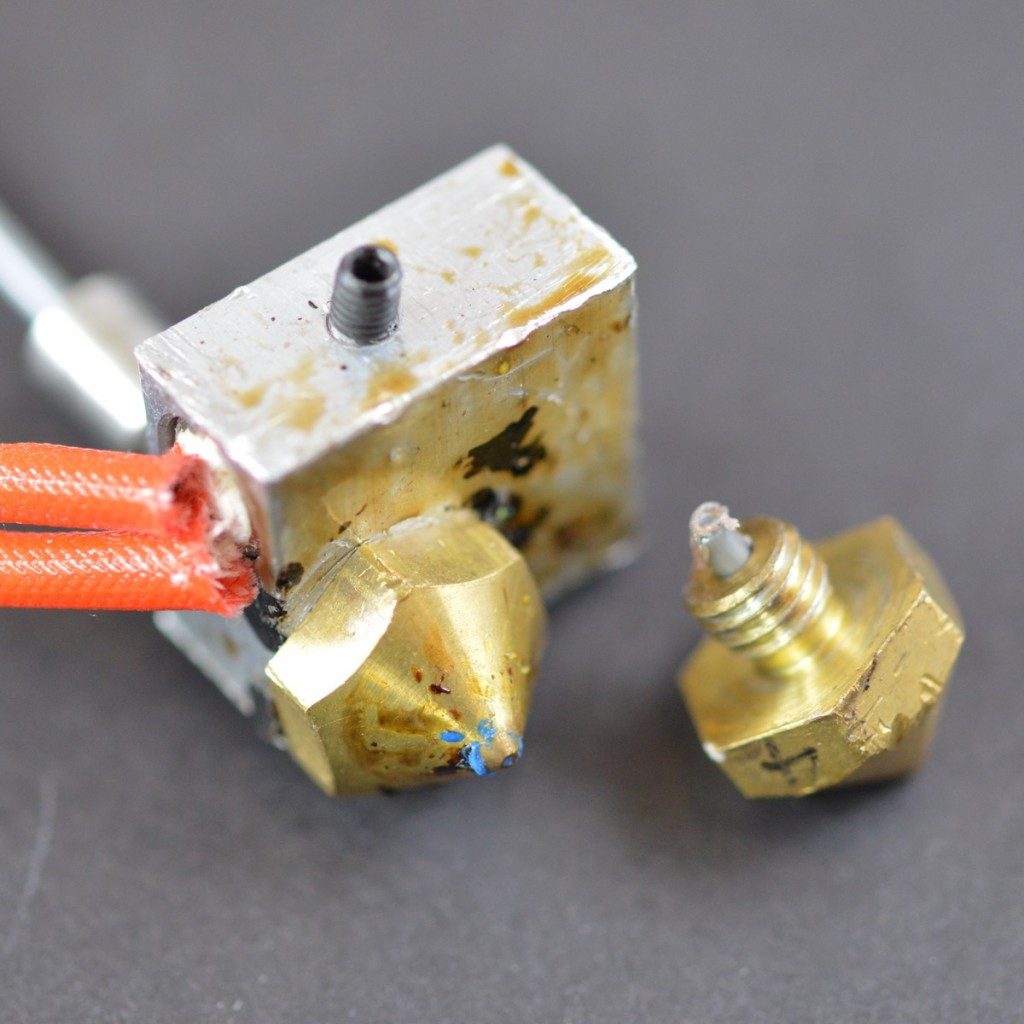
Check for a nozzle clog
If you are still encountering filament grinding after increasing the temperature and slowing down the print speed, then it’s likely your nozzle is partially clogged. Please read the Clogged Extruder section for instructions on how to troubleshoot this issue.
Related Topics
Clogged Extruder
Extruder is clogged or jammed and will no longer extrude plastic from the nozzle tip
Stops Extruding Mid Print
Printer stops extruding plastic randomly in the middle of a print
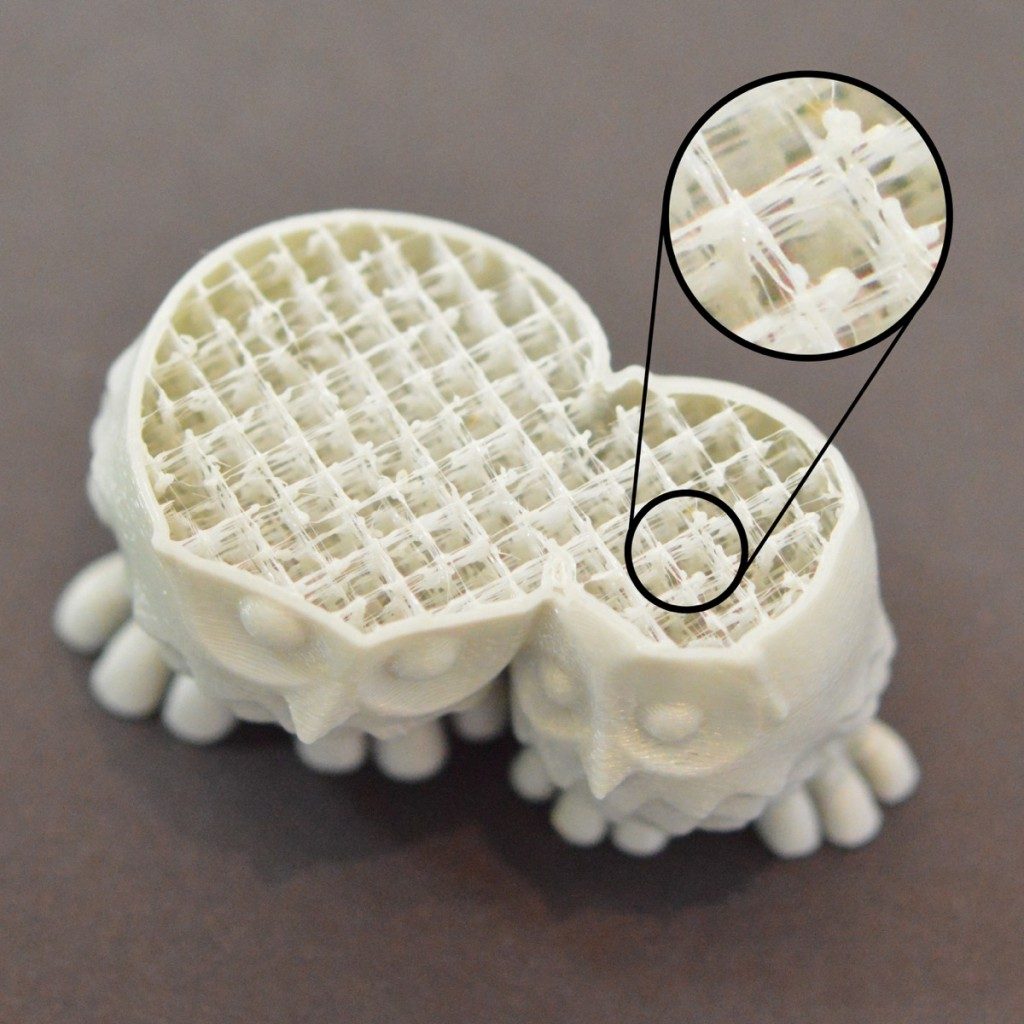
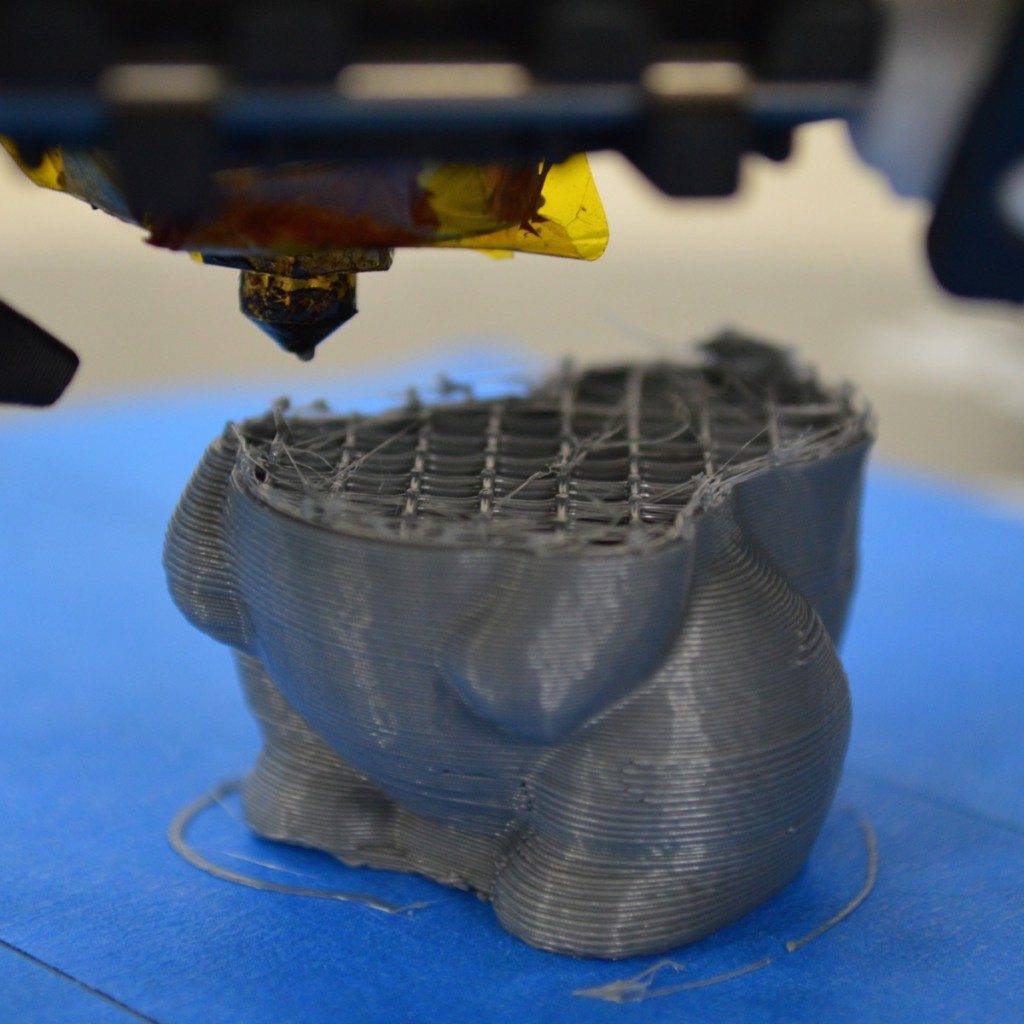
Weak Infill
Very thin, stringy infill that creates a weak interior and does not bond together well