
Clogged Extruder
Your 3D printer must melt and extrude many kilograms of plastic over its lifetime. To make things more complicated, all of this plastic must exit the extruder through a tiny hole that is only as big as a single grain of sand. Inevitably, there may come a time where something goes wrong with this process and the extruder is no longer able to push plastic through the nozzle. These jams or clogs are usually due to something inside the nozzle that is blocking the plastic from freely extruding. While this may be daunting the first time it happens, but we will walk through several easy troubleshooting steps that can be used to fix a jammed nozzle.
Common Solutions
Manually push the filament into the extruder
One of the first things you may want to try is manually pushing the filament into the extruder. Open Simplify3D’s Machine Control Panel and heat your extruder to the appropriate temperature for your plastic. Next, use the Jog Controls tab to extruder a small amount of plastic, for example, 10mm. As the extruder motor is spinning, lightly use your hands to help push the filament into the extruder. In many cases, this added force will be enough to advance the filament past the problem area.
Reload the filament
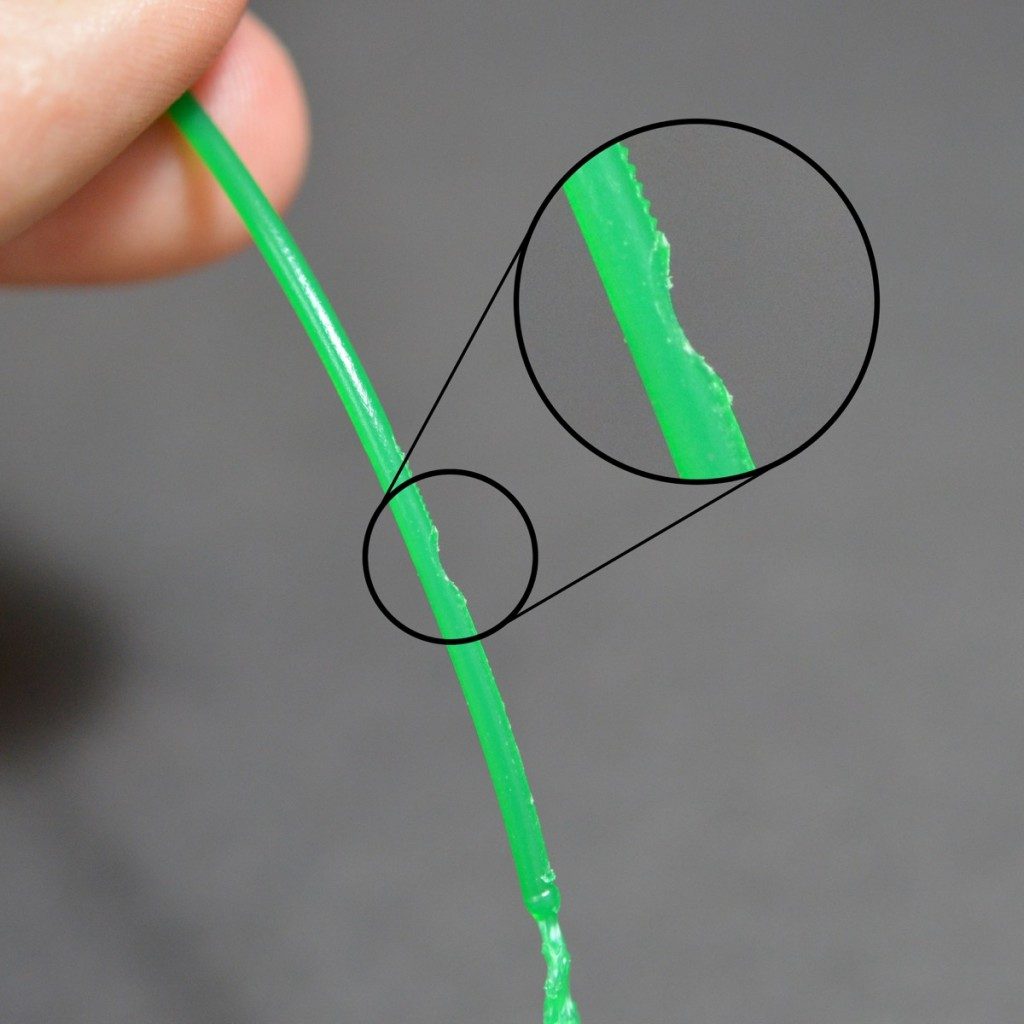
If the filament still isn’t moving, the next thing you should do is unload the filament. Verify that the extruder is heated to the appropriate temperature, and then use Simplify3D’s machine control panel to retract the filament out of the extruder. As before, you may need to apply some additional force if the filament isn’t moving. Once the filament is removed, use a pair of scissors to cut away the melted or damaged portion of the filament. Then reload the filament and see if you are able to extrude with the new, undamaged section of filament.
Clean out the nozzle
If you weren’t able to extrude the new section of plastic through the nozzle, then it’s likely you will need to clean out the nozzle before proceeding. Many users have had success heating their extruder to 100C and then manually pulling the filament out (hopefully along with any debris that was inside!). Others prefer to use the E string from a guitar to push the material backwards through the nozzle tip. There are plenty of other methods and each extruder is different, so please consult your printer manufacturer for precise instructions.
Related Topics
Grinding Filament
Plastic is being ground away until the filament no longer moves, otherwise known as “stripped” filament
Stops Extruding Mid Print
Printer stops extruding plastic randomly in the middle of a print
Weak Infill
Very thin, stringy infill that creates a weak interior and does not bond together well

Inconsistent Extrusion
Extrusion amount tends to vary and is not consistent enough to produce an accurate shape