Simplify3D and the XYZprinting da Vinci 1.0
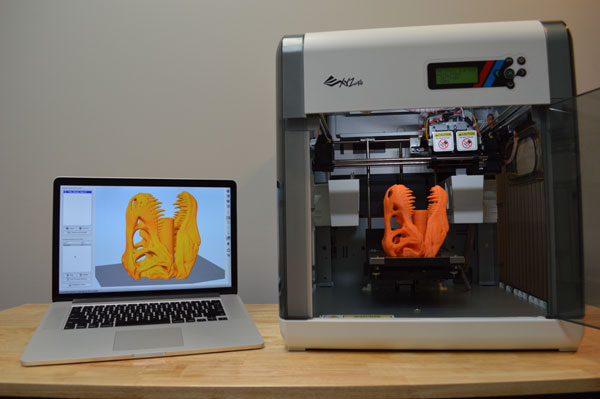 This page will help you set up your new XYZprinting da Vinci 3D printer for use with the All-In-One 3D Printing software by Simplify3D. The da Vinci line of 3D printers come at an affordable cost and include features such as a filament cartridge system, integrated LCD panel, and an enclosed printing chamber. If you are setting up a brand new da Vinci 3D printer, make sure to read the User Manual that comes with the printer. This describes the unboxing process, which includes removing plastic harnesses, filament loading, and bed preparation. You can also download an electronic copy of the User Manual directly from XYZprinting’s Support Page. The remainder of this page is written specifically for the da Vinci 1.0, but the same process can be applied to the da Vinci 2.0 and 2.1 plus.
Final Hardware Checks
Before we dive into the software, there are a few final hardware checks you should perform before using your da Vinci 1.0. If you’re confident your printer is ready to go, you can jump directly to the software setup. The da Vinci 1.0 comes with several additional pieces you will need to remove before performing your first print. These are also described in XYZprinting’s documentation as mentioned above. You will want to remove the plastic clips near the extruder or print head that hold onto the rods and secure the printer when being shipped. You will also want to remove the orange clip securing the build plate, this can be done by removing the thumb screw holding down the orange clip.
Once you have removed the necessary clips securing the printer, you will want to load filament before starting a print. Power on the da Vinci 1.0 by plugging in the included power cord and flipping the switch on the left side of the unit. You can load filament by following the on-screen instructions. Once this setup process is complete, you’re ready to start printing!
Printing with Simplify3D
 Simplify3D Software comes with all of the necessary tools required to start printing on your da Vinci 3D printer. It is an integrated package so it’s the only piece of software you’ll need. The software communicates with your da Vinci 3D printer via the supplied USB Cable. If you’re running Linux or OS X, you can move on to the next step. Windows users may need to install the Arduino and RAMBo inf driver files (found here and here). However, if you have installed or used XYZware previously, you should already have the necessary drivers installed and can move on to the next step.
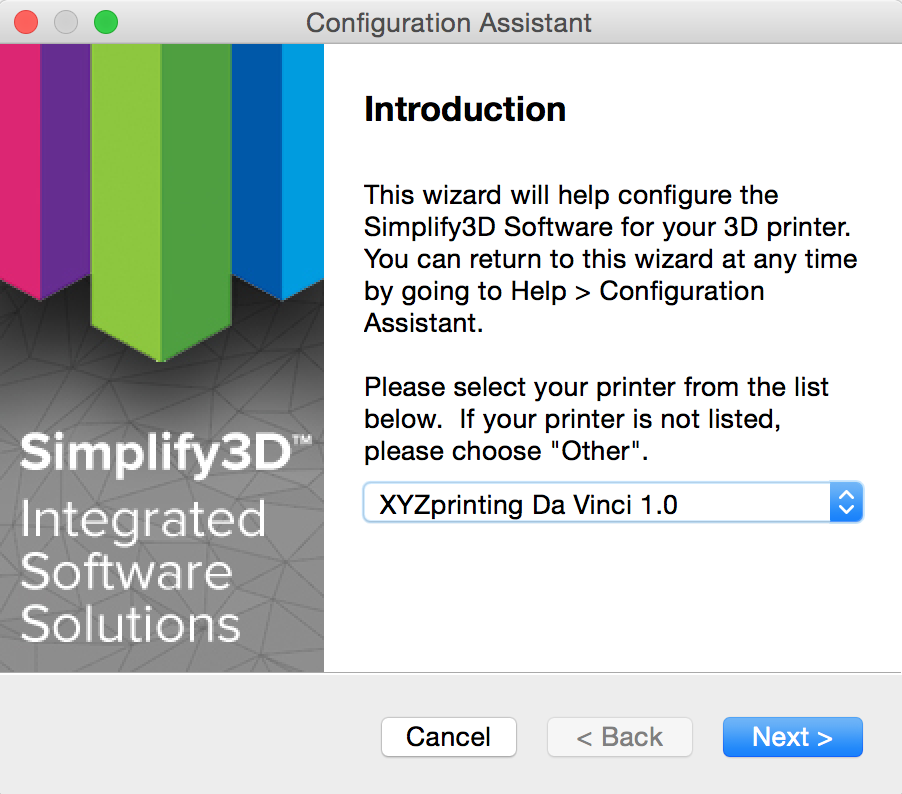
The first time you open Simplify3D Software, the Configuration Assistant will help you choose your printer. Select either the XYZprinting da Vinci 1.0 or 2.0. If this is not your first time opening Simplify3D Software, you can bring up the Configuration Assistant by going to Help > Configuration Assistant.
After completing the Configuration Assistant, import the 3D model you’d like to print. After importing the model, please click “Edit Process Settings”. This will open the FFF Settings window where you can configure a wide variety of slicing options.
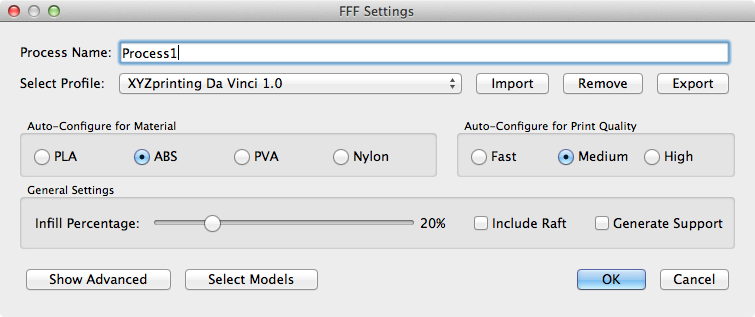 In this window, you will find options to select the material for the print, the preferred quality, infill percentage, and whether to use a raft or generate support material. If you’d like to customize your prints further, please click the Show Advanced button. For more information on the options available in the Advanced Settings, please visit our Tutorial Library.
 Once you’ve sliced a model with your selected settings, click “Begin Printing Over USB” to start the print job. When the da Vinci 3D printer receives the print job, it will automatically go through its start routine and begin heating up.
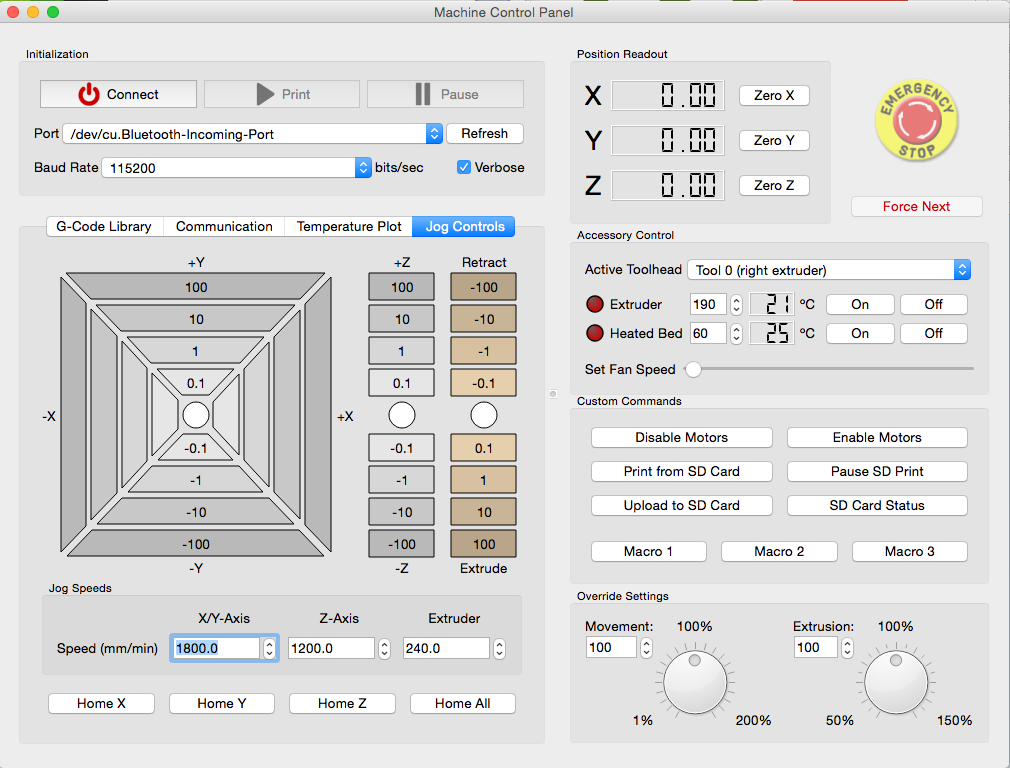
You can gather further information about the status of your machine by going to Tools > Machine Control Panel. On this window you can view a plot of the current temperatures, see the communication back and forth with the machine, and issue manual commands such as jogging or preheating. Please note that it may take several minutes for your machine to reach the appropriate temperature before printing can begin.
Troubleshooting
Is my da Vinci 3D Printer supported?
All da Vinci 3D Printers, 1.0, 1.0A, 2.0 Duo, 2.1 Plus, 1.0 AiO are supported by Simplify3D Software. Enjoy fast slicing, highly customizable print settings, and upload files directly to the printer over USB.
Recommended Firmware?
Every firmware version can take full advantage of Simplify3D’s highly customizable slicer and directly upload print jobs over USB. For other features like manual jogging or bed leveling, we recommend the following firmware.
da Vinci 1.0 – Firmware version 1.1J
da Vinci 2.0 – Firmware version 2.0J
My Printer Reboots During Upload
If you experience this, please turn off the da Vinci printer and close the Simplify3D Software. Re-open the software, turn the printer back on, and retry the file transmission. Newer firmware releases by XYZprinting have greatly reduced the likelihood of this problem, so you may also wish to update to the latest version.