Dimensional Accuracy
The dimensional accuracy of your 3D printed parts can be extremely important if you are creating large assemblies or parts that need to precisely fit together. There are many common factors that can affect this accuracy such as under or over-extrusion, thermal contraction, filament quality, and even the first layer nozzle alignment. Simplify3D includes several tools to help cope with these common issues, so we will explain each one in more detail below.
Common Solutions
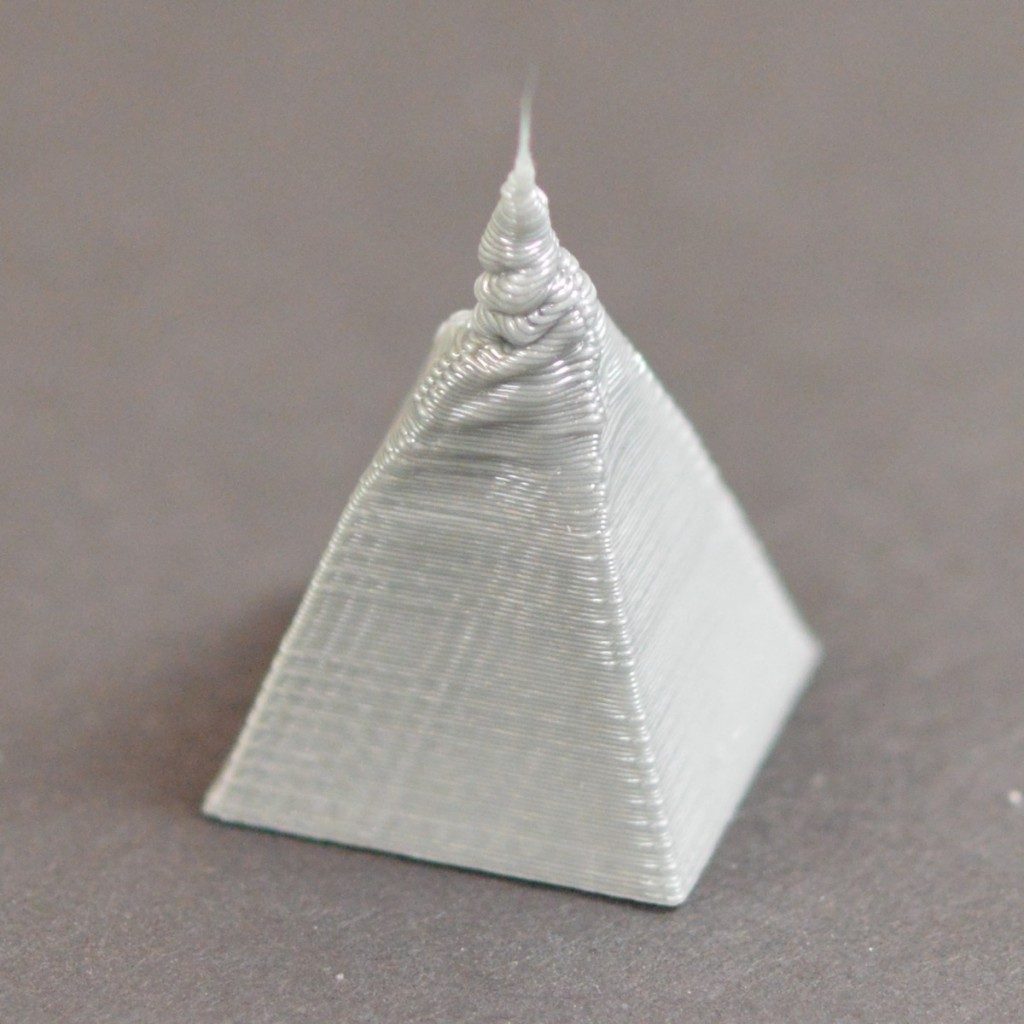
First Layer Impact
Settings for your first layer can have an impact on dimensional accuracy. If your nozzle is too high or too low for the first layer of your print, it can drastically affect the next 10-20 layers of the part. For example, if you are printing a 0.2mm thick layer, but your nozzle is only positioned 0.1mm away from the bed, then this extra plastic may create a first layer that is a bit too large. Future layers can also be affected by the extra plastic on this layer, which creates several oversized layers at the bottom of the part. So before you spend too much time trying to perfect the dimensional accuracy of your prints, you need to verify that your measurements are not being affected by the first layer position. One common way to do this is by printing a model with 50-100 layers and then only measuring the top 20 or so layers. These top layers are far away from the very first layer that was printed on the bed, so it minimizes the impact of nozzle positioning. Before proceeding to the sections below, make sure that your measurements follow these guidelines.
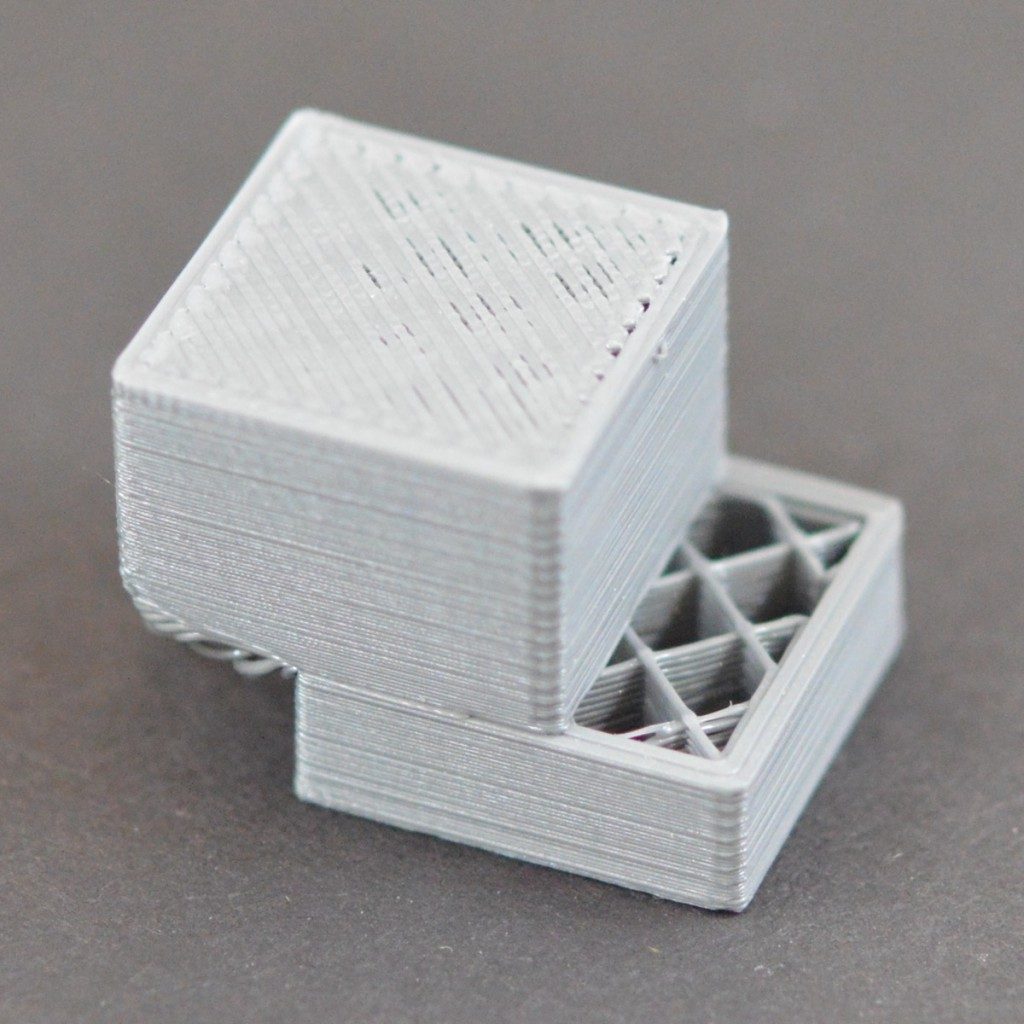
Under or Over-Extrusion
Now that you know you are using accurate measurements that are not affected by the first layer position, the next setting you want to verify is your extrusion multiplier. This setting affects the flow rate for the entire print. If the extrusion multiplier is too low, you may start to see gaps between perimeters, holes in your top surfaces, and parts that are smaller than their intended size. If your extrusion multiplier is too high, you may notice top layers that tend to bulge upwards and parts that are larger than intended. So again, before proceeding to the sections below you will want to verify that your extrusion multiplier is properly calibrated. For more advice on these topics, please see the Under-Extrusion and Over-Extrusion sections.
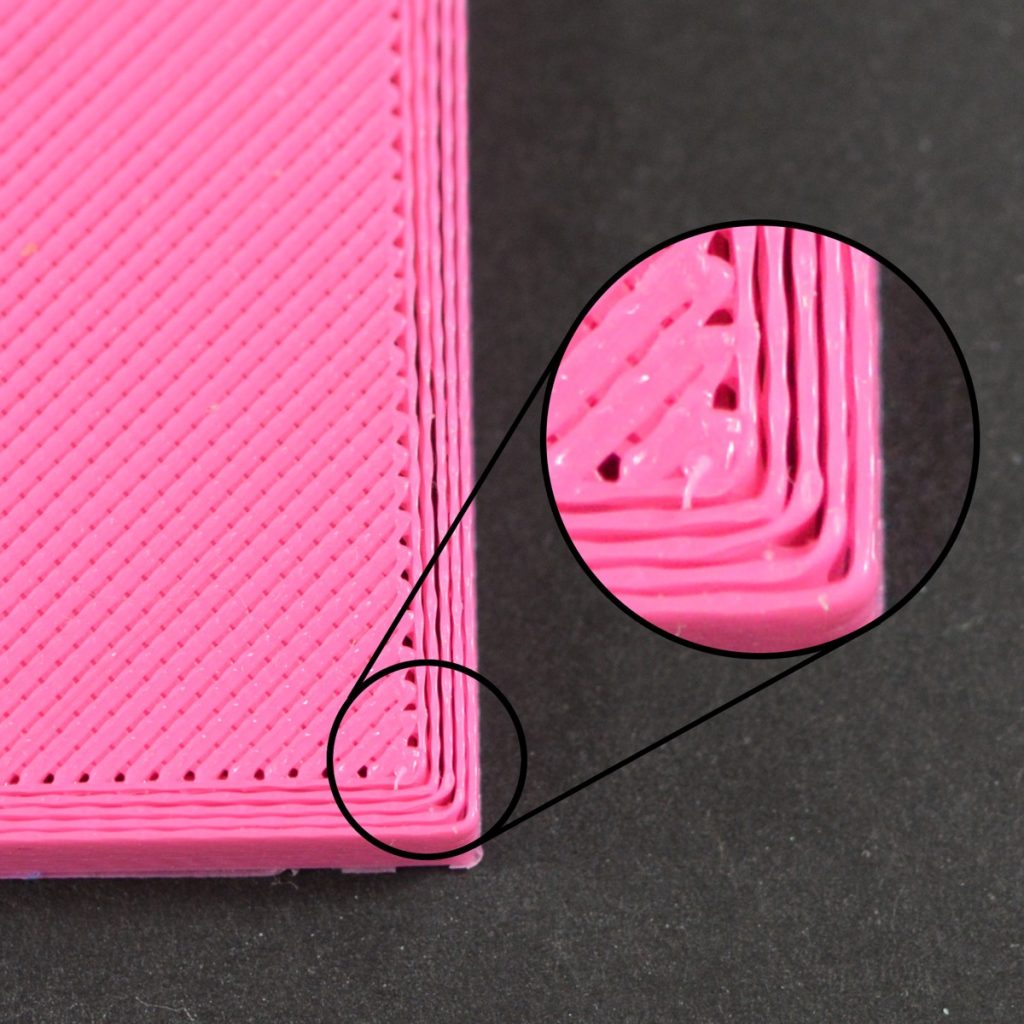
Constant Dimensional Error
If you have completed the steps above and the prints are still not sized correctly, Simplify3D offers the ability to precisely offset the edges of your print to account for these differences. This setting is labeled “Horizontal size compensation” and can be found on the Other tab of your Process Settings. For example, setting this value to -0.1mm will shrink your model by 0.1mm in the X and Y directions. This setting works best when the dimensional error is consistent, even when printing models of different sizes. For example, if the part is always 0.1mm too large, regardless of if the model is 20mm wide or 100mm wide, then this setting can easily account for that difference.
Increasing Dimensional Error
If you notice that the dimensional error tends to increase as you print larger parts, then there is a different setting you can adjust. For example, if your print was 0.1mm too small for a 20mm wide part, but increased to 0.5mm too small for a 100mm wide print, then it is likely the problem may be due to thermal contraction. This can be a common issue for high temperature materials like ABS, since plastic tends to shrink as it cools. Simplify3D includes several options to help with this. First, you need to determine the shrinkage percentage. In the above example, the part is shrinking by 0.1mm over a 20mm print, so the shrinkage percentage is 0.1 / 20 = 0.5%. The easiest way to fix this error is to double-click on your model in the Simplify3D interface and set the scale to 100.5%. If you find yourself making these changes consistently, you can also setup an Import Action to perform this scaling automatically each time you import a new model. Please see this video for more details about creating Import Actions.
Related Topics
Under-Extrusion
Printer does not extrude enough plastic, gaps between perimeters and infill