Importing and Manipulating Your Models
This tutorial will provide you with all of the basics that you need to import your 3D models into Simplify3D. The software supports STL (Stereolithography), OBJ, and 3MF file formats, although the STL file is the most common, so that’s what we will start with today.
Obtaining an STL File
 There are two common methods for obtaining an STL file:
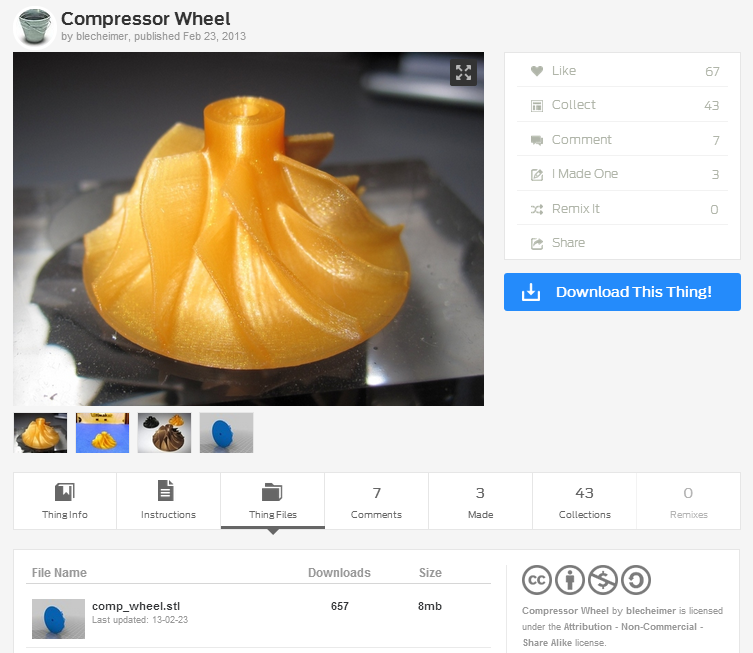
1. Download from the internet: The first and the simplest method is to download a pre-existing STL file from the web. There are several popular websites that contain thousands of digital models that have already been optimized for extrusion-based 3D printing. Two common ones are www.thingiverse.com and grabcad.com. For this example, we will be using blecheimer’s compressor wheel model for this tutorial. Click “Download This Thing!”; then click the “comp_wheel.stl” file to download the STL file. Place the STL file in a folder on your computer, as you’ll import the file in the next step.
2. Export from CAD: Another popular option for obtaining an STL file is to export this file from the CAD package of your choosing, such as SketchUp or Solidworks. All of the major CAD packages include functionality to export digital models to the STL file format. The instructions vary depending on the CAD software; some may require a plugin to export STL files. Just place the STL file into a folder on your computer, as you’ll import the file in the next step.
Importing Your STL File into Simplify3D
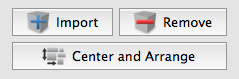 It is time to import the STL file into Simplify3D Software. Click Import in the Models section of the main Simplify3D Software interface. Alternatively, drag-and-drop the STL file onto the virtual Build Table to import it without browsing for the file manually. When you import the model, the software will automatically Center and Arrange the model in the virtual Build Table. For the compressor wheel, you’ll see that the model imports on its side rather than flat on the base, but we’ll be learning how to move and manipulate models in the next step.
Manipulating Your 3D Model
The software offers quick shortcuts to help you quickly and easily manipulate your model on-screen. If you have multiple models on the Build Table, these shortcuts will affect the currently selected model. You can also select multiple models at once through holding the Shift key.
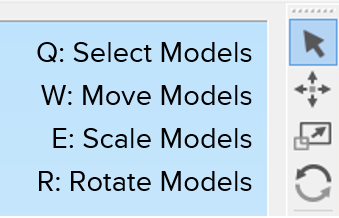 There are four different modes for manipulating your models. Using the Q, W, E and R keys you can quickly switch through the different modes.
- Q: Select Models
- W: Move Models on Build Plate
- E: Scale Models
- R: Rotate Models
While these shortcuts are great for quick visual adjustments, you may run across a situation where you need an exact positioning offset or you need to rotate the model about a different axis. In this case, you will need to access the Model Settings Window by double-clicking on your model (or by double-clicking on the model name in the Model List). The Model Settings Window offers exact numeric rotations, scaling, and offsets. Use the up-down arrows to easily adjust a model or enter numerical values for more exact positioning. As you make changes, you will see the impact of each adjustment as your model reacts and moves on the Build Table. Press Save to apply those changes to the selected model(s). Note that you can also change the display name of your model through this window.
Under the Edit menu in the top toolbar, there are options for many of the main features users will need when manipulating their 3D models, such as Undo/Redo, Select All, Copy, Paste, Group/Ungroup, Center and Arrange Models, Drop Model to Table, Place Surface on Bed and more. Here are some commonly used keyboard shortcuts (note that Control is used for Windows and Command for Mac or Linux):
- Undo: Control/Command + Z
- Select All: Control/Command + A
- Copy Selection: Control/Command + C
- Paste Selection: Control/Command + V
- Remove Selection: Backspace
- Center and Arrange Models: Control/Command + R
- Drop Model to Table: Control/Command + T
- Place Surface on Bed: Control/Command + L
In addition to these shortcuts and the other options located in the Edit menu, you can use the Mesh menu to perform actions such as Mirror Mesh, which will mirror your model over the X, Y, or Z plane. For even more control and precision, advanced users should try the manipulation gizmo by going to Tools > Options and selecting “Always show full 3D transform gizmo.” Using these options, you have total control over your 3D models!